Techniques for Carving Detailed Animal Representations in Clay
Understanding Your Clay: Types and Tools
Before diving into carving, it’s crucial to understand the different types of clay available. For detailed animal representations, a sculpting clay like polymer or earthenware is ideal, as it holds details well. Selecting the right tools, such as loop tools and carving knives, is equally important, as they help achieve precision in your work.
Every artist was first an amateur.
Additionally, consider the softness of the clay. Softer clays are easier to manipulate, while firmer ones provide more structure for intricate designs. Investing in a quality set of sculpting tools can make a world of difference, enabling you to carve fine lines and textures that bring your animal figures to life.
Taking the time to familiarize yourself with both the materials and tools can set a strong foundation for your carving journey. Don’t hesitate to experiment with different clays and tools to find what feels best for your artistic style.
Choosing Your Animal: Inspiration and Reference
Selecting an animal to carve can be both exciting and daunting. It’s helpful to choose an animal you’re passionate about or one that resonates with you personally. Whether it's a beloved pet or a majestic creature from nature, having a connection to your subject can inspire greater creativity.
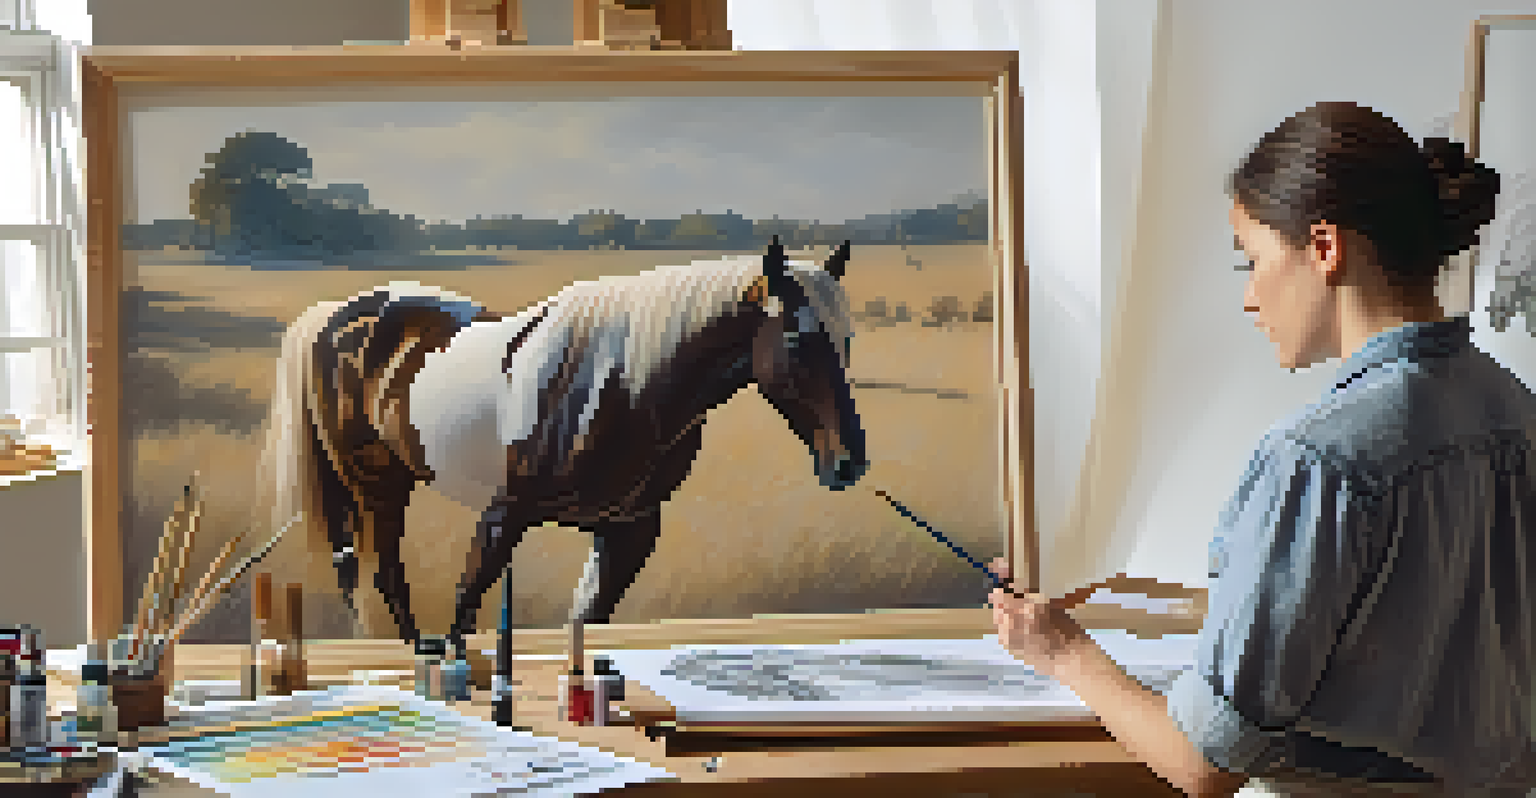
Using reference images is a fantastic way to understand the anatomy and features of your chosen animal. Observing photographs or even visiting a zoo can provide insights into the animal's posture, fur texture, and unique characteristics. This research phase is essential for creating a realistic representation.
Know Your Clay and Tools
Understanding the types of clay and selecting the appropriate tools is essential for achieving precision in your animal carvings.
Remember, your goal is to capture not just the physical appearance but also the essence of the animal. By closely studying your references, you can make informed decisions about how to convey movement and personality in your carving.
Sketching Your Design: Planning Your Carving
Before you start carving, sketching your design on paper can be immensely helpful. This step allows you to visualize your animal and plan out the details, such as the proportions and features. Think of it as creating a roadmap for your clay carving journey.
Art is not freedom from discipline, but disciplined freedom.
Don’t worry about making your sketches perfect; they are simply a guide. You can make adjustments during the carving process, but having a rough outline will help keep your focus. Consider different angles and poses to find the most dynamic presentation of your animal.
Once you have a solid sketch, you can transfer the design onto the clay. Lightly marking the key features with a tool will provide a helpful reference as you begin to carve, ensuring that your initial vision takes shape.
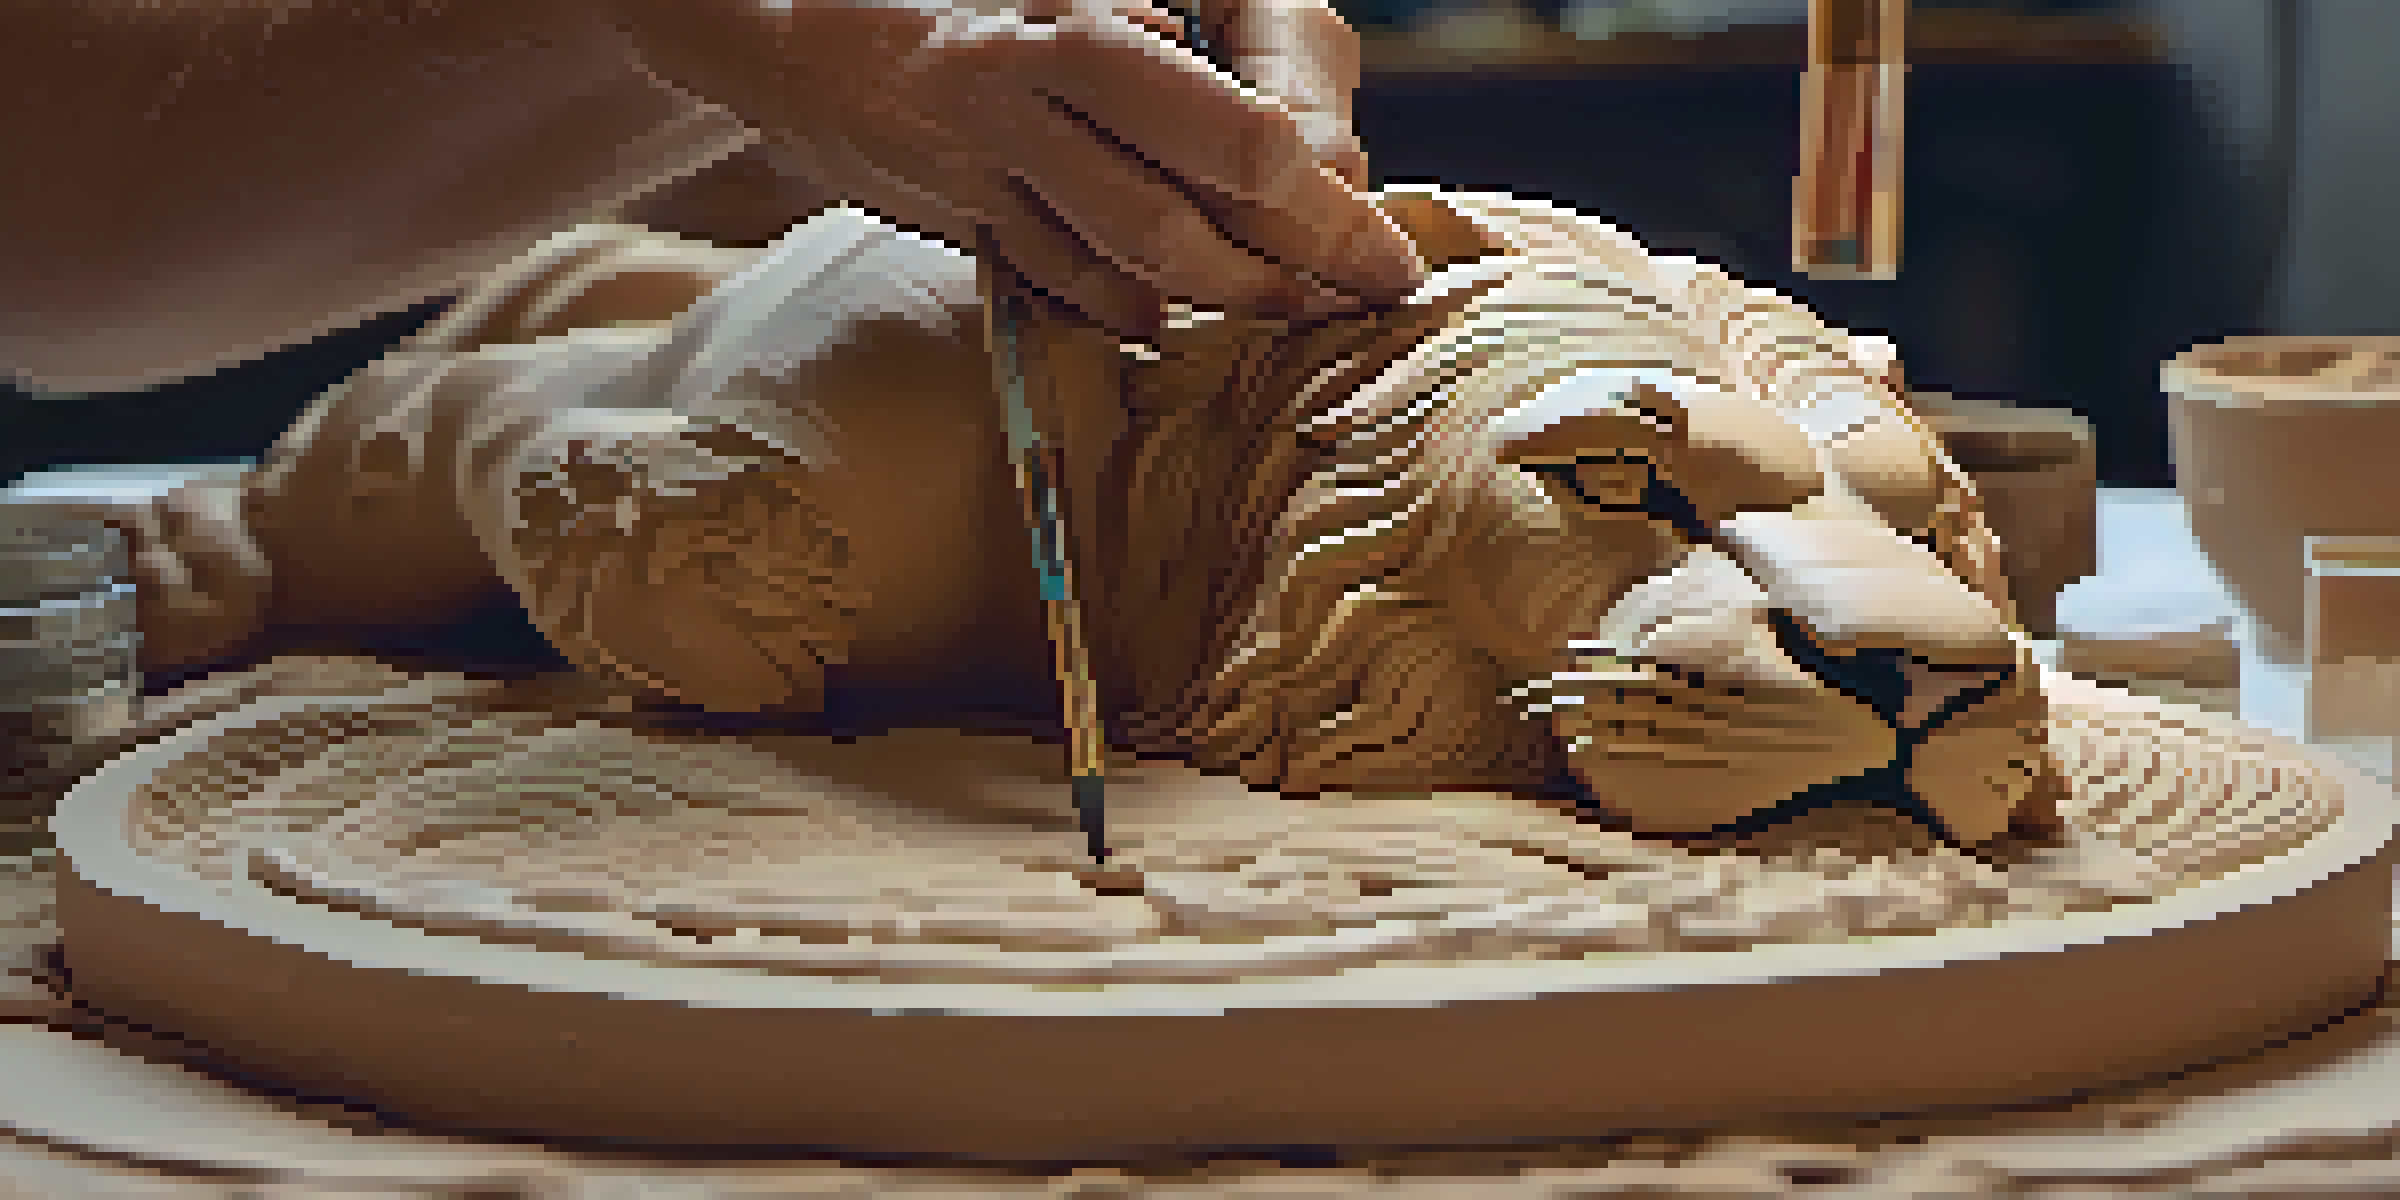
Basic Techniques: Carving and Shaping the Clay
With your design sketched out, it’s time to start carving! Begin by shaping the overall form of your animal using larger tools to remove excess clay. This foundational step is about getting the proportions right, so don’t rush—take your time to refine the shape.
As you progress, switch to smaller tools for more detailed work. Carving features like eyes, ears, and textures requires patience and a steady hand. Remember, it’s okay to step back and assess your work frequently; this will help ensure you stay true to your original vision.
Sketch Before You Carve
Creating a sketch of your design serves as a roadmap, helping you visualize and plan the details of your carving.
If you make a mistake or the clay becomes too dry, don’t panic! You can often smooth out imperfections with your fingers or a damp sponge. This process is all about flexibility and finding solutions as you go.
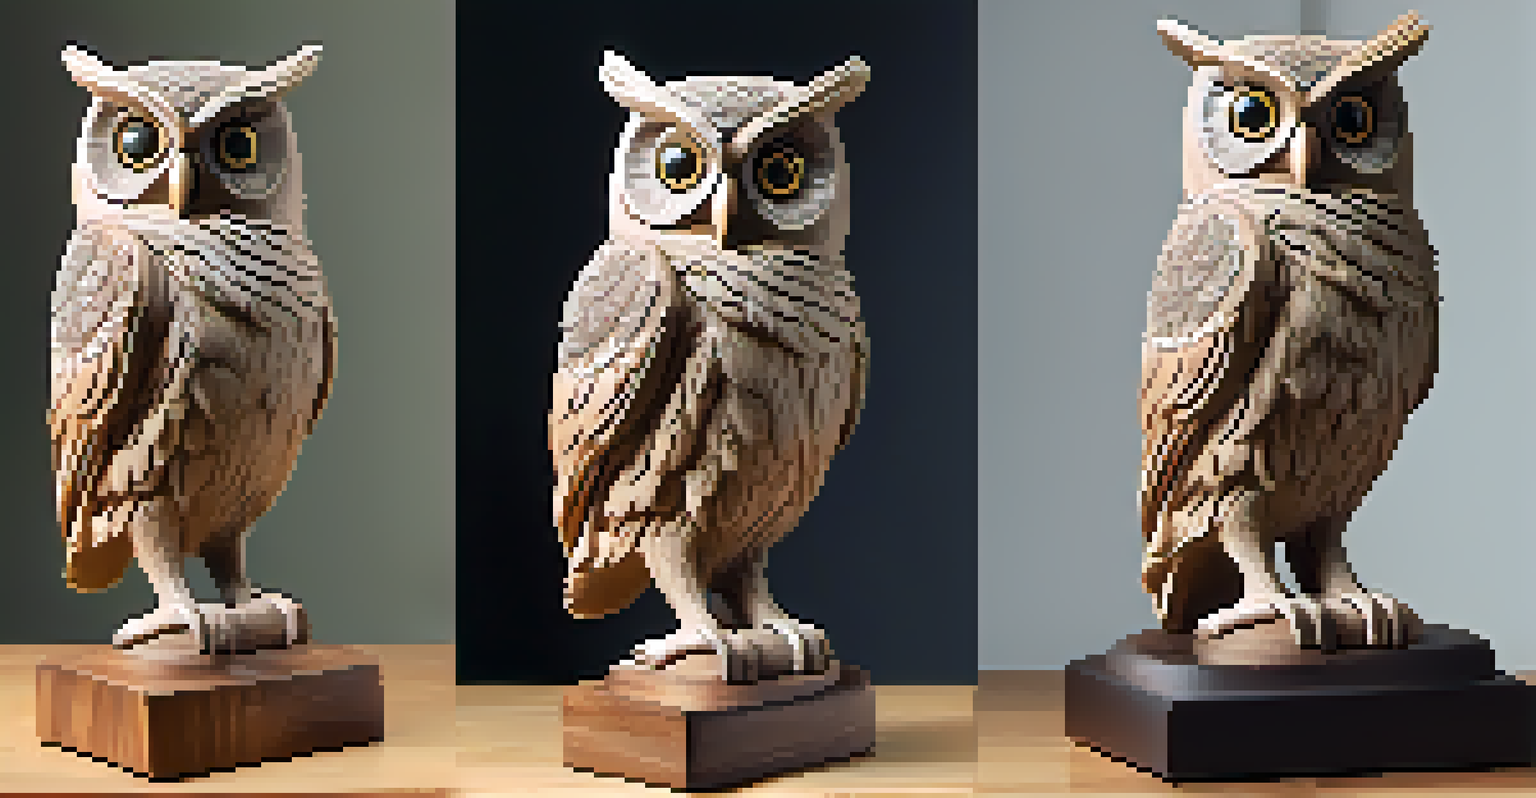
Adding Details: Textures and Fine Features
Once the basic shape is established, it’s time to focus on adding textures and details to your animal. This is where your carving truly comes to life! Use various tools to create fur, scales, or feathers, depending on your subject.
Experiment with different techniques, such as stippling or incising, to achieve the desired effect. For example, using a fine tool to create short lines can mimic the appearance of fur, while a textured sponge can add depth to the surface. Each detail enhances the realism of your piece.
Pay attention to the small features as well; the eyes, nose, and mouth can significantly impact the overall expression of your animal. These elements can evoke emotion and personality, making your sculpture resonate with viewers.
Finishing Touches: Smoothing and Polishing
Once you’re satisfied with the details, it’s time to smooth and polish the surface of your carving. This step enhances the tactile quality of your work and prepares it for painting or glazing. A soft sponge or your fingers can be used to gently blend any sharp edges or rough spots.
Consider the final look you want for your piece. If you plan to paint it, a smooth surface will yield better results. Alternatively, if you prefer a more rustic finish, you can leave some texture for character.
Focus on Textures and Details
Adding fine details and textures is crucial for bringing your animal sculpture to life and conveying its personality.
Lastly, take a moment to step back and appreciate your work. Finishing touches are about refining your piece and ensuring it reflects your artistic vision. Don’t be afraid to make those final adjustments that will elevate your carving.
Firing and Displaying Your Clay Carving
Once your carving is complete and dry, it’s time to consider firing if you’re using clay that requires it. This process solidifies your work and prepares it for display. If you’re using air-dry clay, simply let it dry according to the manufacturer’s instructions.
If you’re firing your piece, follow the guidelines for your specific clay type. This may involve placing it in a kiln and firing at a certain temperature. Proper firing is crucial, as it ensures the durability of your sculpture and enhances the colors if you’re glazing.
After firing, you can choose to display your masterpiece as is or add additional finishes, like paints or glazes. Displaying your work in a well-lit area can highlight the details you’ve painstakingly carved, inviting viewers to appreciate your craftsmanship.