Wood Carving Techniques: From Beginner to Advanced Skills
Understanding the Basics of Wood Carving Techniques
Wood carving is an art form that transforms a simple piece of wood into a beautiful creation. To get started, it's important to understand the types of wood and tools available. Beginners often find softer woods like pine or basswood easier to carve, as they require less force and are less likely to splinter.
The only way to do great work is to love what you do.
As you delve into the world of wood carving, familiarize yourself with essential tools such as carving knives, gouges, and chisels. Each tool has its unique purpose, and learning how to handle them properly is crucial for achieving the best results. Remember, safety should always be your priority, so invest in a good carving glove.
Once you have your materials ready, consider starting with simple projects. Items like spoons or small figurines can help build your confidence and skills. The more you practice, the more you’ll discover your personal style and preferences in wood carving.
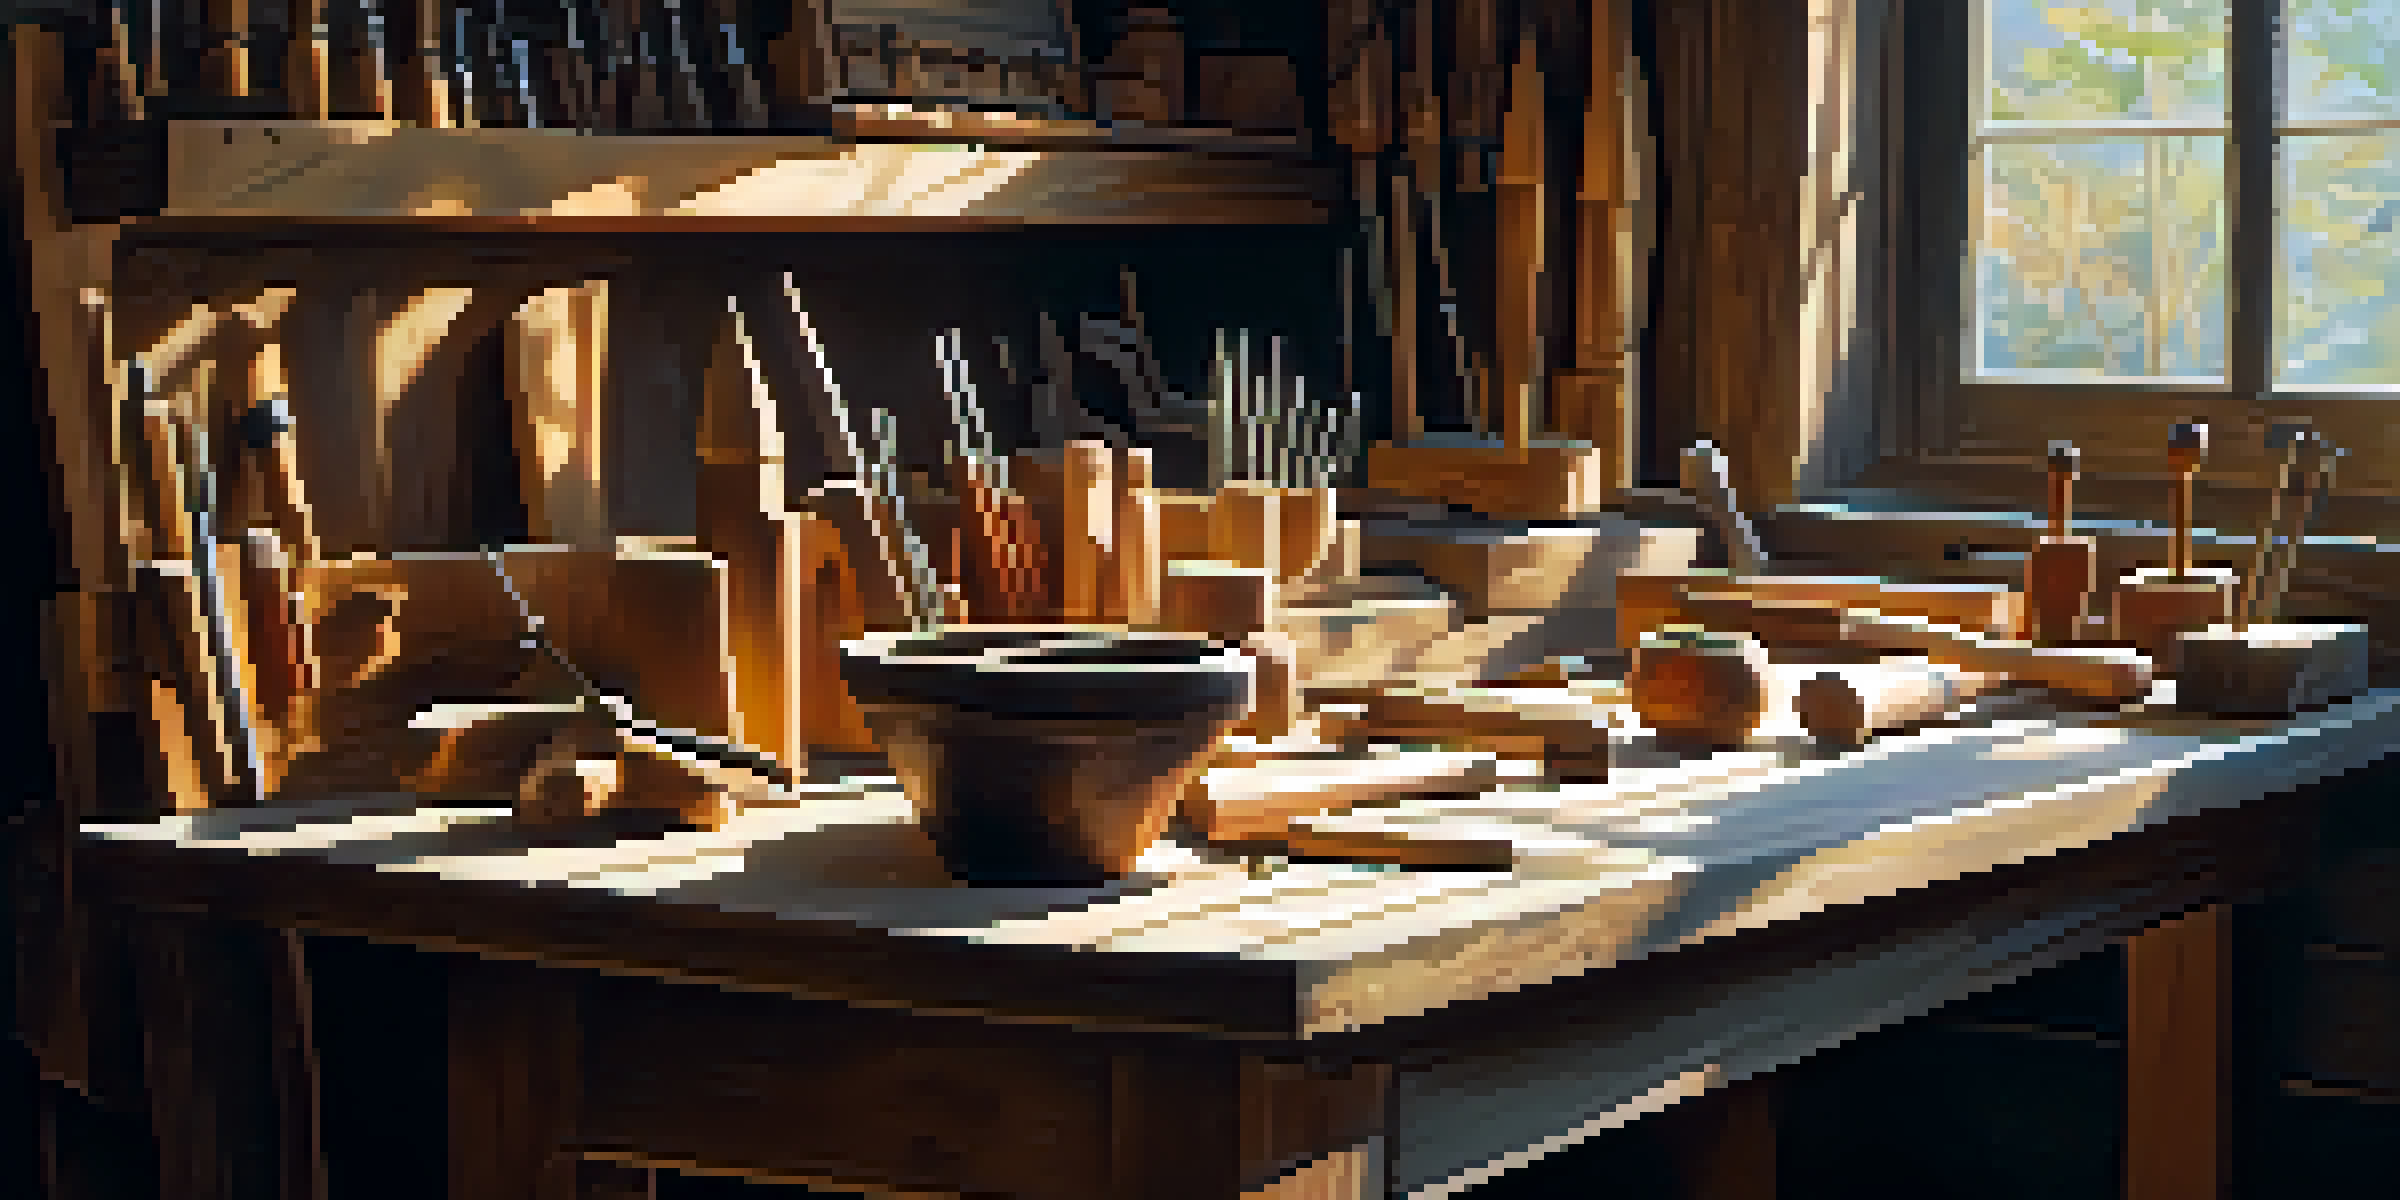
Essential Tools Every Wood Carver Should Have
Having the right tools is like having the right paintbrushes for a painter; it can make all the difference in your work. For wood carving, the basic toolkit should include a carving knife, a set of gouges, and a mallet. Each tool serves a different purpose, helping you create various shapes and designs.
As you progress, consider adding advanced tools such as a wood rasp or rotary tool. These can help refine your work and allow for more intricate designs. It's always a good idea to invest in quality tools since they will last longer and perform better than cheaper alternatives.
Start with Basic Wood Carving Tools
Having the right tools, such as carving knives and gouges, is essential for beginners to effectively create their wood carvings.
Don’t forget about tool maintenance! Regular sharpening and cleaning will keep your tools in top shape, ensuring your carving process is smooth and enjoyable. Just like a musician cares for their instrument, a woodworker should cherish their tools.
Techniques for Beginners: Starting Your Wood Carving Journey
For beginners, mastering fundamental techniques is key to enjoying wood carving. Start with basic cuts like the straight cut, which involves slicing directly into the wood. This technique is essential for creating clean lines and shaping your material.
Mistakes are the portals of discovery.
Another important technique is the relief cut, where you gradually remove wood to create depth. This method is perfect for creating decorative designs and adds dimension to your work. Practice makes perfect, so don’t hesitate to experiment with these cuts on scrap wood.
Lastly, always keep your hand movements steady and your grip firm. Developing muscle memory through repetitive practice will improve your precision and confidence. Remember, every expert was once a beginner, so embrace the learning process!
Intermediate Techniques: Adding Detail and Complexity
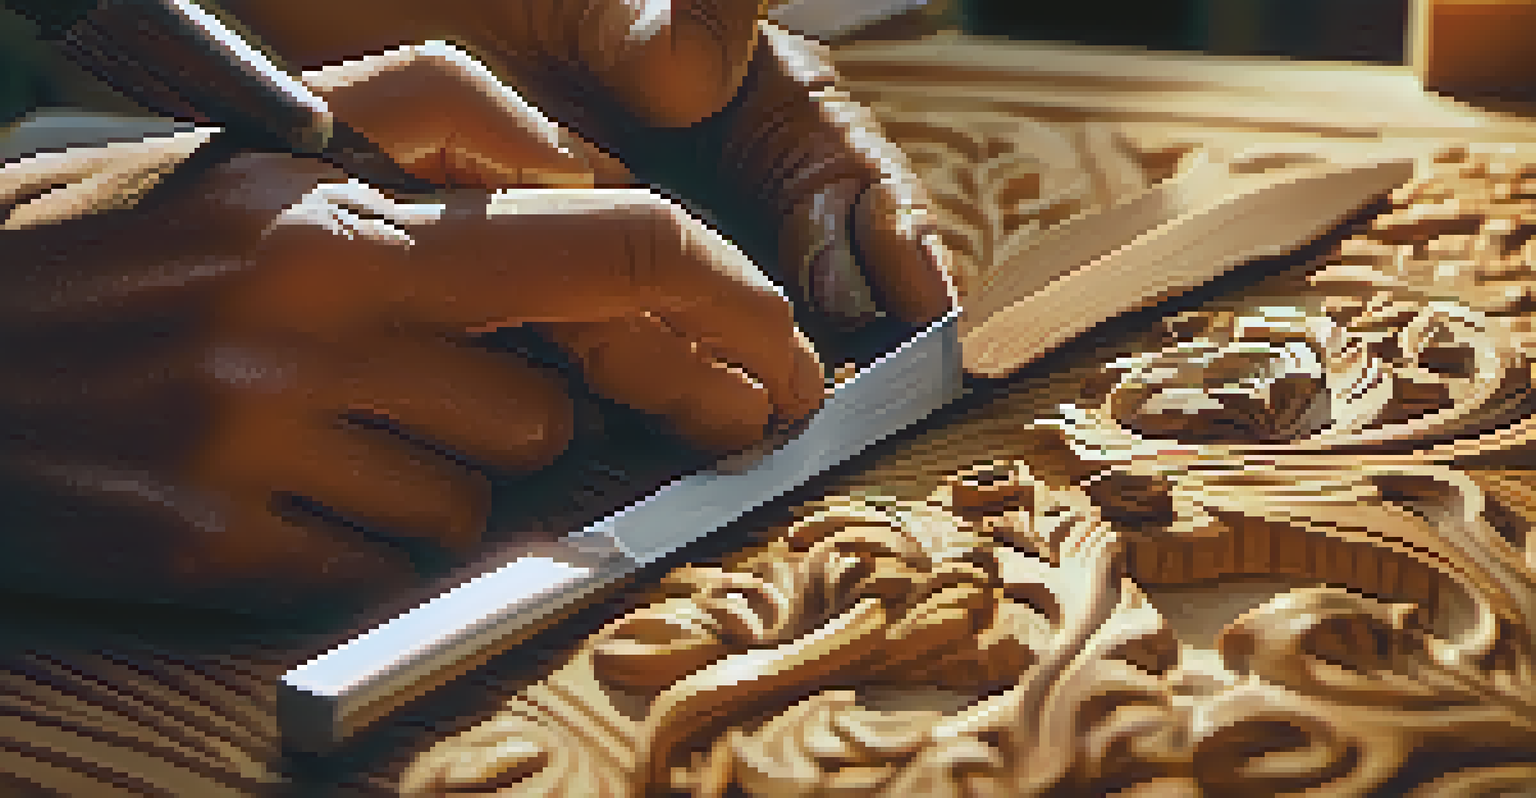
Once you’ve grasped the basics, it's time to explore intermediate techniques that add detail to your carvings. One popular method is incised carving, where you create designs by cutting lines into the wood's surface. This technique is excellent for embellishing your projects.
Another technique to consider is chip carving, which involves removing small pieces of wood to create patterns. This style is both beautiful and functional, making it perfect for decorative items like boxes or coasters. Practice this method on small projects to hone your skills.
Practice Fundamental Techniques First
Mastering basic cuts and techniques, like straight and relief cuts, is key to building confidence and skill in wood carving.
As you experiment with these techniques, don't shy away from mixing them together. Combining methods can lead to unique, personal creations that showcase your evolving style. Remember, the journey is just as important as the final product!
Advanced Skills: Mastering the Art of Wood Carving
For those who have mastered the basics and intermediate techniques, it's time to dive into advanced wood carving skills. One such skill is sculptural carving, which involves creating three-dimensional pieces that tell a story or convey emotion. This technique requires a strong understanding of form and proportion.
Another advanced technique is inlay, where you embed different materials into your wood carvings. This adds color and texture, transforming a simple piece into a stunning work of art. Consider using materials like resin or other types of wood for your inlays to create contrast.
As you refine your skills, remember to study the work of other artists for inspiration. Join wood carving communities or workshops to learn new techniques and receive feedback on your work. Continuous learning is vital in mastering any craft, including wood carving.
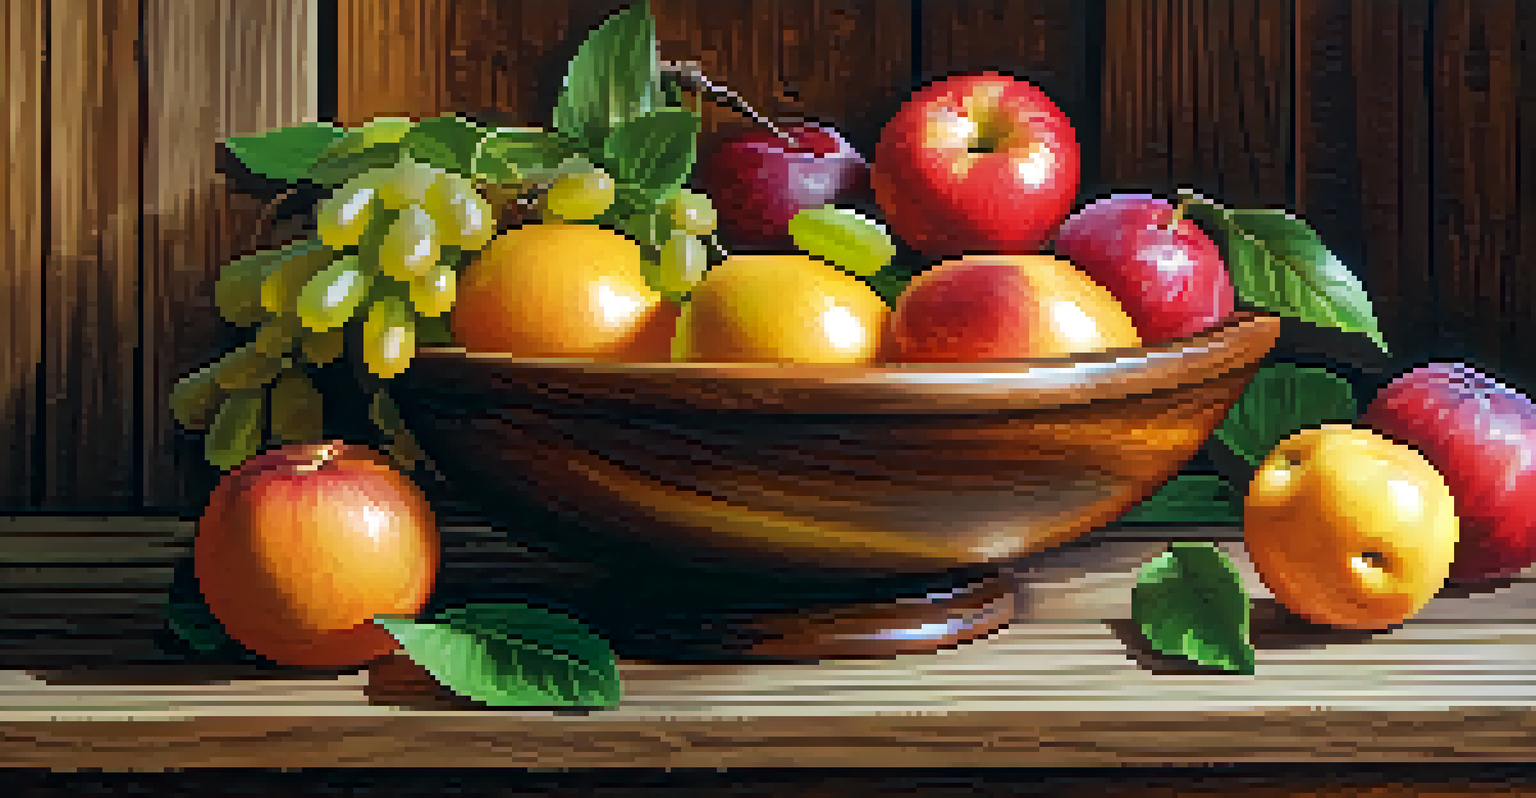
Finishing Techniques: Making Your Carvings Shine
Finishing techniques are the final touch that can elevate your wood carvings from ordinary to extraordinary. Sanding is an essential step that smoothes out rough edges and prepares the surface for finishing. Use different grits of sandpaper to achieve a polished look, starting with coarse and progressing to fine.
Once sanded, you can choose a finish that suits your project. Options include oils, varnishes, or waxes, each providing a unique look and level of protection. Applying a finish not only enhances the wood's natural beauty but also helps to preserve your carving for years to come.
Embrace Mistakes as Learning Opportunities
Recognizing and learning from common mistakes in wood carving can significantly enhance your skills and enjoyment of the craft.
Experimenting with different finishes can lead to exciting results. For instance, a natural oil emphasizes the wood grain, while a varnish adds a glossy sheen. Don't forget to let your carvings cure properly after applying a finish to ensure durability.
Common Mistakes to Avoid in Wood Carving
Every wood carver encounters challenges along the way, but learning to recognize common mistakes can accelerate your growth. One common error is rushing through the carving process. Patience is crucial; taking your time leads to better results and reduces the likelihood of mistakes.
Another mistake is not properly maintaining tools. Dull tools can make carving frustrating and dangerous, so ensure you keep your tools sharp and in good condition. Regular maintenance will lead to smoother cuts and a more enjoyable experience.
Lastly, don’t be afraid of making mistakes in your work. Every misstep is an opportunity to learn and improve your skills. Embrace the journey, and remember that even seasoned carvers have had their share of mishaps!