DIY Carving Projects for Unique Home Decor Creations
Discover the Joy of DIY Carving for Home Decor
DIY carving projects are a fantastic way to express your creativity while adding a personal touch to your home decor. Whether you’re crafting a stunning centerpiece or a unique wall hanging, the process of carving can be incredibly satisfying. It allows you to transform ordinary materials into extraordinary pieces that reflect your style and personality.
Creativity is intelligence having fun.
One of the best things about carving is that it’s accessible to everyone, regardless of skill level. You can start with simple projects and gradually take on more complex designs as you gain confidence. Plus, the tools and materials needed for basic carving can often be found around your home or at your local craft store.
So, roll up your sleeves and get ready to dive into the beautiful world of DIY carving! With just a bit of practice and imagination, you can create stunning decor that will impress your guests and make your space feel uniquely yours.
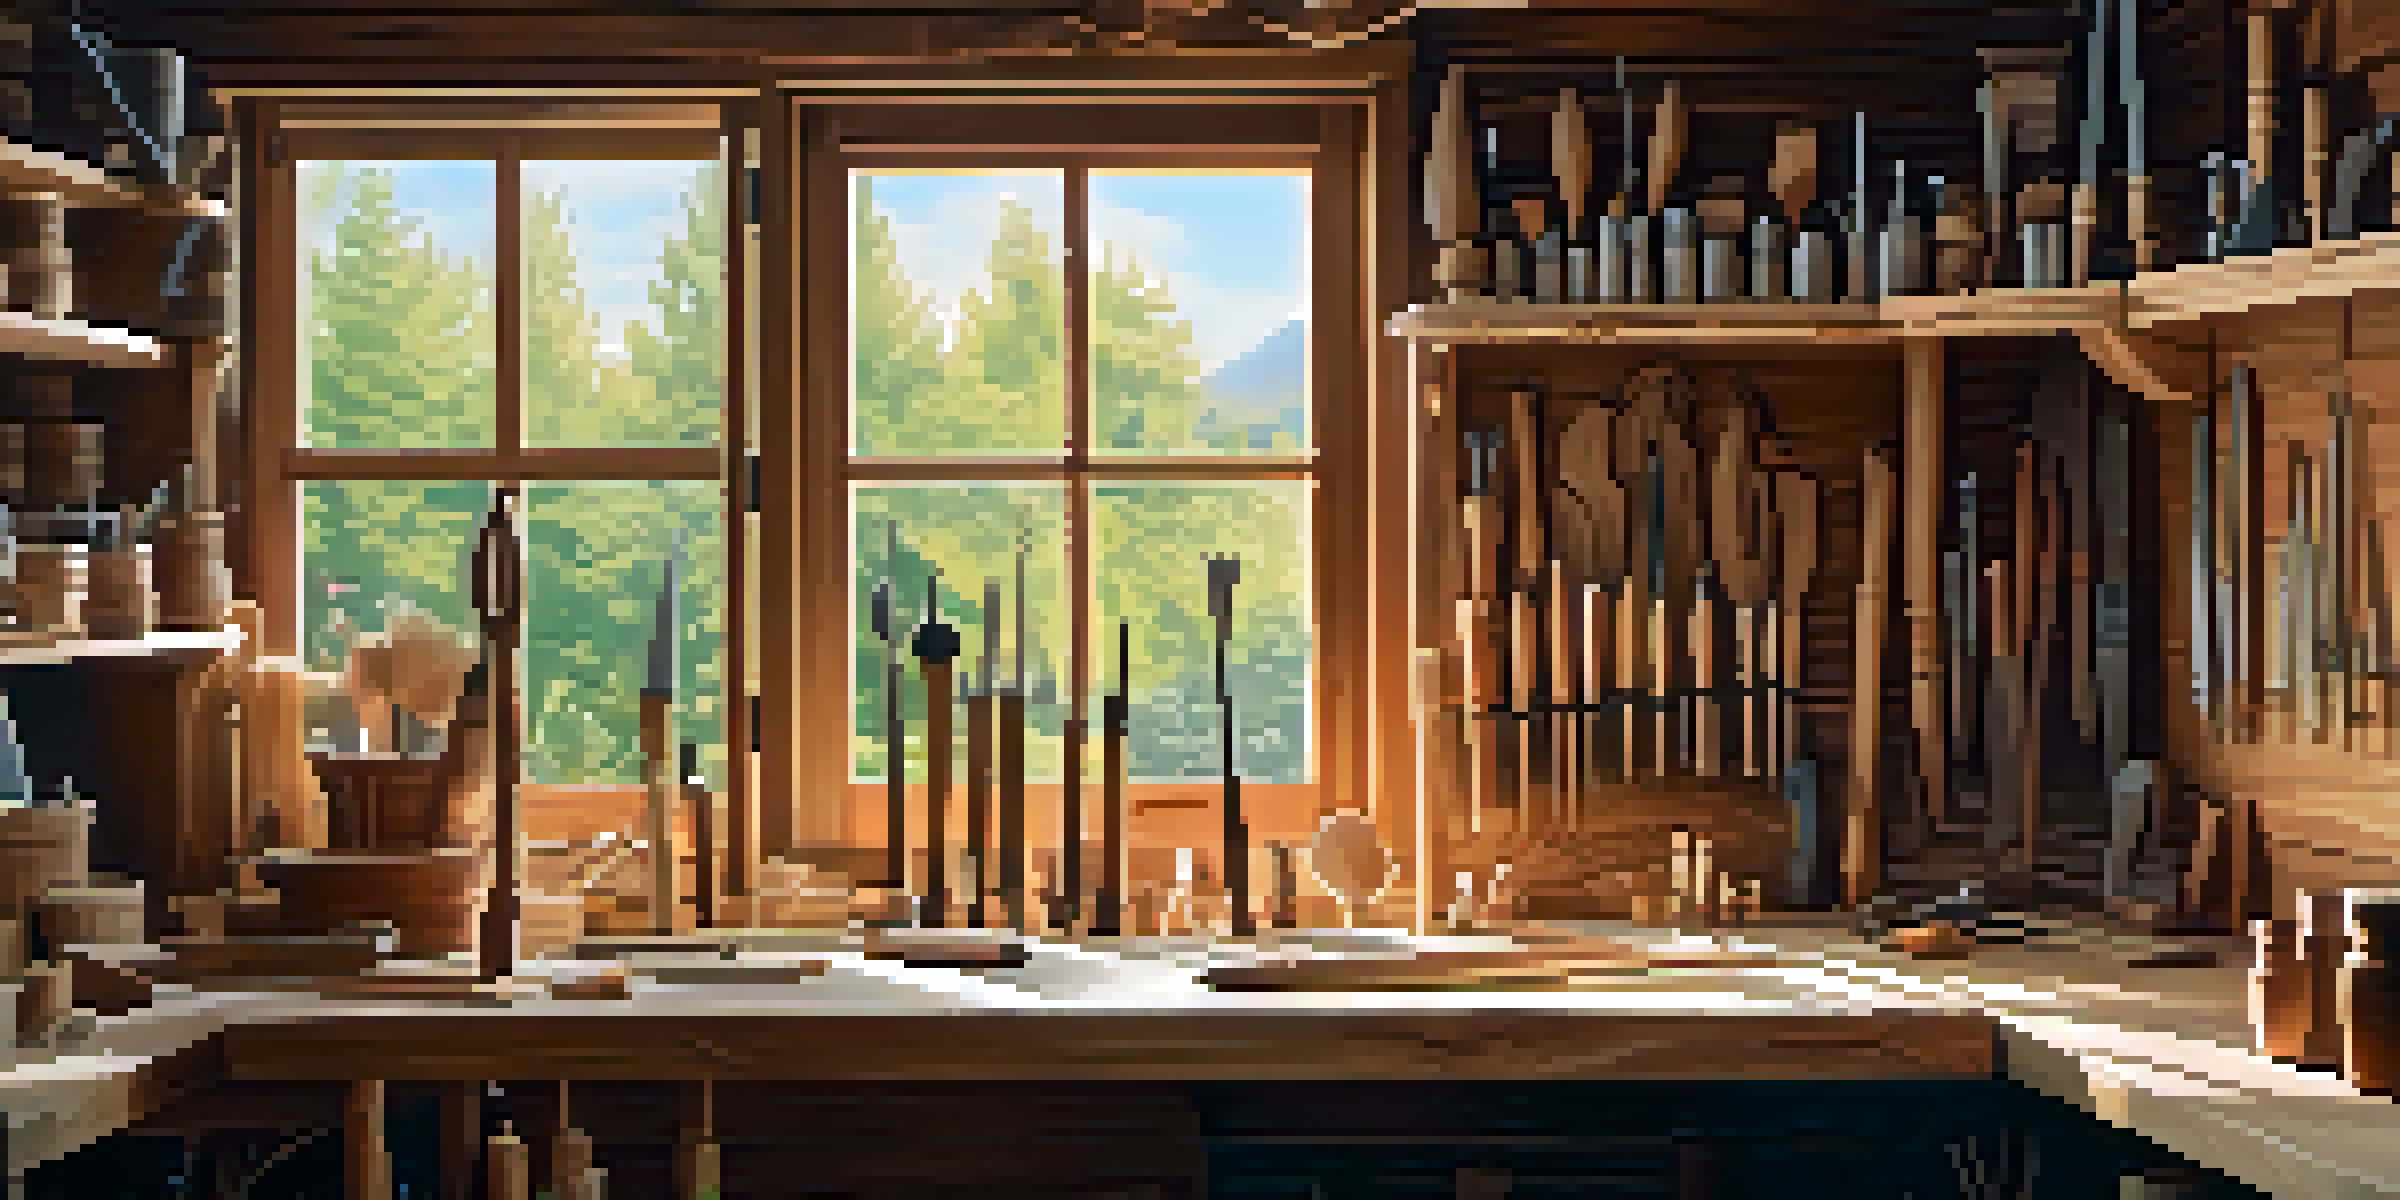
Essential Tools for Your DIY Carving Projects
Before you start carving, it’s crucial to gather the right tools. Basic carving tools include a set of chisels, a carving knife, and a cutting board or soft surface to work on. These tools will help you achieve precise cuts and intricate designs, whether you're working with wood, soapstone, or even pumpkins.
Additionally, safety should be a priority. Always wear protective gloves and goggles to keep your hands and eyes safe from accidental slips. A good light source is also essential, as it allows you to see the details of your work clearly, ensuring you don’t miss any crucial elements during the carving process.
DIY Carving Adds Personal Touch
Engaging in DIY carving projects allows you to express creativity and customize your home decor.
Investing in quality tools not only makes your projects easier but also ensures better results. Over time, you’ll find that having the right tools can significantly enhance your carving experience and open up a world of creative possibilities.
Choosing the Right Material for Your Carving Project
The choice of material is key to the success of your carving project. Popular options include wood, which is versatile and readily available, and soapstone, known for its softness and ease of carving. Each material has its own unique characteristics that can impact the final look of your decor piece.
Every artist was first an amateur.
When selecting wood, consider different types such as pine, oak, or cedar, each offering distinct textures and colors. For beginners, softwoods like pine are a great starting point since they are easier to carve and shape. On the other hand, if you’re looking for something a bit different, soapstone is perfect for creating smooth, flowing designs.
Don’t be afraid to experiment! Sometimes the most beautiful creations come from unexpected materials. Think outside the box and explore items you might already have, like old furniture or even leftover crafting supplies, to make unique decor pieces that tell your story.
Step-by-Step Guide to Carving a Decorative Wall Hanging
Creating a decorative wall hanging is a rewarding project for both beginners and experienced carvers alike. Start by sketching out your design on the material you’ve chosen. This will serve as your guide during the carving process. Remember, simplicity often leads to stunning results, so don’t feel pressured to craft something overly complicated.
Next, carefully outline your design using a carving knife or chisel. Take your time and focus on getting clean, precise lines. As you begin to carve deeper, remember to follow the contours of your drawn design. Use different chisels to create texture and depth, experimenting with how light interacts with your piece.
Essential Tools Enhance Carving
Gathering the right tools, like chisels and carving knives, is crucial for achieving precise and intricate designs.
Once your design is complete, finish your wall hanging by sanding it down for a smooth surface. You can then paint or stain it, depending on your vision. Finally, hang your masterpiece on the wall and enjoy the pride of having created a unique piece of art that brightens up your space.
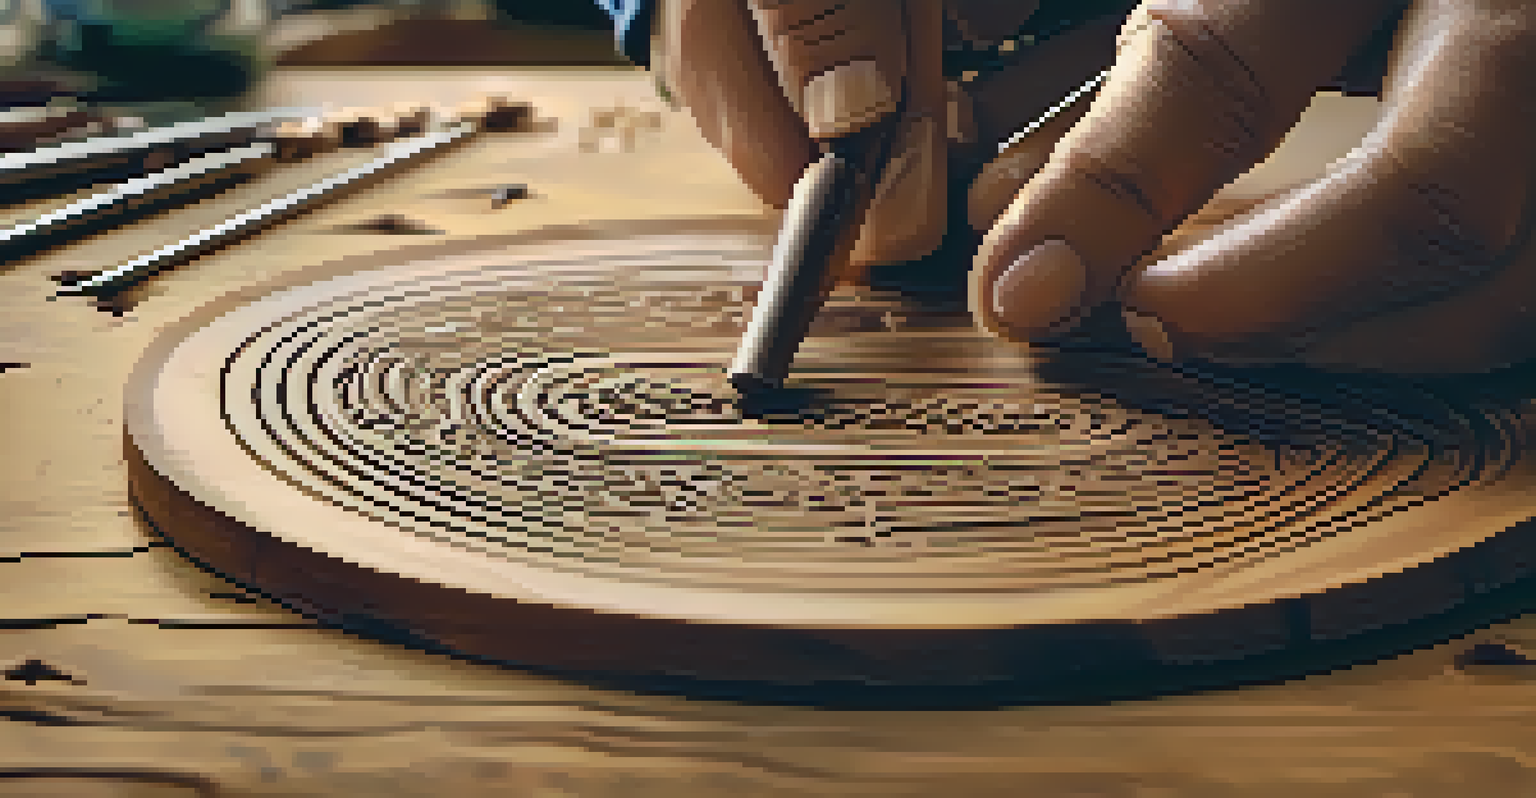
Creating Custom Wooden Coasters: A Fun Project
Wooden coasters are not only practical but also a fun way to showcase your carving skills. To start, gather some wooden slices—these can be cut from branches or purchased from craft stores. Choose a size that suits your needs, typically around 4 inches in diameter is ideal for drinkware.
Once you have your wooden slices, sketch a design that reflects your personal style. This could range from intricate patterns to simple initials or symbols. Using a carving knife, carefully etch the design into the surface of the wood, taking care to maintain consistent depth.
After carving, you can finish your coasters by applying a food-safe sealant to protect them from moisture. This project not only enhances your home decor but also makes for perfect gifts for friends and family, adding a personal touch that store-bought coasters simply can’t match.
Incorporating Carved Elements into Furniture Design
Carving isn’t limited to standalone decor; it can also enhance your existing furniture. Adding carved elements to tables, chairs, or shelves can elevate their aesthetic appeal and make them truly one-of-a-kind. This is a great way to breathe new life into old furniture pieces that may be looking a little tired.
Consider adding a carved motif to the legs of a table or the backrest of a chair. Simple floral designs or geometric patterns can create a stunning focal point. If you’re feeling adventurous, you can even carve an entire tabletop or cabinet door to make a bold statement in your space.
Experiment with Materials
Choosing the right material, whether wood or soapstone, significantly impacts the final look of your carved decor pieces.
Remember, furniture carving requires a bit more precision and planning, so take your time with your designs. The end result will not only be functional but also a testament to your creativity and craftsmanship, turning ordinary furniture into extraordinary works of art.
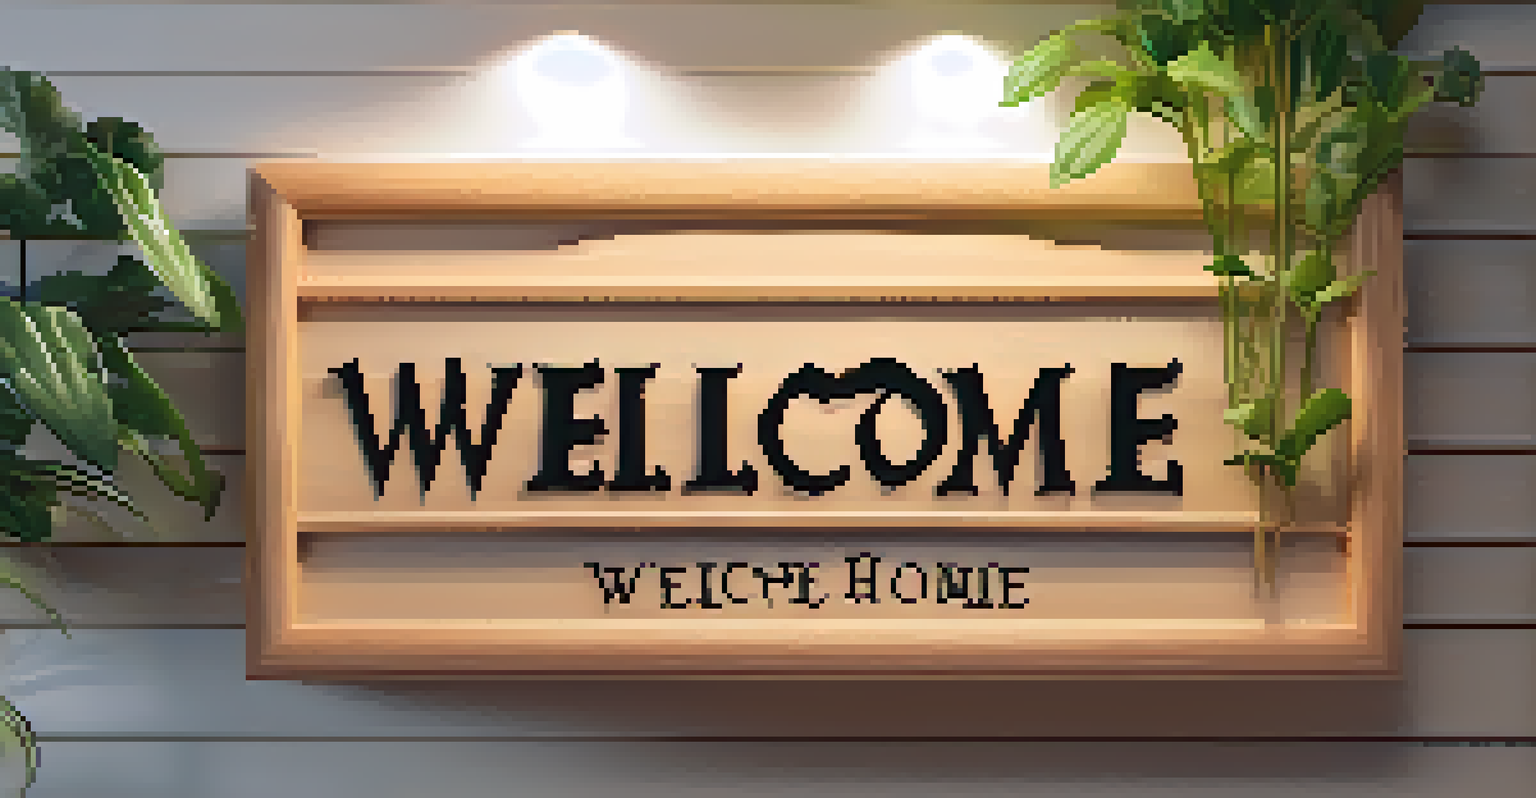
Personalizing Your Space with Carved Signs
Carved signs are a fantastic way to add a personal touch to your home. You can create everything from family name signs to directional signs for different rooms in your house, like 'Kitchen' or 'Game Room'. These signs are not only practical but also charming decor pieces that highlight your personality.
To start, choose a piece of wood and decide on your message. Sketch out the letters and design you want to carve. Using a chisel or a rotary tool, carefully carve out the letters, ensuring they’re deep enough to be visible. You can also add decorative elements around the text to enhance the sign’s look.
Once your sign is finished, paint or stain it to fit your decor style. Hang it in a prominent spot in your home, and enjoy the warmth and character it brings to your space. Personalized carved signs are sure to spark conversations and make guests feel at home.