Techniques for Repairing Damaged Carvings in Furniture
Assessing the Damage Before You Start Repairing
Before diving into repairs, it's crucial to assess the extent of the damage. Look closely at the carving to identify cracks, chips, or areas where the wood has splintered. Understanding the issue will guide you in choosing the right repair techniques.
The best way to predict the future is to create it.
Take photos of the damage for reference and note any missing pieces that may need to be replaced. This step is vital not just for your planning, but it also helps you realize if the project is manageable or if it requires professional help.
Remember, a thorough assessment sets the foundation for a successful repair. By knowing exactly what you're dealing with, you can avoid potential pitfalls and ensure a smoother restoration process.
Gathering the Right Tools and Materials
Once you've assessed the damage, it's time to gather the necessary tools and materials. Common items include wood glue, clamps, fine sandpaper, and wood filler. Having everything on hand will save you time and frustration during the repair.
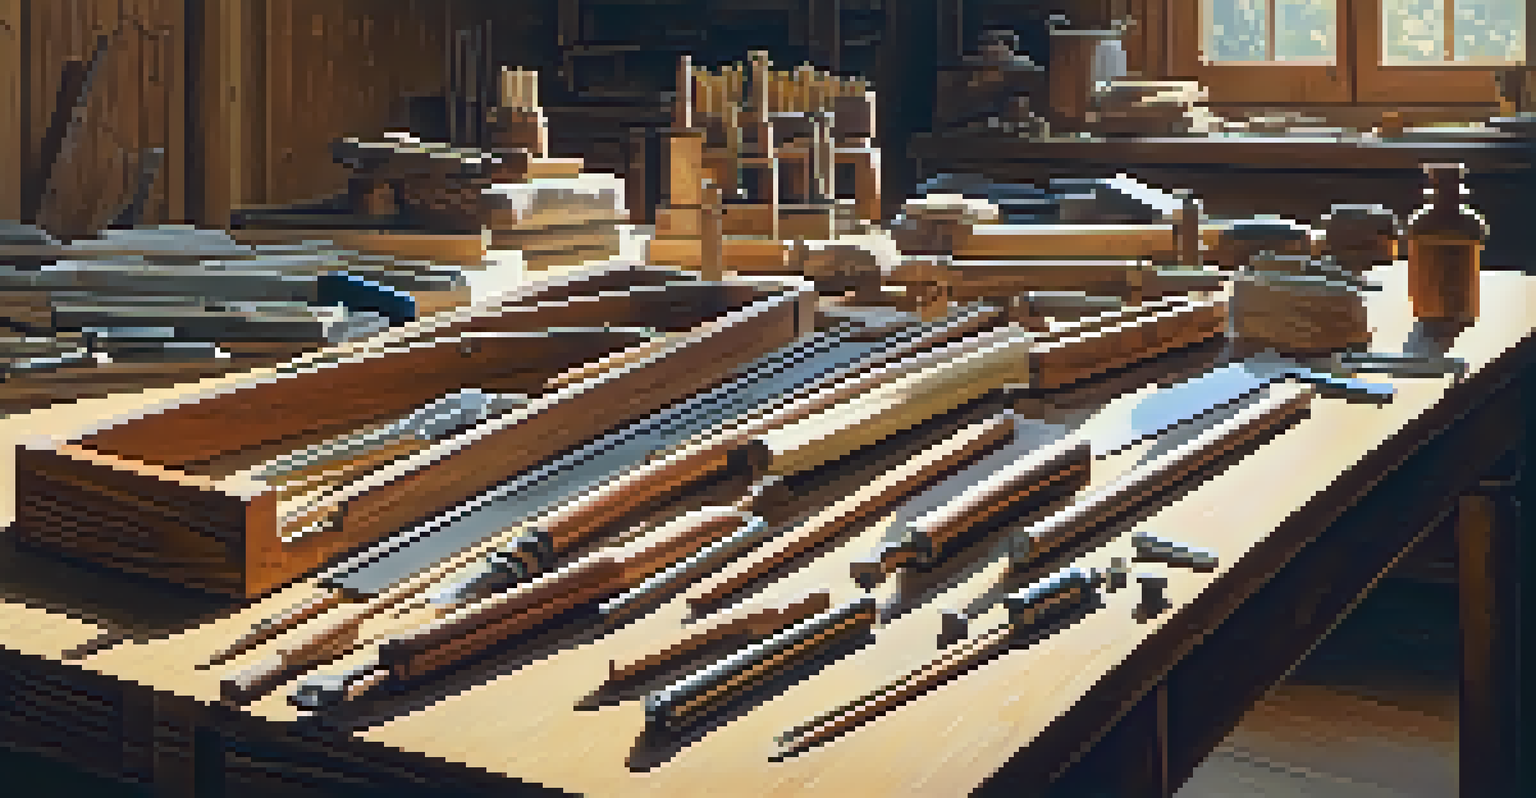
If you're dealing with intricate carvings, specialized tools like chisels or carving knives may be required. Invest in quality tools, as they make the repair process easier and yield better results. Don't forget a good finish or stain to match your furniture afterward.
Assess Damage Before Repairs
Thoroughly evaluating the damage is essential for determining the right repair techniques and whether professional help is needed.
Consider creating a small toolkit dedicated to furniture repairs. This way, you'll always be prepared for touch-ups, making it easier to maintain your furniture's beauty over time.
Cleaning the Area of Damage Thoroughly
Before starting any repairs, clean the area around the damage. Dust, dirt, or old finishes can hinder the effectiveness of your repair materials. Use a soft cloth and a mild cleaner to gently wipe the area without causing further damage.
Every piece of furniture has a story, and repairing it is just another chapter.
Make sure to dry the area completely before applying any glue or filler. Moisture can interfere with the adhesion and compromise the repair. A clean and dry surface is essential for ensuring that your repairs will last.
Taking the time to properly clean the damaged area will pay off in the long run. You'll create a solid base for your repairs and improve the overall appearance of the furniture.
Applying Wood Glue for Small Cracks and Chips
For small cracks or chips in the carving, wood glue is often the best solution. Apply a thin layer of glue into the crack, ensuring it fills the space completely. Use a small brush or a toothpick for precision, especially in intricate areas.
Once the glue is applied, gently clamp the area to hold it in place while it dries. This pressure is crucial, as it helps the glue bond the wood fibers together more effectively. Follow the manufacturer's instructions for drying times to ensure a strong repair.
Use Appropriate Repair Materials
Gathering the right tools and materials, such as wood glue and filler, is crucial for effectively restoring your furniture.
After the glue has dried, you can lightly sand the area to blend it with the surrounding wood. This not only smooths out any rough edges but also prepares the surface for finishing touches like stain or varnish.
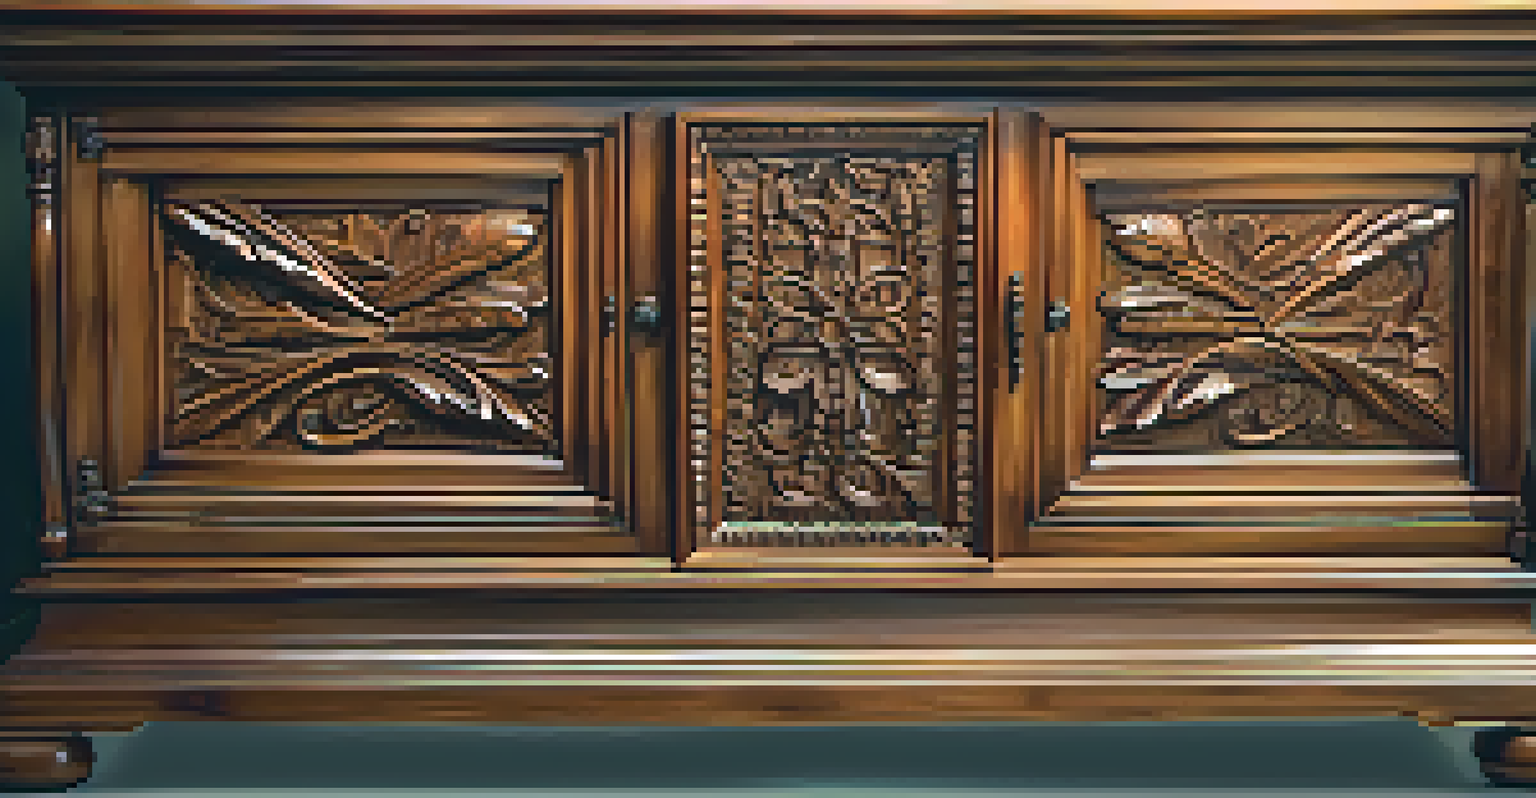
Using Wood Filler for Larger Missing Sections
In cases where larger sections of the carving are missing, wood filler is your best friend. Choose a filler that matches the color of your wood as closely as possible. Apply it with a putty knife, pressing it firmly into the missing areas.
Once the filler is in place, allow it to dry as per the instructions on the product. After it's fully cured, you can sand it down to achieve a smooth finish that matches the surrounding area. This step is essential to maintain the integrity of the carving.
After sanding, you may want to stain or paint the filled area to ensure it blends seamlessly with the rest of the furniture. This final touch can make all the difference in achieving a polished, professional look.
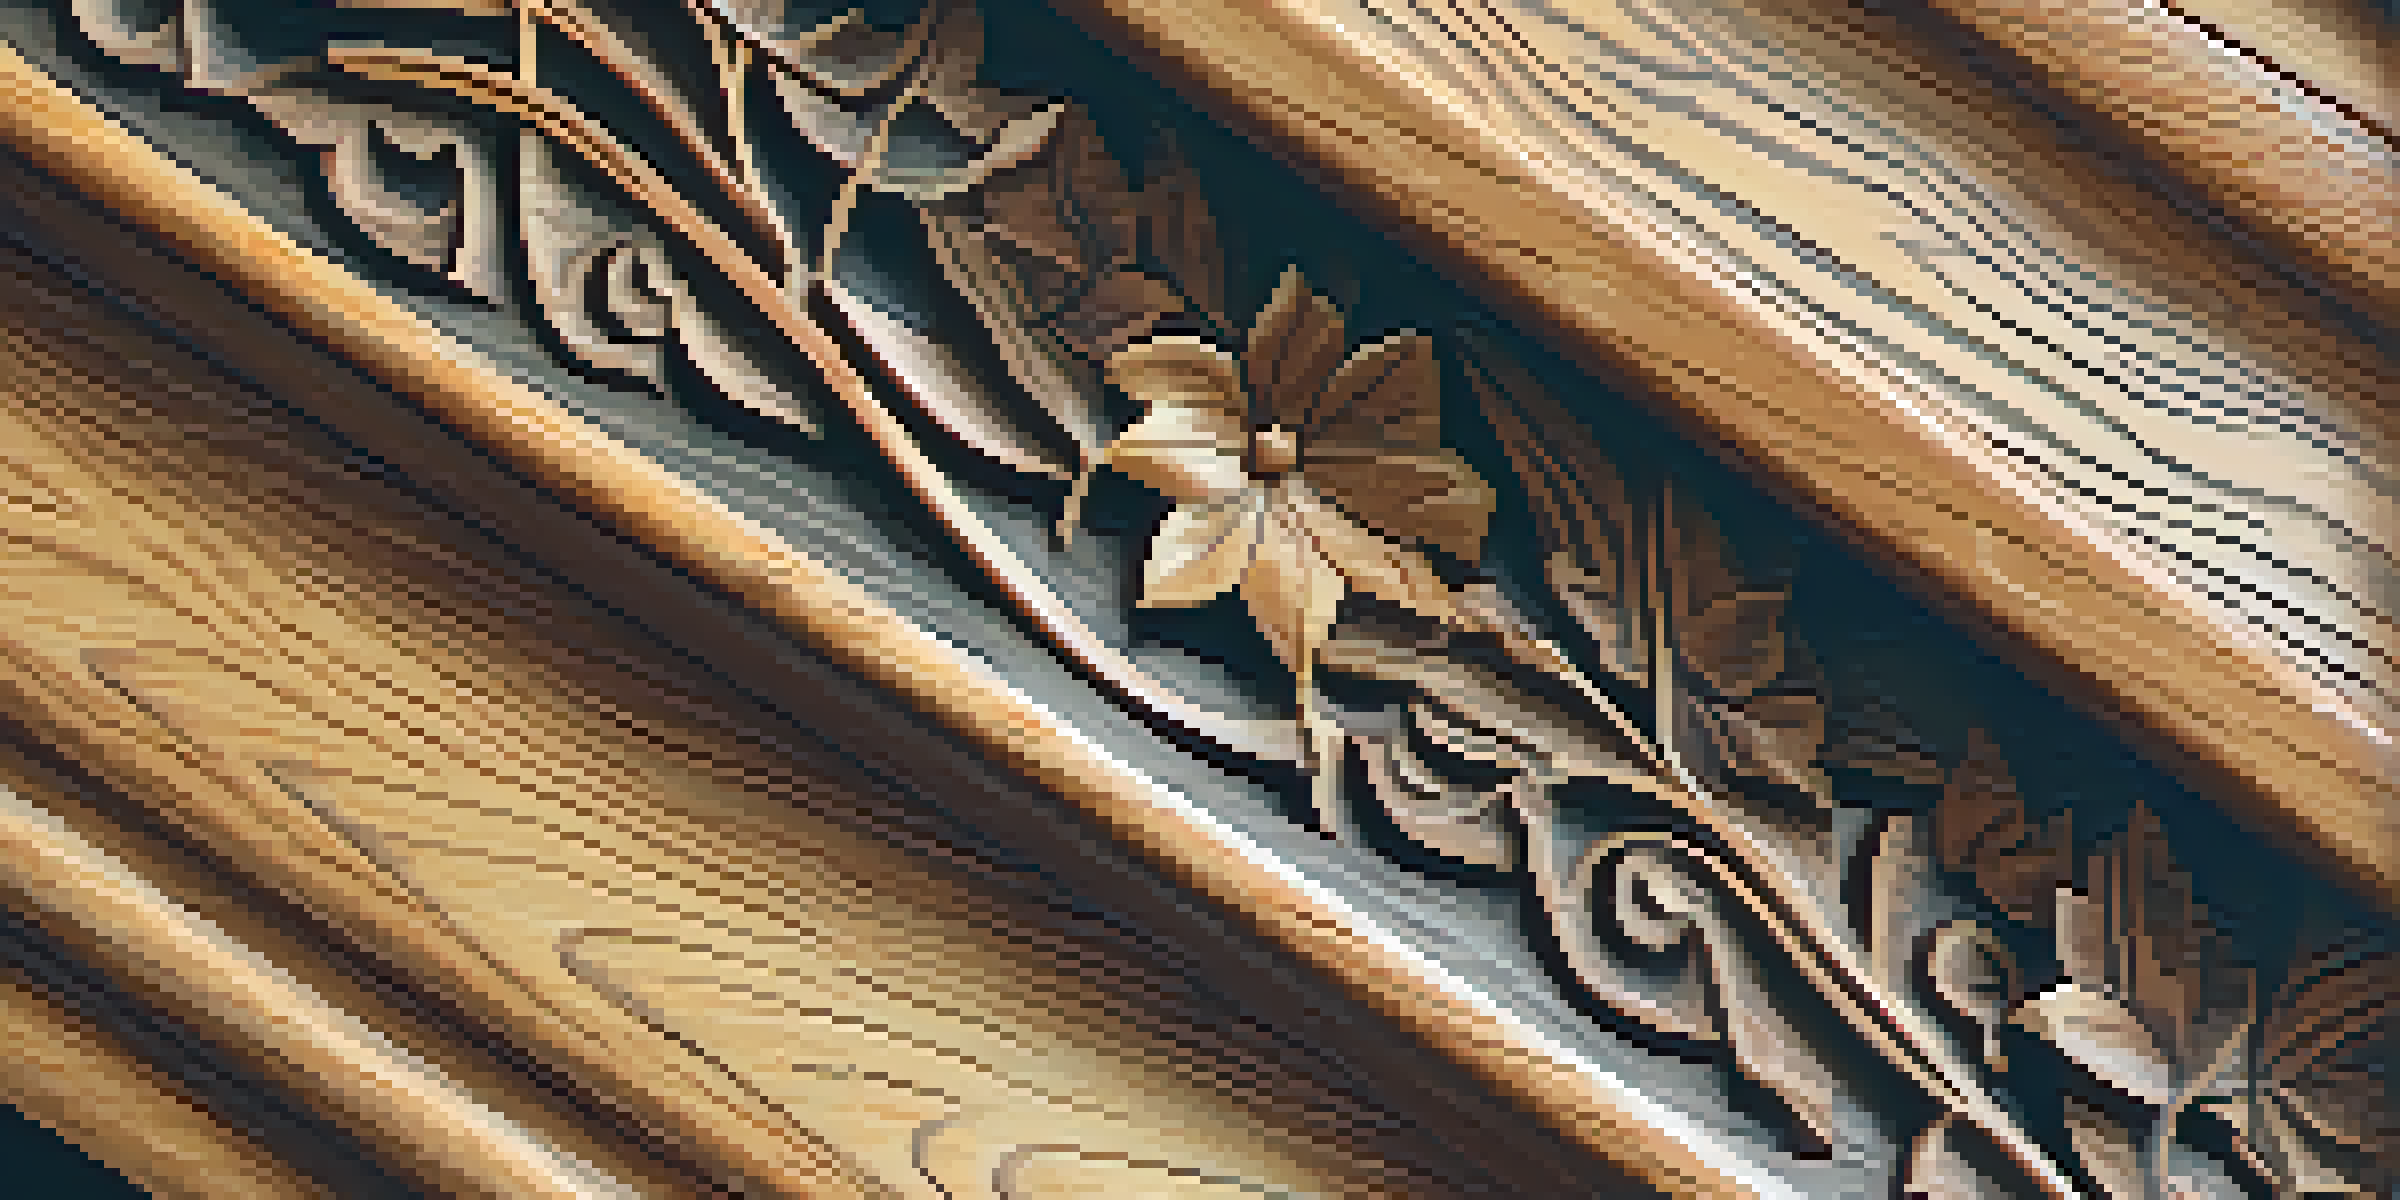
Restoring Details with Carving Tools
For intricate carvings that need detailed restoration, having the right carving tools is essential. Use chisels or gouges to carefully recreate lost details. This requires a steady hand and a keen eye, but with practice, you can achieve impressive results.
Start by sketching out the missing areas with a pencil, providing a guide for your carving. Take your time, and don’t rush—precision is key. If you're unsure, consider practicing on a scrap piece of wood before tackling the actual furniture.
Finishing Touches Matter
Applying a protective finish and ensuring color consistency enhances the overall appearance and durability of your repairs.
Once you’ve restored the details, it may be necessary to sand the area lightly again and apply a finish to protect your work. This step ensures that your restoration not only looks good but lasts for years to come.
Finishing Touches to Enhance the Repair
After all repairs are complete, it’s time for the finishing touches. Applying a clear coat or varnish can protect the wood and enhance its beauty. Choose a finish that matches the original sheen of your furniture for a cohesive look.
If you've stained any repaired areas, make sure to blend them well with the surrounding wood. Sometimes, multiple coats may be necessary to achieve a uniform color and shine. Take your time with this process for the best results.
Finally, consider placing your furniture in a location that avoids direct sunlight to prevent future damage. With these finishing touches, your beautifully restored carvings will be a source of pride in your home.