Creating Intricate Patterns Using Chip Carving Techniques
Understanding the Basics of Chip Carving Techniques
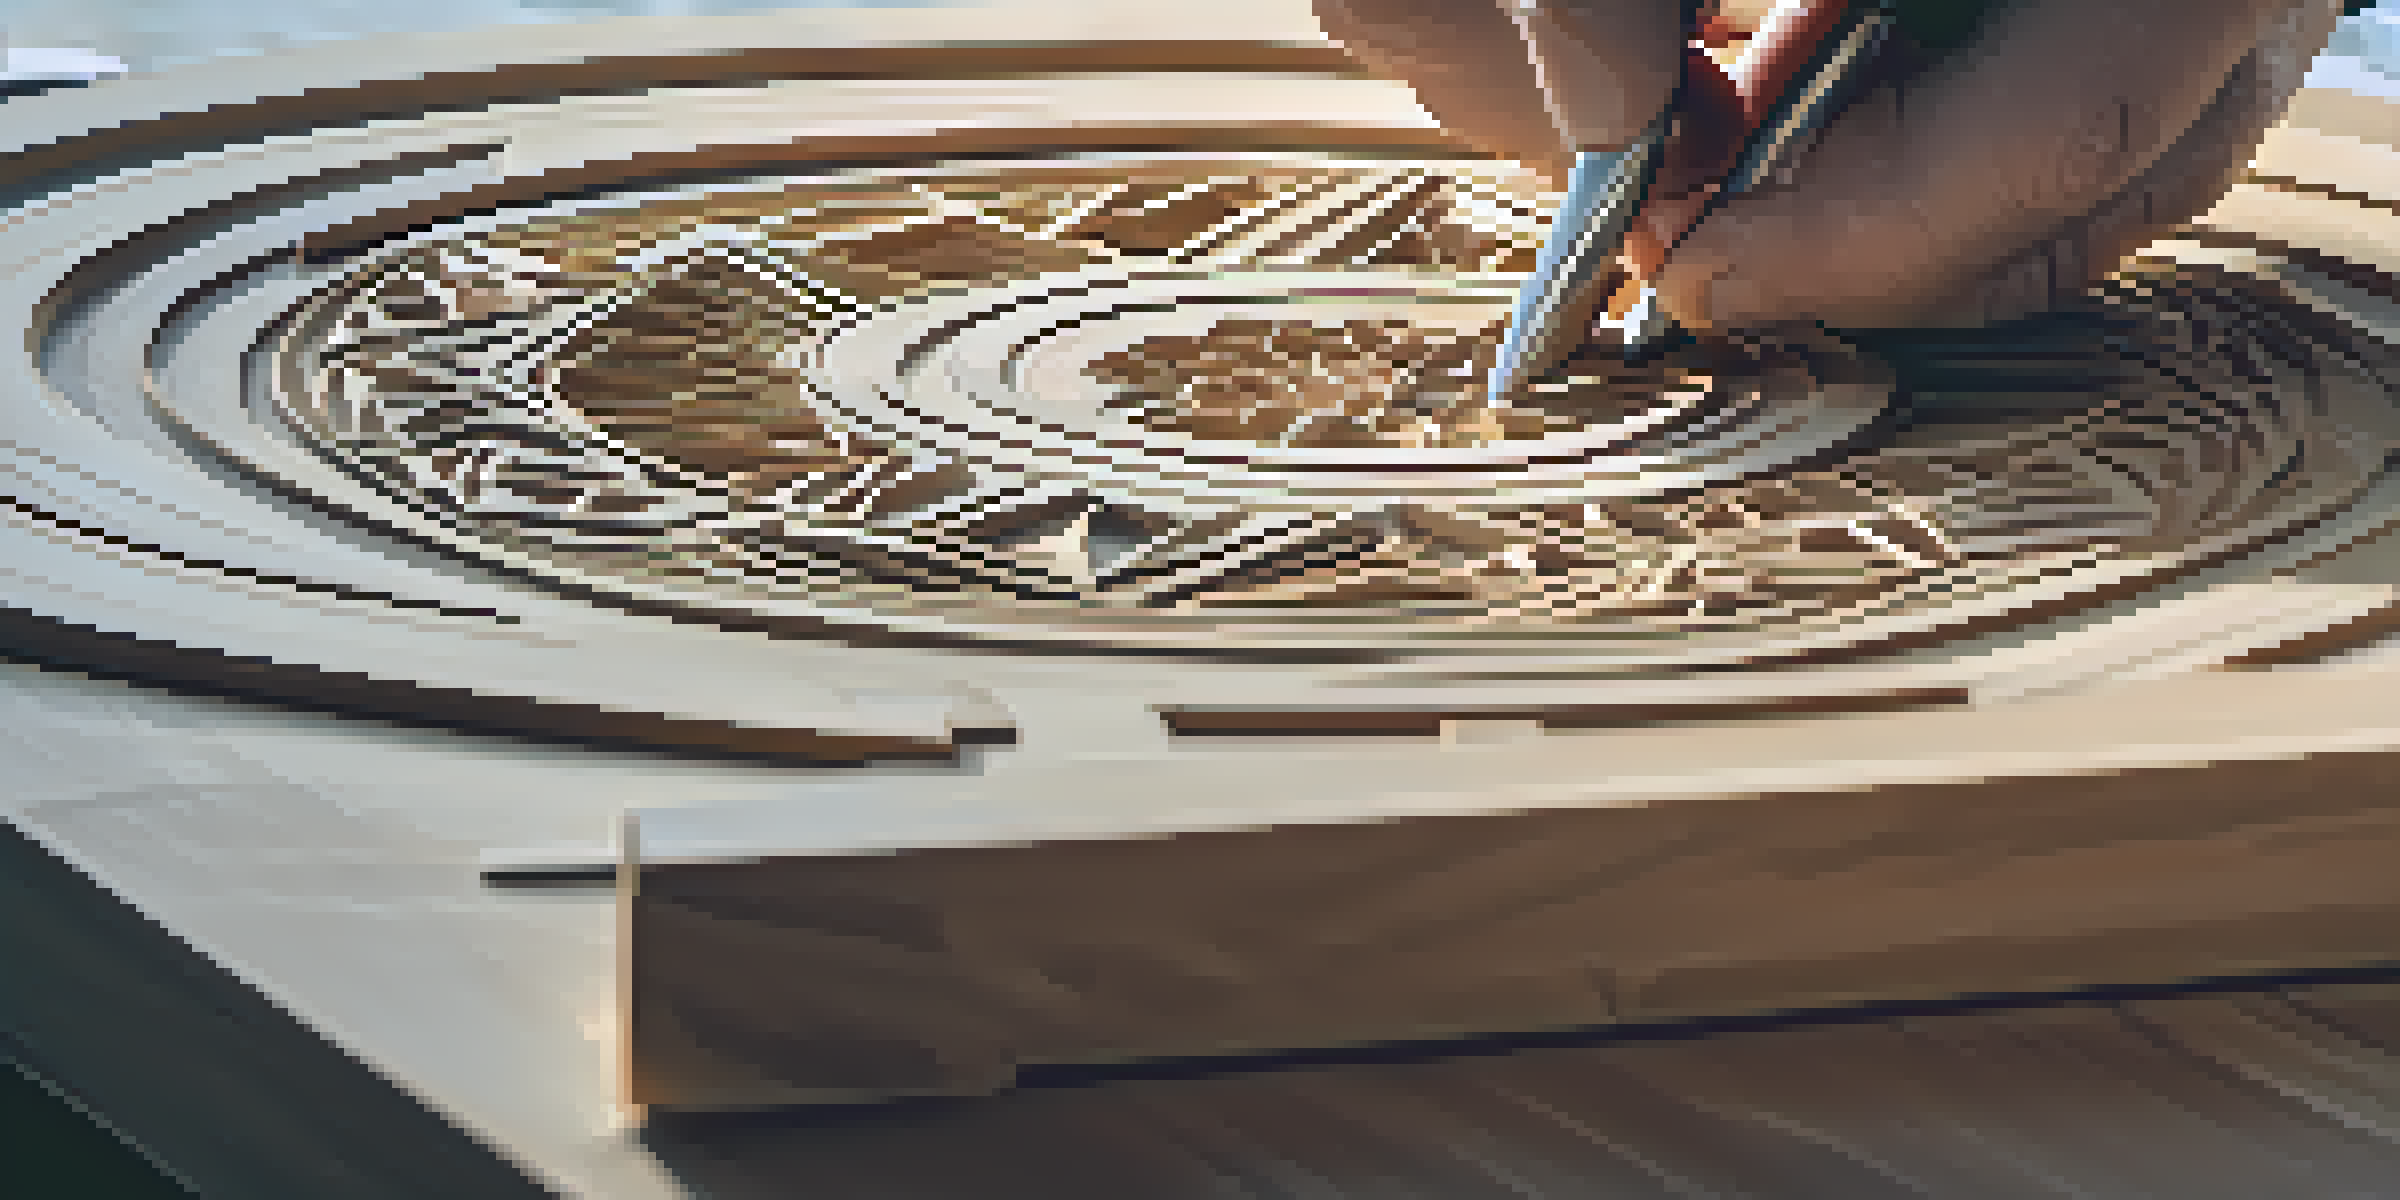
Chip carving is a unique form of woodworking that involves removing chips of wood to create intricate designs. This technique dates back centuries and is often used to adorn furniture, decorative items, and even architectural elements. It's approachable for beginners, yet offers endless possibilities for seasoned artisans.
The wood is the master of the carver; the carver is merely the servant of the wood.
At its core, chip carving uses a sharp knife to make precise cuts, allowing the carver to create detailed patterns. The beauty of this craft lies in its simplicity; with just a few tools and some practice, anyone can start carving. A few basic techniques can yield stunning results, making it a rewarding hobby.
As you dive deeper into chip carving, you'll find that understanding the grain of the wood is crucial. Different woods react differently to carving, and knowing which type to choose can enhance your designs. Popular choices include basswood and butternut, known for their workability and smooth finishes.
Essential Tools for Successful Chip Carving
To get started with chip carving, you'll need a few key tools. The most important is a chip carving knife, designed specifically for making precise cuts. Additionally, a cutting board or carver's bench can provide stability while you work, ensuring safety and accuracy.

Other useful tools include a V-tool for creating outlines and a small gouge for adding depth to your designs. While some might think that more tools mean better results, a few quality tools in the right hands can produce exceptional work. The focus should always be on mastering your technique.
Start with Basic Chip Carving Skills
Begin your chip carving journey by mastering simple geometric patterns to build confidence and technique.
Don't forget about safety equipment! A glove for your non-dominant hand can help prevent accidents, while a good eye for detail ensures you stay focused. Proper care and maintenance of your tools will also prolong their lifespan, allowing you to enjoy your carving journey for years to come.
Choosing the Right Wood for Chip Carving
Selecting the right wood is a critical step in the chip carving process. Softer woods like basswood and pine are ideal for beginners due to their ease of carving. These woods allow for clean cuts and are forgiving if you make a mistake.
Every piece of wood has a story. The carver just reveals it.
As you gain experience, you might want to experiment with harder woods, which can provide a different aesthetic and texture. However, they require more skill and patience to carve. The key is to start with what feels comfortable and gradually challenge yourself as you improve.
It's also essential to prepare your wood correctly. Make sure it's free from knots and imperfections that can disrupt your design. Sealing or finishing your wood before carving can also enhance the final look of your patterns, making your work even more impressive.
Basic Patterns to Start Your Chip Carving Journey
When beginning your chip carving adventure, it’s best to start with simple patterns. Geometric shapes, like triangles and squares, can help you develop your skills and get comfortable with your tools. As you grow more confident, you can move on to more complex designs.
Consider practicing on scrap pieces of wood before committing to your final project. This allows you to experiment without the fear of ruining your work. Over time, you’ll find your unique style as you adapt and combine different patterns.
Choose the Right Wood for Carving
Selecting softer woods like basswood is essential for beginners, as they allow for clean cuts and easier handling.
Remember, there’s no rush to achieve perfection. Each carve is a step in your journey, and even small imperfections can add character to your work. Embrace the learning process, and soon you’ll be creating intricate patterns that showcase your skills.
Tips for Achieving Clean and Precise Cuts
Achieving clean and precise cuts in chip carving requires practice and technique. One of the most important tips is to maintain a steady hand and a consistent angle while carving. This not only improves the quality of your work but also helps prevent accidents.
Taking your time is crucial; rushing can lead to mistakes that may be difficult to correct. Focus on one section at a time, and don’t hesitate to pause and assess your progress. Patience is key in developing your carving skills, and it will pay off in the long run.
Lastly, keep your tools sharp! Dull blades can cause frustration and uneven cuts, which can ruin your designs. Regularly honing your knife will ensure it performs optimally, allowing you to carve with confidence and ease.
Incorporating Color and Finishing Techniques
Adding color to your chip carving can elevate your designs and give them a personal touch. You can use wood stains or paint to enhance the beauty of your patterns. Experimenting with different hues can lead to unexpected and delightful results.
Finishing techniques, such as sanding and sealing, are also essential for protecting your work. A good finish not only enhances the visual appeal but also ensures durability, especially for pieces that will be used frequently. Take the time to learn about different finishes and their applications.
Incorporate Color and Finishing
Adding color and using finishing techniques can enhance your designs, making each piece uniquely yours.
Don’t be afraid to get creative with your colors and finishes. Every piece you create is an opportunity to express your style, making each project uniquely yours. Remember, the goal is to enjoy the process and let your creativity shine.
Finding Inspiration for Your Chip Carving Projects
Inspiration for your chip carving projects can come from various sources. Nature is a fantastic muse—look at the patterns found in leaves, flowers, and even tree bark. These organic designs can provide a beautiful foundation for your own creations.
Online platforms, such as Pinterest or Instagram, offer endless ideas and tutorials from fellow carvers. Joining online communities or local carving clubs can also foster inspiration and provide support as you share your work with others. Learning from peers can spark new ideas and techniques.

Lastly, don’t forget to draw from your own experiences and interests. Consider incorporating elements that reflect your personality or heritage into your patterns. The more personal your work feels, the more meaningful and satisfying the creative process will be.