Mastering Relief Carving: Patterns and Textural Effects
Introduction to Relief Carving Techniques
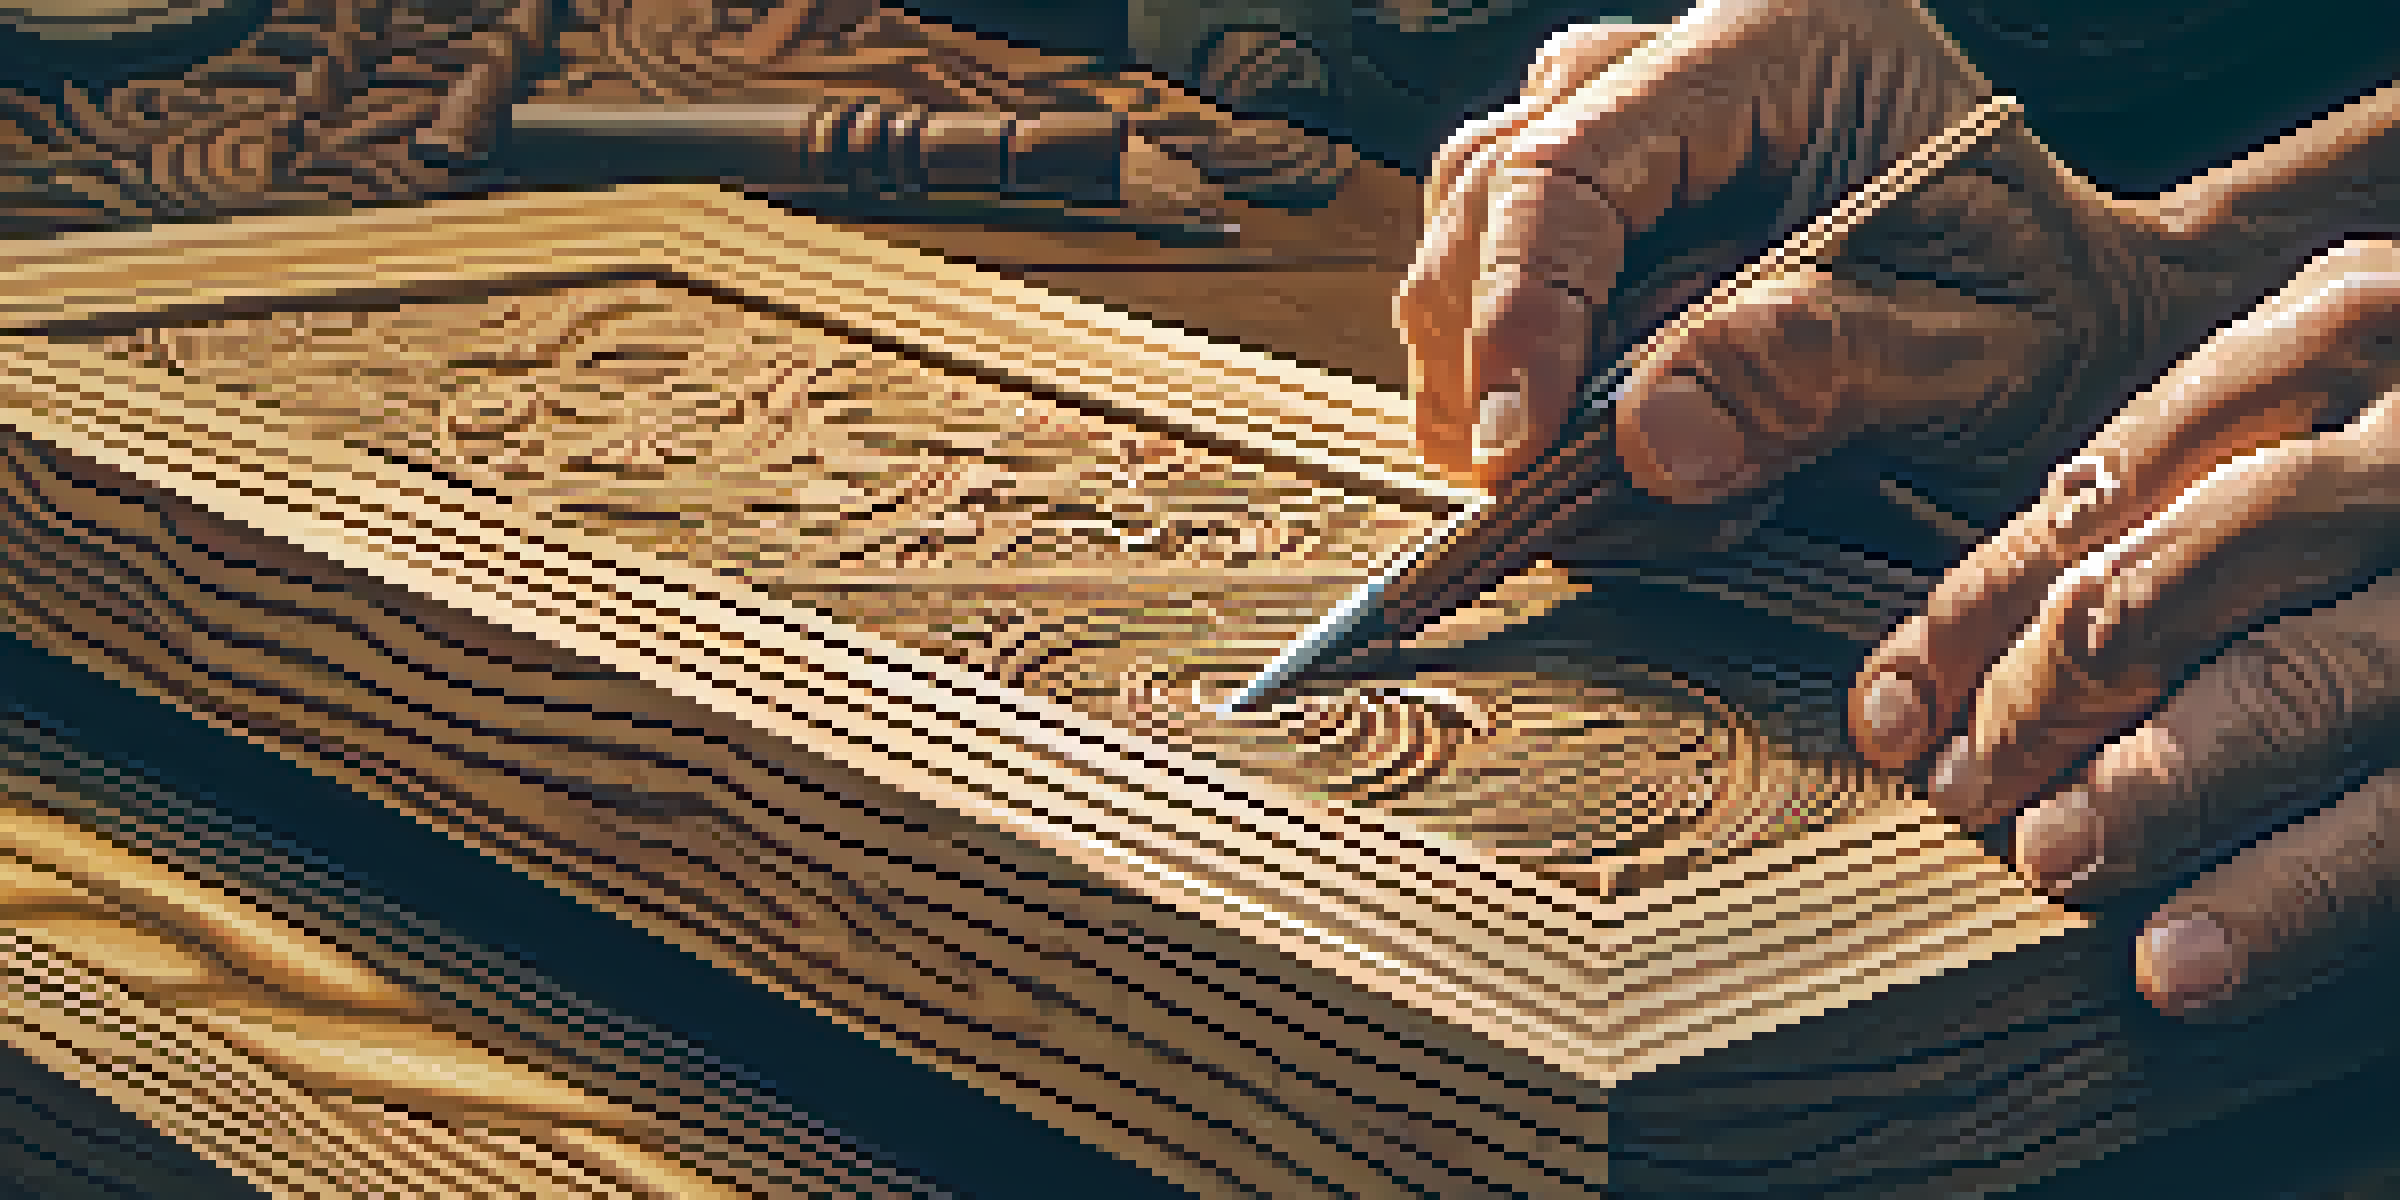
Relief carving is an art form that transforms flat surfaces into stunning three-dimensional pieces. By removing material from a solid block, artists can create intricate designs that have depth and character. This technique is not only visually appealing but also allows for a dynamic interaction between light and shadow, enhancing the overall aesthetic.
Every artist dips his brush in his own soul, and paints his own nature into his pictures.
Whether you are a beginner or have some experience, understanding the basics of relief carving is essential. It involves careful planning, precision, and creativity to bring your vision to life. The beauty of relief carving lies in its versatility; you can create everything from simple patterns to complex scenes that tell a story.
In this article, we will explore various patterns and textural effects that you can apply to your relief carvings. From choosing the right tools to mastering advanced techniques, you’ll find valuable insights that will help you elevate your work and express your artistic style.
Essential Tools for Relief Carving
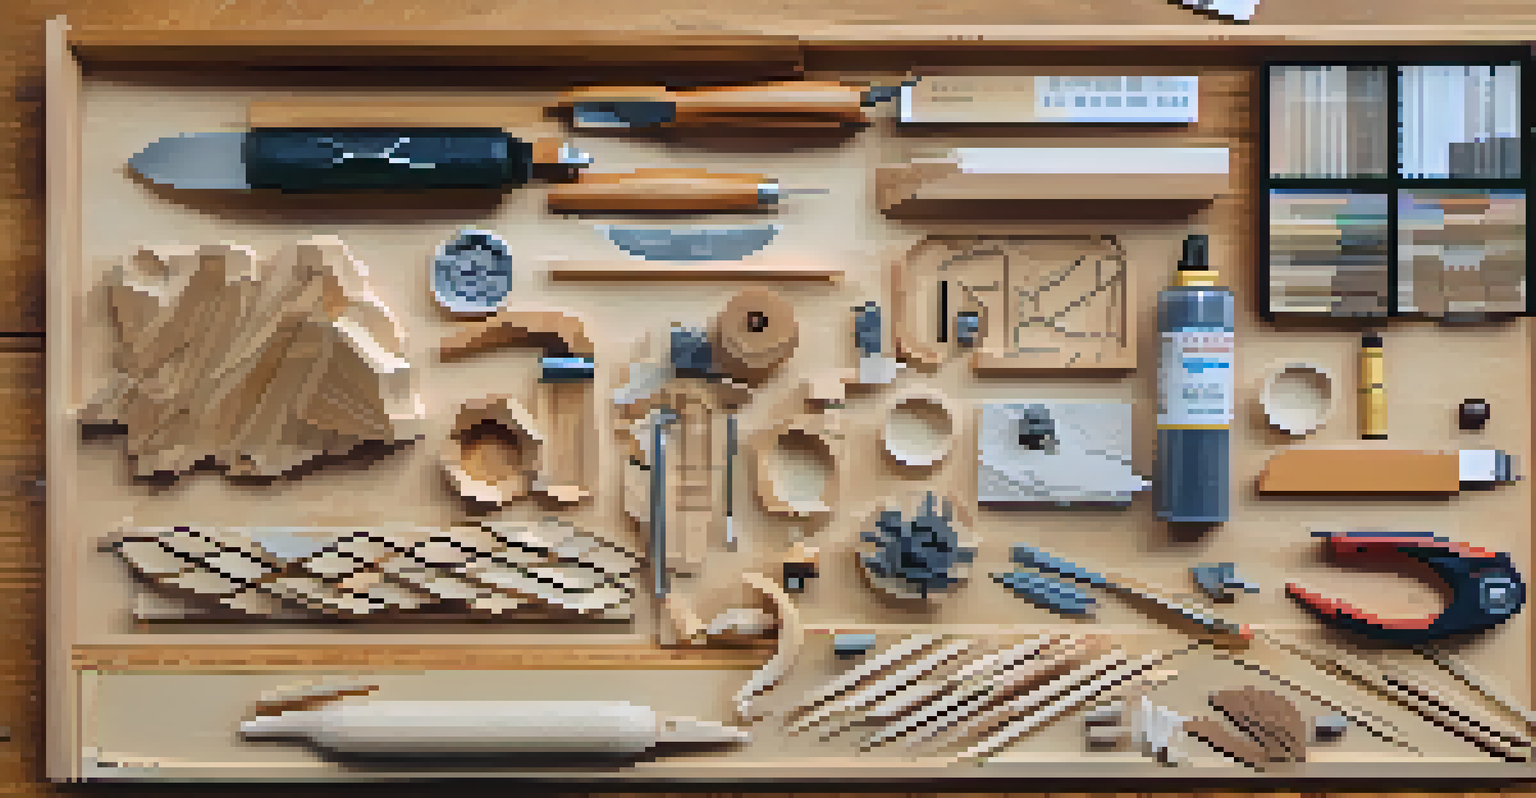
To embark on your relief carving journey, having the right tools is crucial. Basic tools include chisels, gouges, and knives, each serving a unique purpose in shaping the wood. A set of quality carving tools can make a significant difference in your work, enabling you to achieve the desired precision and detail.
In addition to traditional hand tools, power tools can also be beneficial. For instance, rotary tools can speed up the removal of material and help create intricate designs with ease. However, it's important to practice with these tools, as they can be more challenging to control than their hand-held counterparts.
Importance of Tool Selection
Using the right tools, including chisels and safety gear, is crucial for achieving precision and ensuring safety in relief carving.
Don’t forget about safety equipment! Carving can be risky, so wearing gloves, goggles, and a dust mask is essential to protect yourself. Investing in the right tools and safety gear will set a solid foundation for your relief carving projects.
Choosing the Right Wood for Carving
The type of wood you select can greatly influence the outcome of your relief carving. Softwoods like pine or cedar are often easier for beginners, allowing for smoother cuts and less fatigue. However, hardwoods such as oak or walnut provide a more durable finish and can showcase intricate details beautifully.
Art is not freedom from discipline, but disciplined freedom.
When choosing wood, consider the grain and texture as well. A tight, straight grain will yield cleaner cuts, while a more textured grain can add interesting effects to your work. It’s also wise to inspect the wood for knots or defects that could complicate your carving process.
Ultimately, personal preference plays a significant role in your choice of wood. Experimenting with different types will help you discover which ones resonate with your style and techniques, leading to stunning results in your relief carvings.
Planning Your Relief Carving Design
Before you start carving, having a clear design plan is essential. Sketching your design on paper or directly onto the wood can help you visualize the final piece. Consider the proportions, depth, and how different elements will interact with one another, as this will guide your carving process.
It’s also helpful to think about the textures and patterns you want to incorporate. For example, smooth areas can contrast beautifully with rough textures, creating visual interest. Planning these elements in advance will ensure your carving tells a cohesive story.
Choosing the Right Wood
Selecting the appropriate type of wood significantly impacts the carving process and final outcome, with personal preference playing a key role.
Don’t hesitate to seek inspiration from nature, art, or even other carvers. Gathering ideas and references can spark your creativity and lead to unique designs that reflect your artistic voice.
Techniques for Creating Patterns in Relief Carving
Creating patterns in relief carving can be a delightful challenge that adds depth and character to your work. Techniques like incising, stippling, and texturing can transform a simple design into a complex visual masterpiece. Each technique offers a different look and feel, so experimenting with various methods can yield exciting results.
For instance, incising involves making shallow cuts to create lines and shapes, while stippling adds texture through a series of small dots. Both techniques can be used in combination to enhance the overall design and create layers of interest.
As you practice, remember that mistakes are part of the learning process. Embrace them as opportunities to refine your skills and discover new ways to express your creativity in your relief carvings.
Adding Textural Effects for Depth and Interest
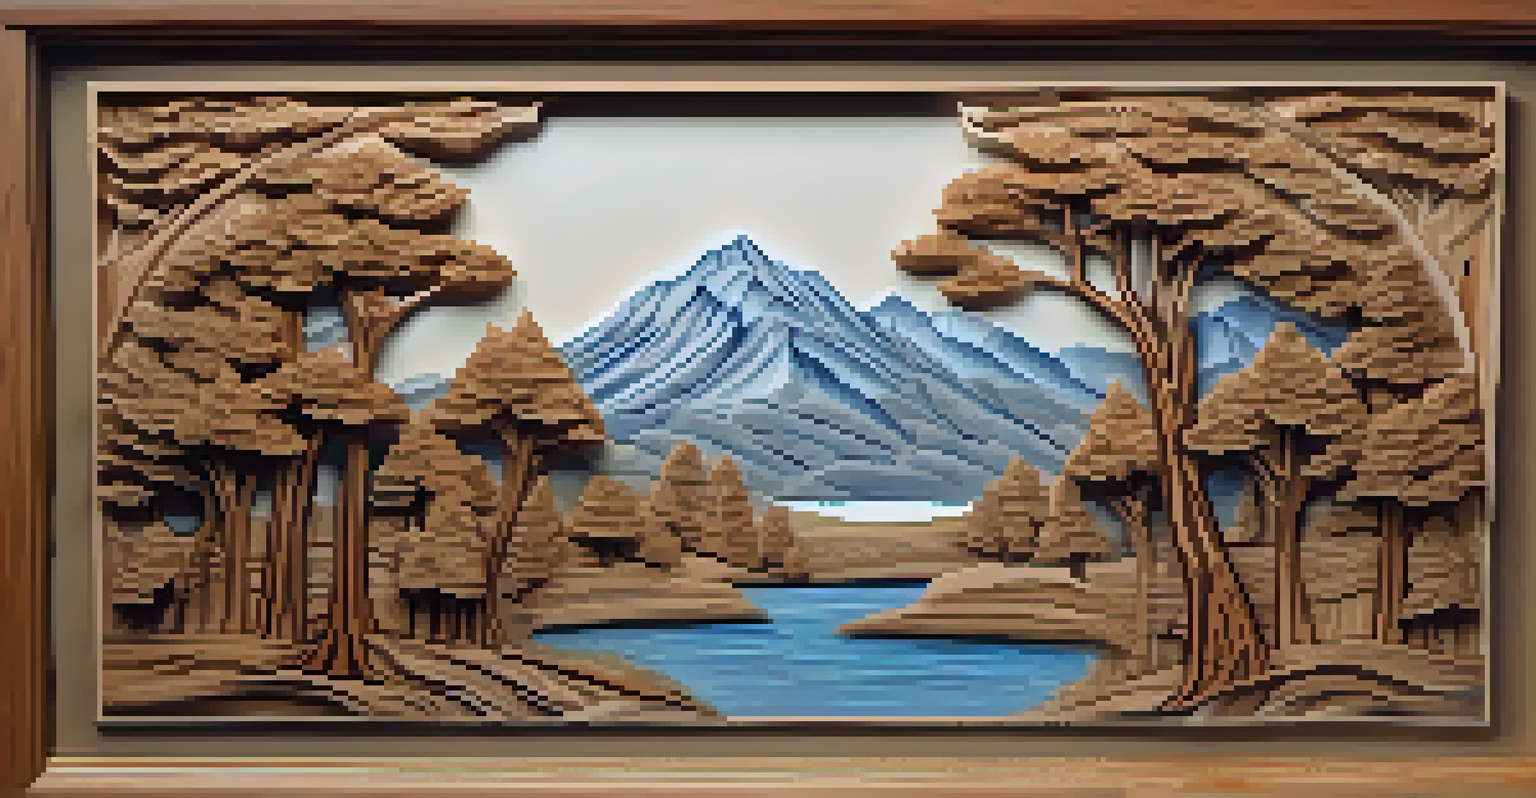
Textural effects can bring your relief carvings to life, adding depth and dimension that captivates viewers. Techniques such as carving grooves, layering materials, or applying different finishes can dramatically alter the appearance of your piece. By playing with texture, you can create a tactile experience that invites touch and interaction.
One effective method is to use varying levels of depth within your design. For example, areas that are carved deeper can create shadows, enhancing the three-dimensional aspect of your work. Combining shallow and deep cuts can also lead to striking contrasts that draw the eye.
Planning for Successful Designs
A clear design plan, including sketches and texture considerations, is essential to create cohesive and visually interesting relief carvings.
Experiment with different texturing tools as well, such as wire brushes or rakes, to create unique effects. The possibilities are endless, and finding your signature textural style can set your work apart.
Finishing Techniques for Your Relief Carving
Once you've completed your relief carving, the finishing touches can make all the difference. Sanding is an essential step to smooth out rough edges and prepare the surface for finishing. A well-sanded piece not only looks polished but also allows for better adhesion of stains or paints.
Applying a finish, such as varnish or oil, can enhance the natural beauty of the wood and protect it from wear. Consider the desired effect; a glossy finish can illuminate details, while a matte finish offers a more rustic feel. Testing different finishes on scrap wood can help you visualize the final look.
Finally, don’t forget to take a step back and evaluate your work. Sometimes, small adjustments or additional touches can elevate your carving from good to extraordinary, ensuring that you’re proud of your masterpiece.