Best Practices for Carving Softwood vs. Hardwood Safely
Understanding the Differences Between Softwood and Hardwood
Carving wood can be a rewarding hobby, but understanding the types of wood you’re working with is crucial. Softwoods, like pine and cedar, are generally easier to carve due to their lower density and softer texture. In contrast, hardwoods such as oak and maple are tougher and denser, requiring more effort and specific techniques.
The best preparation for tomorrow is doing your best today.
Each type of wood has its unique characteristics that influence how you should approach carving. For instance, softwoods tend to have straight grains that make them more forgiving for beginner carvers. Hardwoods, while beautiful and durable, may splinter or chip if not handled properly, so knowing these differences can help you choose the right tools and techniques.
By understanding these distinctions, you not only enhance your carving skills but also ensure your safety. Being aware of how each wood behaves will allow you to anticipate challenges and adapt your methods, leading to better results and a more enjoyable carving experience.
Essential Tools for Carving Softwood and Hardwood
Having the right tools is half the battle when it comes to carving wood safely and effectively. For softwood, basic carving knives, gouges, and chisels are often sufficient due to its softer texture. However, when working with hardwood, you may need additional tools like power saws or specialized blades that can tackle the increased density and toughness.
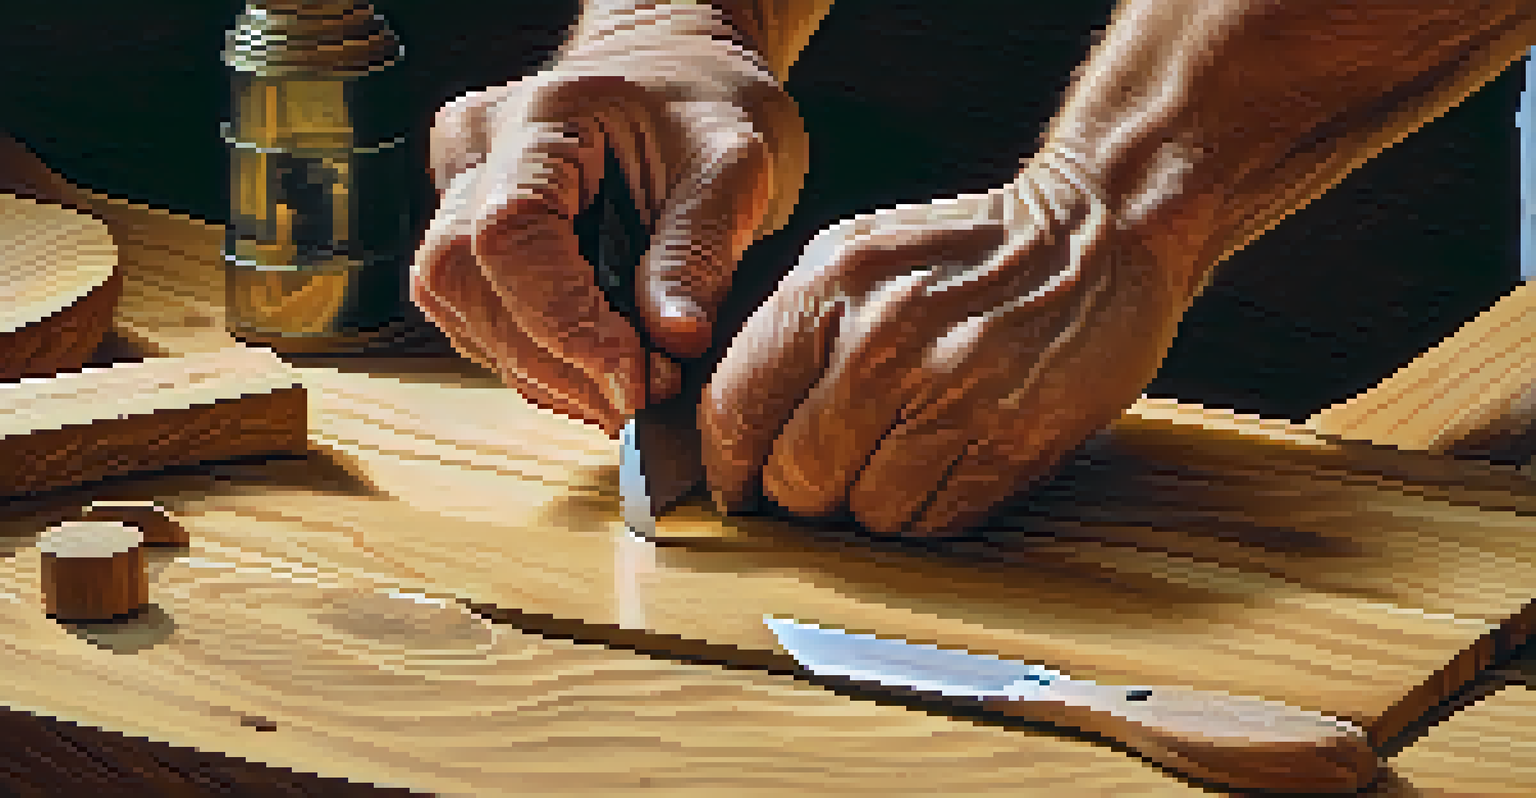
Quality matters just as much as the type of tools you choose. Investing in sharp, well-made tools will not only make your carving easier but also reduce the risk of accidents. Dull tools can slip and cause injuries, especially when working with hard materials that require more force.
Understanding Wood Types is Key
Knowing the differences between softwood and hardwood helps improve your carving skills and ensures safety.
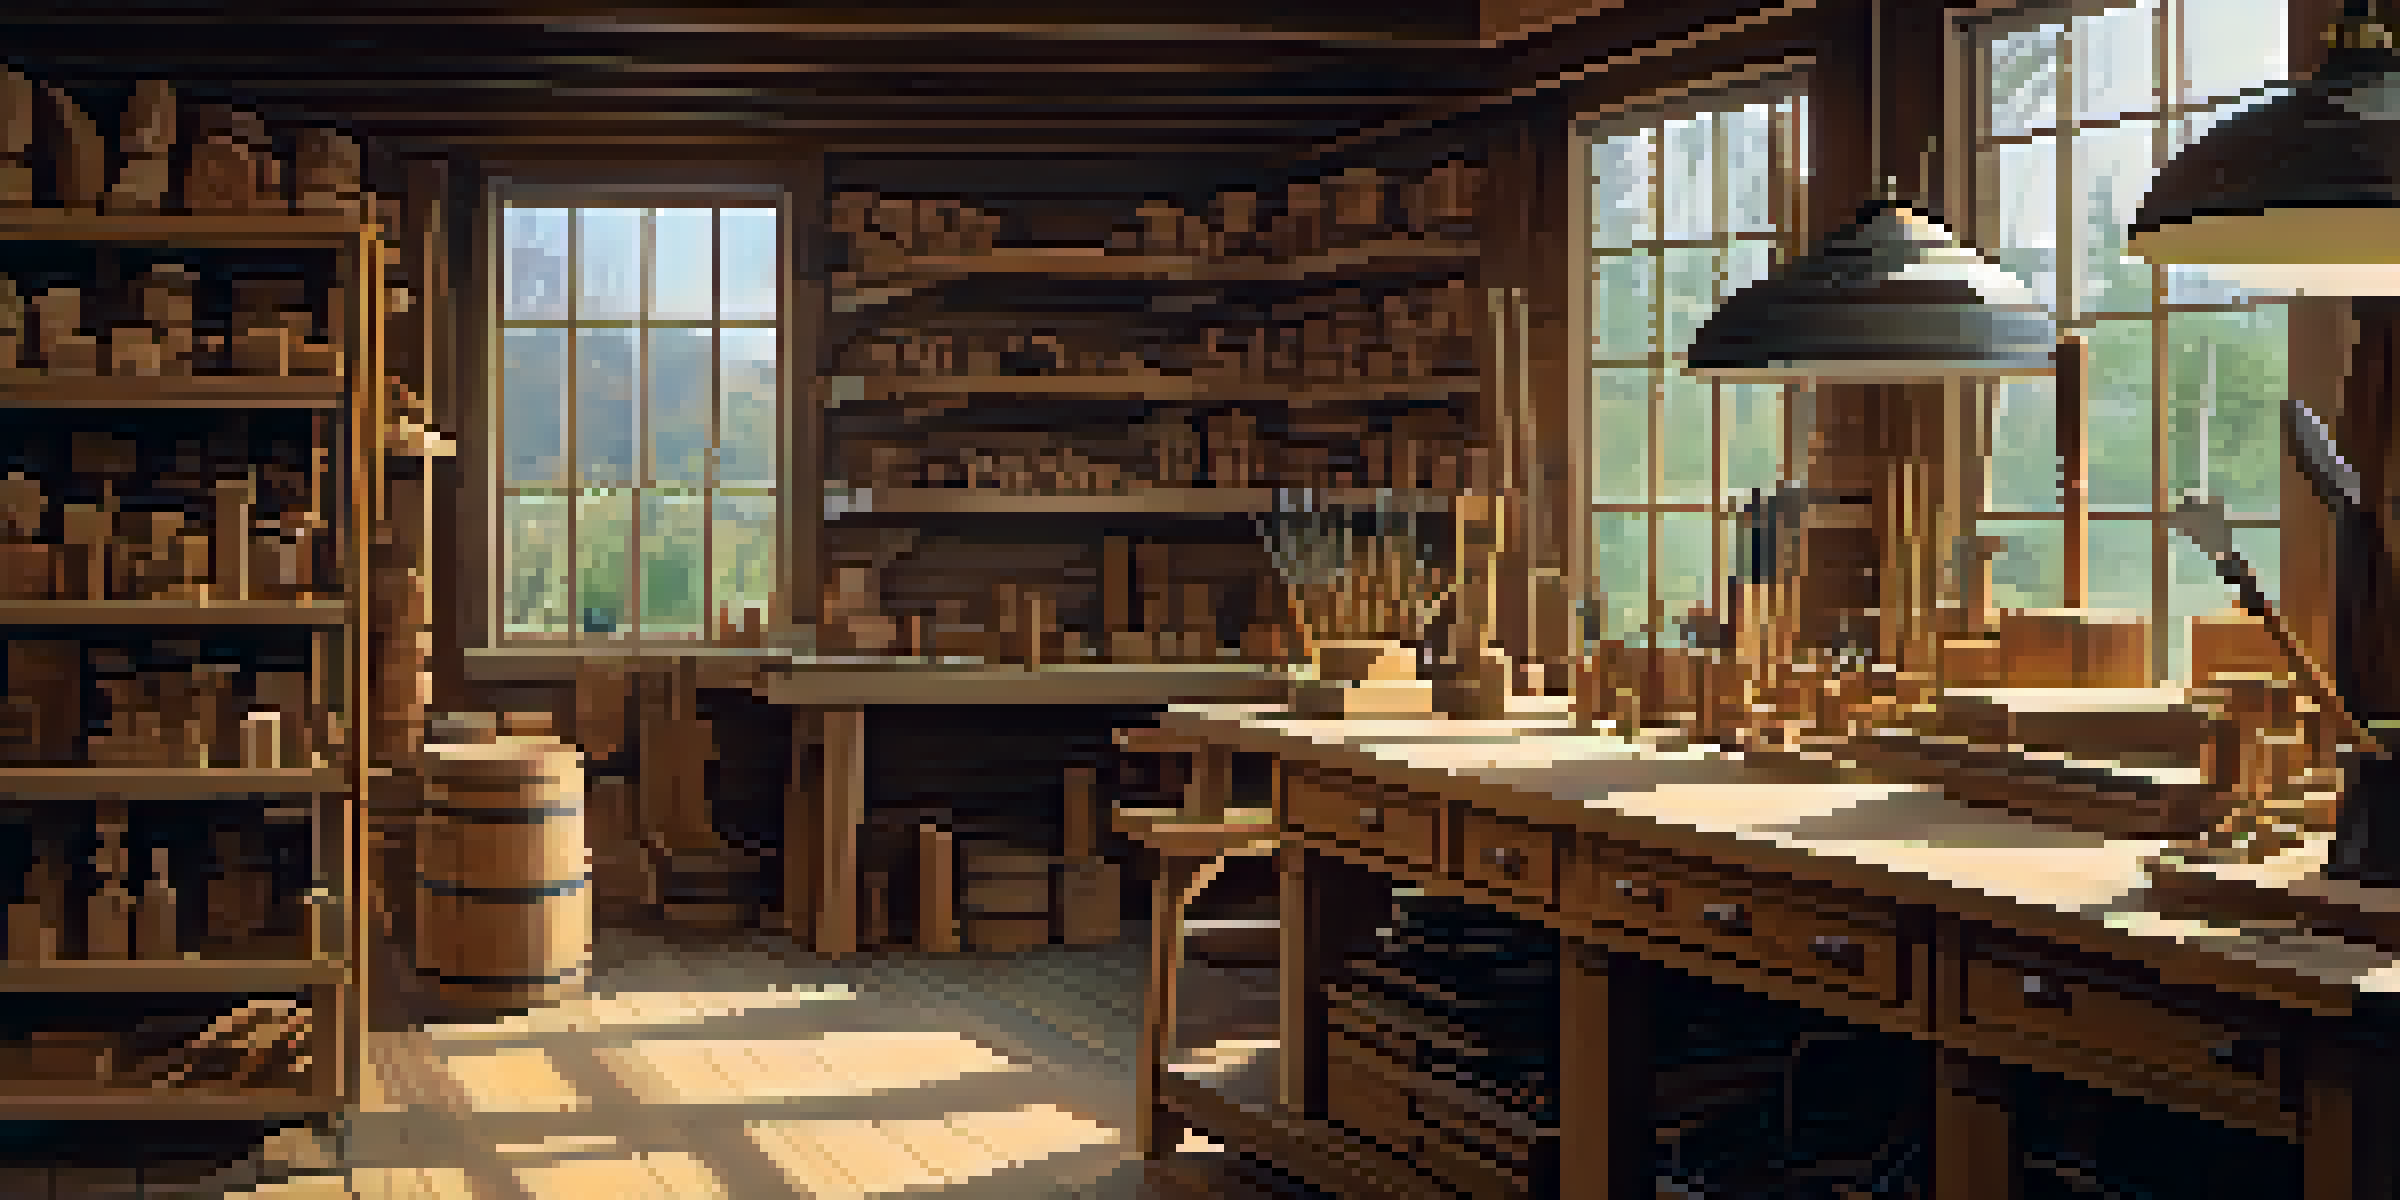
Additionally, consider your working environment. A well-organized space with proper lighting and safety gear like gloves and goggles will make your carving experience safer and more enjoyable, regardless of the wood type.
Safety Gear: Protecting Yourself While Carving
Safety should always be your top priority when carving, regardless of whether you’re using softwood or hardwood. Wearing protective gear, such as gloves and safety goggles, can prevent injuries from slips or flying debris. It’s an easy step that can make a big difference in keeping you safe.
Mistakes are a fact of life. It is the response to the error that counts.
Another important aspect of safety is maintaining a clean workspace. By keeping your area free of clutter and distractions, you can focus more on your carving and less on potential hazards. A tidy space also helps prevent accidents related to tripping or misplacing tools.
Lastly, always carve in a comfortable position. Whether sitting or standing, ensuring you have proper posture not only helps you carve better but also reduces strain on your body. Taking the time to set up your workspace and gear can go a long way in creating a safer carving experience.
Choosing the Right Techniques for Each Wood Type
Carving techniques can vary significantly between softwood and hardwood due to their differing properties. For softwoods, you might find success with basic cuts and simple designs since they are generally more forgiving. Techniques like whittling or relief carving are excellent choices for beginners, allowing for creativity without overwhelming challenges.
On the other hand, hardwoods often require more advanced techniques. It’s essential to have a clear plan and to work slowly, paying close attention to the grain. Techniques such as chip carving or intricate inlays can yield beautiful results but demand precision and patience.
Essential Tools Enhance Carving
Investing in the right tools for both softwood and hardwood is crucial for effective and safe carving.
Experimenting with different techniques on both types of wood can help you discover what works best for you. Don’t be afraid to practice and refine your skills; every carving experience, whether successful or not, contributes to your growth as a carver.
Preparing Your Wood for Carving: Key Steps
Before diving into your carving project, proper preparation of your wood is essential. Start by selecting a suitable piece of wood, ensuring it is free from knots or cracks that could complicate your carving. For softwoods, you may want to sand the surface lightly to create a smooth area to work on.
For hardwoods, preparation might involve cutting the wood to size and possibly soaking it in water to prevent cracking during the carving process. Ensuring that your wood is adequately prepared sets the stage for a smoother carving experience and better results.
Additionally, marking your design on the wood with a pencil can help guide your carving. It allows you to visualize the final piece and makes it easier to keep track of your progress, especially when working with intricate designs on harder woods.
Post-Carving Care: Finishing Your Wood Projects
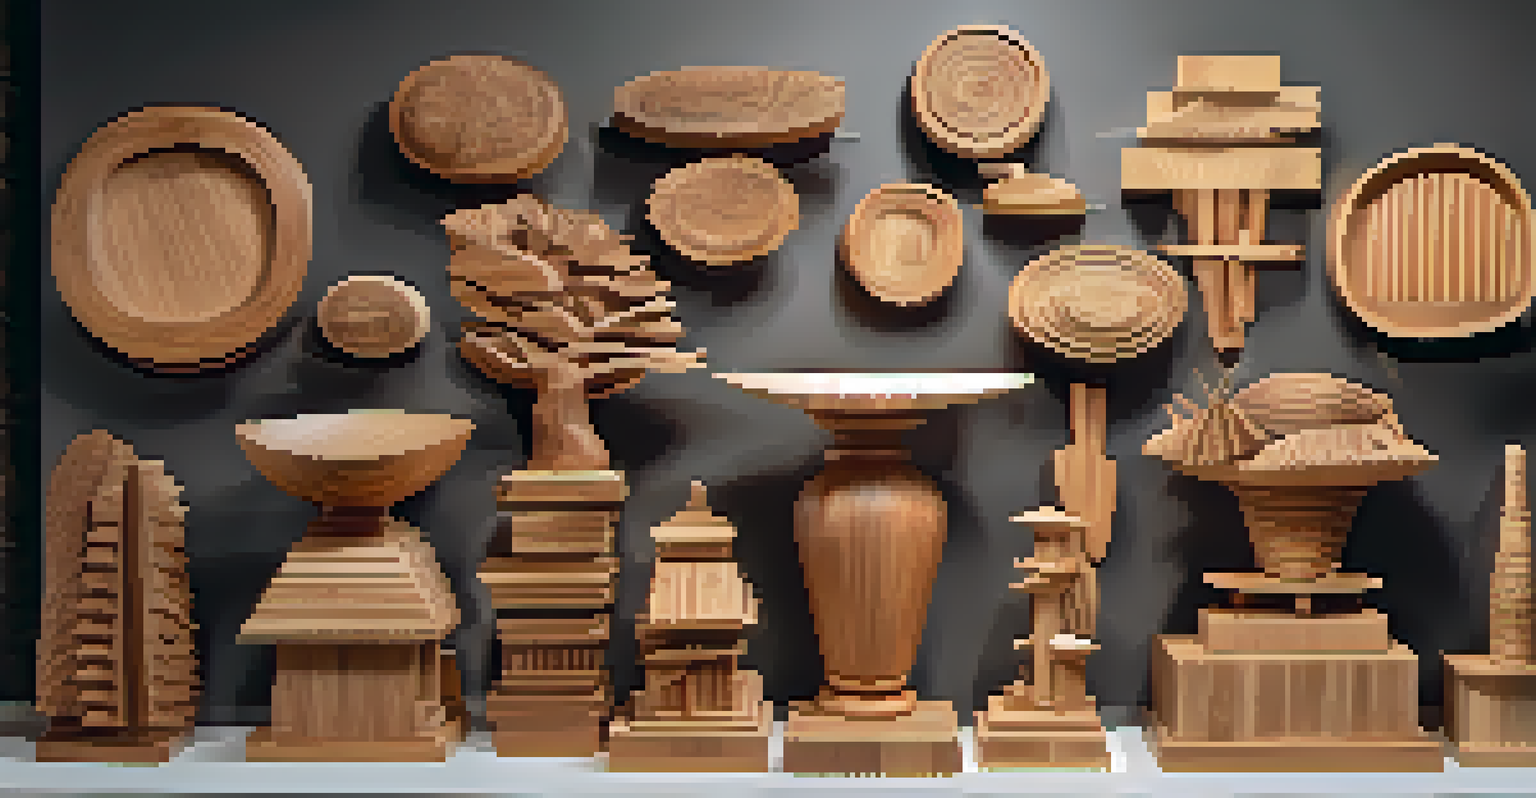
Once you’ve completed your carving, it’s time to focus on finishing touches that enhance the beauty of your work. This step is crucial for both softwood and hardwood, as it can significantly impact the final appearance. For softwoods, a simple coat of varnish or wood oil can bring out their natural beauty and protect them from moisture.
Hardwoods often benefit from more involved finishing techniques, such as sanding and staining. Applying multiple coats of finish can enhance the wood's grain and color, making your piece truly stand out. Just be sure to allow adequate drying time between coats for the best results.
Post-Carving Care Matters
Finishing techniques for your carved projects can enhance their beauty and longevity, making your work last.
Remember, the finishing process can also serve to protect your carving from wear and tear. A well-finished piece not only looks great but can also last for years to come, allowing you to enjoy your hard work for a long time.
Learning from Experience: Mistakes to Avoid
Even the most seasoned carvers make mistakes, and learning from them is part of the journey. Common pitfalls include using the wrong tool for the job, which can lead to frustration and potentially damaging your wood. Understanding the specific requirements of softwood vs. hardwood can help you avoid such mistakes.
Another frequent error is rushing through the carving process. It’s essential to take your time and enjoy the journey rather than just focusing on the end result. Carving is both an art and a skill that requires patience and practice, so don’t be discouraged by initial setbacks.
Finally, don’t hesitate to seek feedback or advice from fellow carvers. Sharing experiences and tips can provide valuable insights that help you grow and improve your skills, making your carving endeavors even more rewarding.