Carving Techniques for Creating Functional Kitchen Utensils
Understanding the Basics of Wood Carving
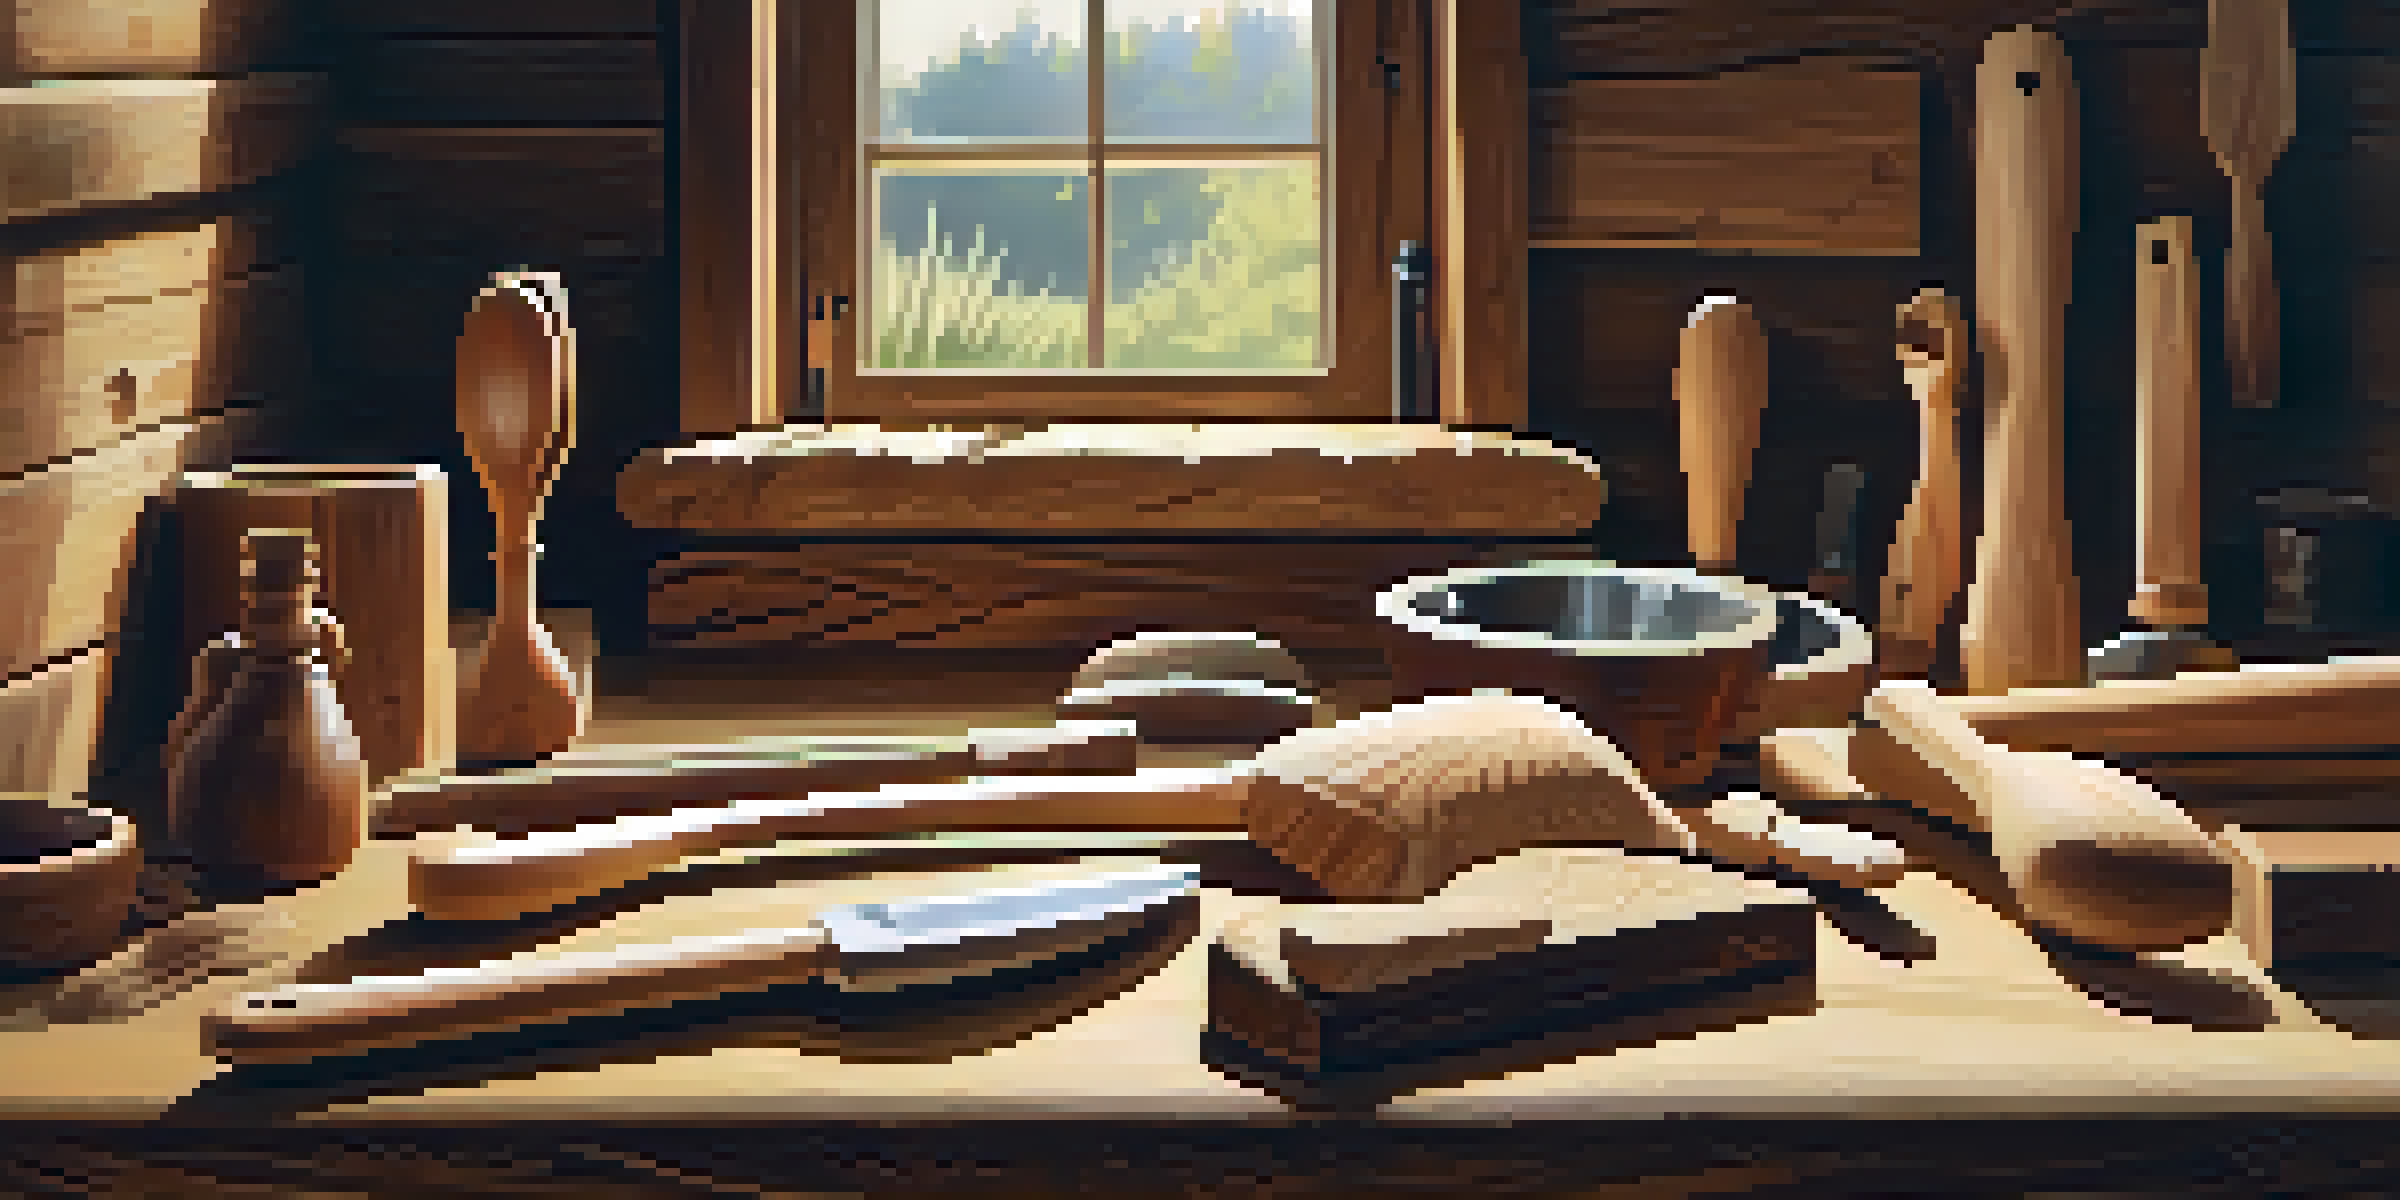
Wood carving is an age-old craft that transforms raw wood into functional art. The foundation of this skill lies in understanding the types of wood and the tools available. Familiarizing yourself with common woods like maple, cherry, and walnut can significantly enhance your projects, as each type has unique characteristics and grain patterns.
The wood is a wonderful material to work with. It has a life of its own and it gives you a chance to express your own art in it.
Before diving into carving, it’s crucial to have the right tools. Basic tools include a carving knife, gouges, and chisels, each serving a specific purpose. For example, a carving knife is ideal for whittling shapes, while a gouge offers more control for curved designs, allowing you to create beautiful and functional pieces.
Practicing on scrap wood is a great way to build confidence. Start with simple shapes, gradually progressing to more intricate designs. This hands-on experience will not only improve your skills but also help you understand how different woods react to various techniques.
Choosing the Right Tools for Kitchen Utensils
Selecting the appropriate tools is essential when crafting kitchen utensils. A sharp, quality carving knife is your best friend, ensuring clean cuts and smooth finishes. Additionally, investing in a small set of chisels will allow for more detailed work, especially when creating intricate designs on utensils like spoons and spatulas.

Consider ergonomics as well; tools that feel comfortable in your hand will make the carving process enjoyable. Tools with wooden handles can provide a better grip and reduce fatigue during extended carving sessions. Remember, comfortable tools lead to better craftsmanship and a more enjoyable experience.
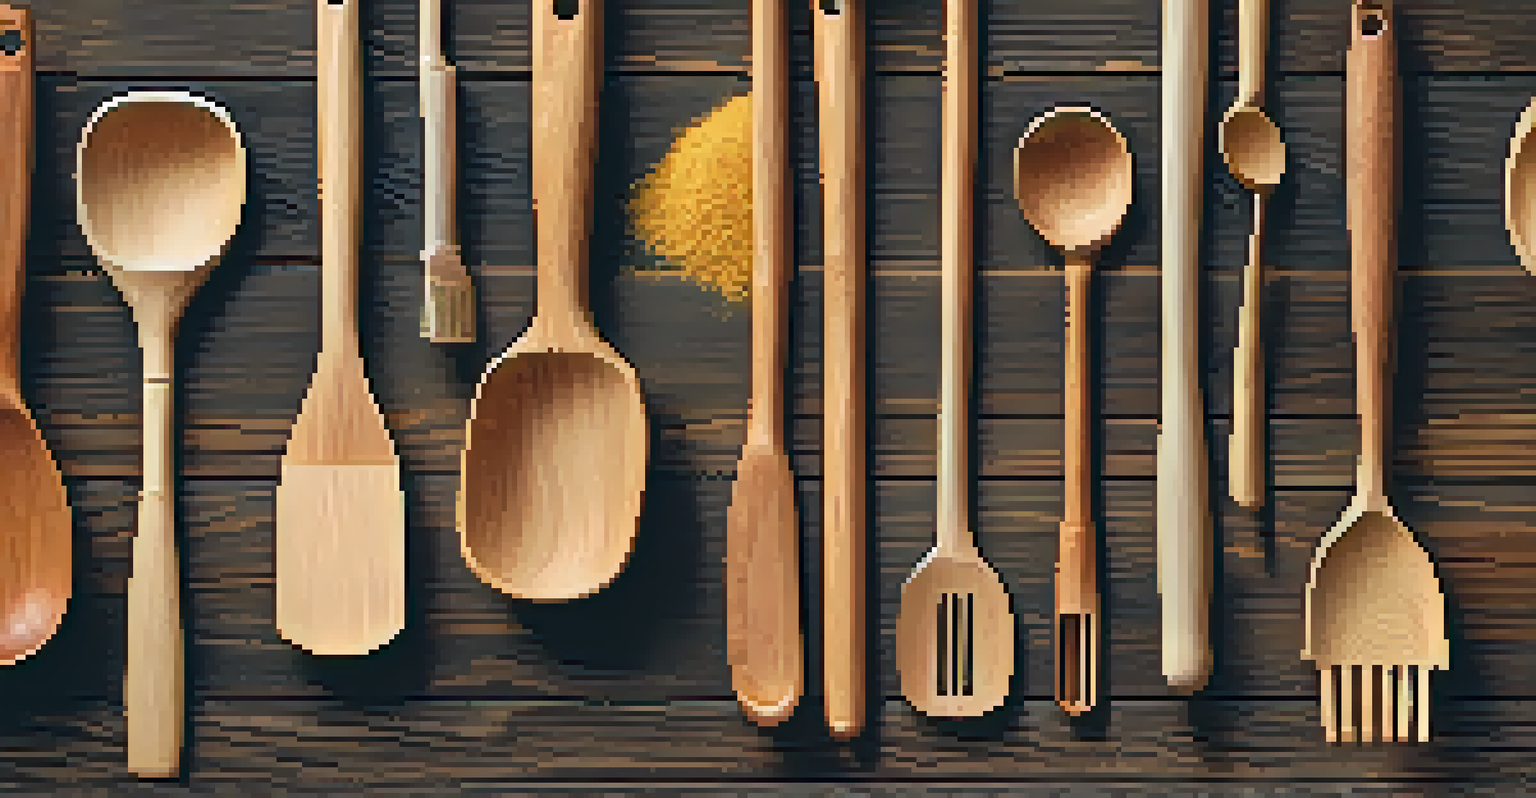
Essential Tools for Wood Carving
Having the right tools, like carving knives and chisels, is crucial for creating beautiful wooden utensils.
Lastly, don’t forget about safety. Always keep your tools sharp, as dull blades can slip and cause accidents. Using a carving glove can also protect your hands while you work, giving you the confidence to carve without worry.
Basic Carving Techniques for Beginners
Mastering the basics is vital for any new carver. Techniques such as straight cuts, curved cuts, and stop cuts are foundational skills that every woodworker should learn. For instance, straight cuts help in shaping the overall outline of your utensil, while curved cuts add elegance and detail.
Every piece of wood has a story. You just need the right tools and a bit of patience to uncover it.
Another essential technique is the stop cut, which creates a defined edge and prevents the wood from splitting. This is particularly useful when you’re working on a spoon or a fork, where precision is key. Practicing these methods will build your confidence and prepare you for more advanced techniques.
As you become comfortable with these basics, try combining them in your projects. For example, using straight cuts to establish the outline, then incorporating curved cuts for detailing, will enhance your overall design. It’s all about layering techniques to create beautiful, functional pieces.
Creating a Simple Wooden Spoon: Step-by-Step
Crafting a wooden spoon is an excellent project for beginners. Start by selecting a suitable piece of wood, ensuring it’s free of knots and cracks. Once you have your wood, sketch the outline of your spoon on the surface, marking where you’ll make your cuts.
Begin by using your carving knife to remove the bulk of the wood, shaping it into the basic spoon form. Focus on creating a rounded bowl and a comfortable handle. As you carve, remember to work slowly and deliberately, checking your progress frequently to avoid over-carving.
Basic Techniques for Beginners
Learning foundational carving techniques, such as straight and curved cuts, helps build confidence and skill.
Finally, sand your spoon to smooth out any rough edges, and finish it with food-safe oil or beeswax. This not only enhances the wood's natural beauty but also protects it from moisture. Congratulations! You’ve just made a functional kitchen utensil that showcases your carving skills.
Advanced Techniques: Whittling and Chip Carving
Once you’ve mastered basic carving, you might want to explore advanced techniques like whittling and chip carving. Whittling is an art form that involves removing small pieces of wood to create intricate designs. This technique allows for great creativity and can elevate your utensils to unique, artistic pieces.
Chip carving, on the other hand, involves removing small chips from the surface of the wood to create patterns and designs. This method is ideal for adding decorative elements to your kitchen utensils, making them not just functional but also visually stunning.
Both techniques require practice and patience, but they can add a personal touch to your creations. Consider incorporating these styles into your spoon or spatula designs, transforming simple utensils into cherished works of art.
Finishing Touches: Sanding and Oiling Your Utensils
The finishing touches can make all the difference in your carved utensils. After shaping your piece, sanding is crucial to remove any rough spots and ensure a smooth surface. Start with coarse sandpaper and progressively move to finer grits, creating a polished finish that feels great in your hand.
Once your utensil is smooth, it’s time to apply a food-safe finish. Natural oils, like mineral oil or flaxseed oil, are excellent choices as they penetrate the wood and provide a protective barrier against moisture. This step not only enhances the wood’s beauty but also prolongs the life of your utensil.
Caring for Wooden Utensils
Proper care, including regular washing and oiling, ensures your wooden kitchen utensils remain functional and beautiful for years.
Don’t forget to reapply oil regularly to maintain the finish. A well-cared-for wooden utensil can last a lifetime, becoming a cherished item in your kitchen. By taking these finishing steps, you ensure that your creations are not only functional but also beautiful heirlooms.
Caring for Your Wooden Kitchen Utensils
Caring for your wooden utensils is essential to keep them looking great and functioning well. After each use, wash them with warm soapy water and avoid soaking them, as prolonged exposure to moisture can warp the wood. Always dry your utensils promptly to prevent any moisture damage.
Periodically, you should reapply a food-safe oil to keep the wood nourished and prevent it from drying out. This maintenance will help preserve the natural beauty of the wood and keep the utensils in top shape for years to come. A little care goes a long way!
Lastly, store your wooden utensils in a dry, cool place away from direct sunlight. This will prevent any fading or warping over time. With proper care, your handcrafted utensils will not only serve your cooking needs but also tell a story for generations to come.