Creating Decorative Wall Art with Wood Carving Techniques

Understanding the Basics of Wood Carving for Art
Wood carving is a fascinating art form that transforms a simple piece of wood into a stunning decorative piece. It's essential to understand the types of wood that work best, such as basswood, which is soft and easy to carve, or hardwoods like oak for more durability. Each type of wood has its unique grain and texture, which influences the final appearance of your artwork.
Every artist dips his brush in his own soul, and paints his own nature into his pictures.
Before diving into carving, familiarize yourself with the tools needed, including chisels, gouges, and knives. Each tool serves a specific purpose, from roughing out shapes to creating intricate details. Investing in quality tools can make a significant difference in the ease and enjoyment of your carving experience.
Lastly, practice is key. Start with simple projects to build your confidence and skills. As you become more comfortable, you can challenge yourself with complex designs, ultimately leading to beautiful wall art that reflects your personality and style.
Choosing the Right Wood for Your Project
Selecting the ideal wood for your carving project can greatly impact the outcome of your wall art. Softer woods like pine are easier for beginners and allow for more straightforward carving, while hardwoods, although challenging, yield stunning results with a finer finish. Consider the final look you want to achieve when making your choice.
Another important factor is the wood's moisture content. Kiln-dried wood is preferable because it minimizes the risk of cracking or warping as it dries. Always check for any imperfections, such as knots or splits, which could affect your design and make carving more difficult.
Choosing the Right Wood Matters
Selecting the appropriate wood type and moisture content can significantly influence the quality and appearance of your wood carving project.
Lastly, don’t shy away from experimenting with reclaimed wood. Not only is it environmentally friendly, but it often comes with character and unique markings that can enhance your art piece. Each choice contributes to the story your wall art tells.
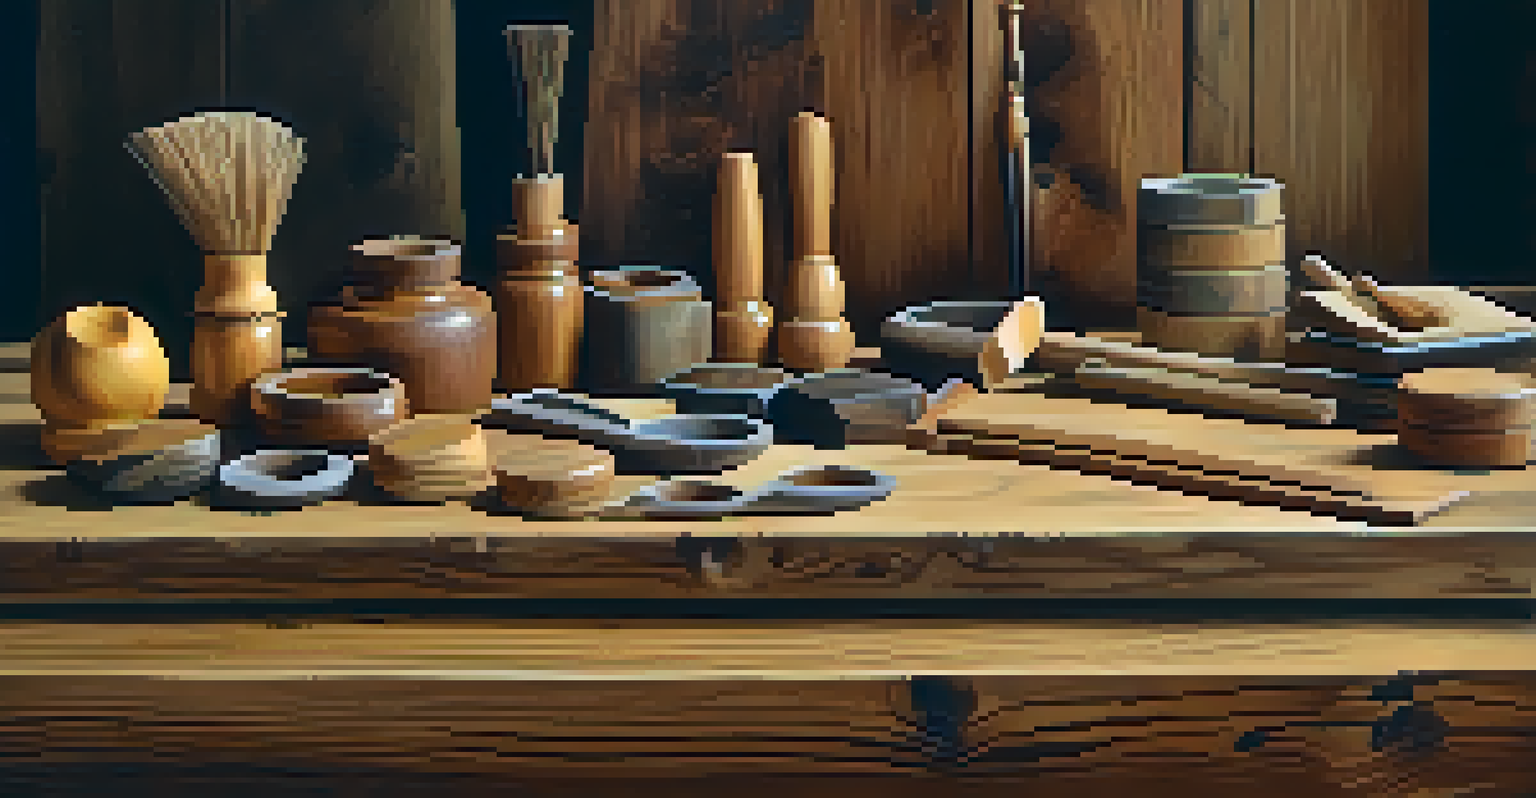
Essential Tools for Wood Carving Beginners
When starting your wood carving journey, gathering the right tools is crucial. A basic set should include carving knives, chisels, and a mallet. These tools allow you to create a range of effects, from smooth finishes to deep cuts, giving you flexibility in your designs.
Art is the most beautiful of all lies.
Safety gear, such as cut-resistant gloves and goggles, is equally important. Protecting yourself while carving ensures a worry-free experience, allowing you to focus on your creativity. Remember, a safe workspace is a happy workspace!
As you progress, you might want to expand your toolkit with specialty items, like V-tools for intricate lines or power carving tools for more extensive projects. Each tool opens new possibilities, helping you refine your style and techniques over time.
Sketching Your Design: A Step-by-Step Process
Before you start carving, sketching your design is vital. This step allows you to visualize the final product and make adjustments as needed. Use a pencil and paper to create a detailed drawing, or you can even print a design from the internet as a guide.
Consider the size of the wood piece when planning your design. A larger surface allows for more intricate details, while smaller pieces may require simpler patterns. Remember that the design should complement the shape and texture of the wood.
Essential Tools for Beginners
Having the right basic tools and safety gear is crucial for a successful and enjoyable wood carving experience.
Once you're satisfied with your sketch, transfer it onto the wood using carbon paper or by lightly drawing it on the surface with a pencil. This blueprint will guide you as you carve, ensuring you stay on track and achieve the desired outcome.
Carving Techniques to Bring Your Design to Life
With your design sketched out, it's time to begin carving. Start with the rough cuts, removing large sections of wood to create the basic shape. Working from larger to smaller details helps maintain control and prevents mistakes that can occur when focusing on fine details too early.
Utilize different carving techniques, such as relief carving for a three-dimensional effect or chip carving for geometric patterns. Each method provides a unique look, so experimenting with various styles will help you find what resonates with you.
As you carve, take breaks to step back and assess your work. This distance can provide new insights and help you refine your technique. Remember, all great art takes time and patience, so enjoy the process!
Finishing Touches: Sanding and Staining Your Art
Once you've completed the carving, it's time to focus on the finishing touches. Sanding is crucial for smoothing out rough edges and ensuring your piece feels good to the touch. Start with a coarse sandpaper and gradually move to finer grits for a polished finish.
After sanding, consider applying a stain or finish to enhance the wood's natural beauty. Stains come in various colors and can highlight the grain of the wood or provide a more uniform appearance. Test the stain on a scrap piece to see how it looks before applying it to your artwork.
Finishing Touches Enhance Artwork
Sanding, staining, and sealing your wood carving not only improves its aesthetic but also ensures its longevity in your home.
Finally, seal your art with a protective finish like varnish or polyurethane. This not only adds durability but also brings out the colors and textures in your piece. Properly finishing your wood carving ensures it will be a cherished part of your home for years to come.
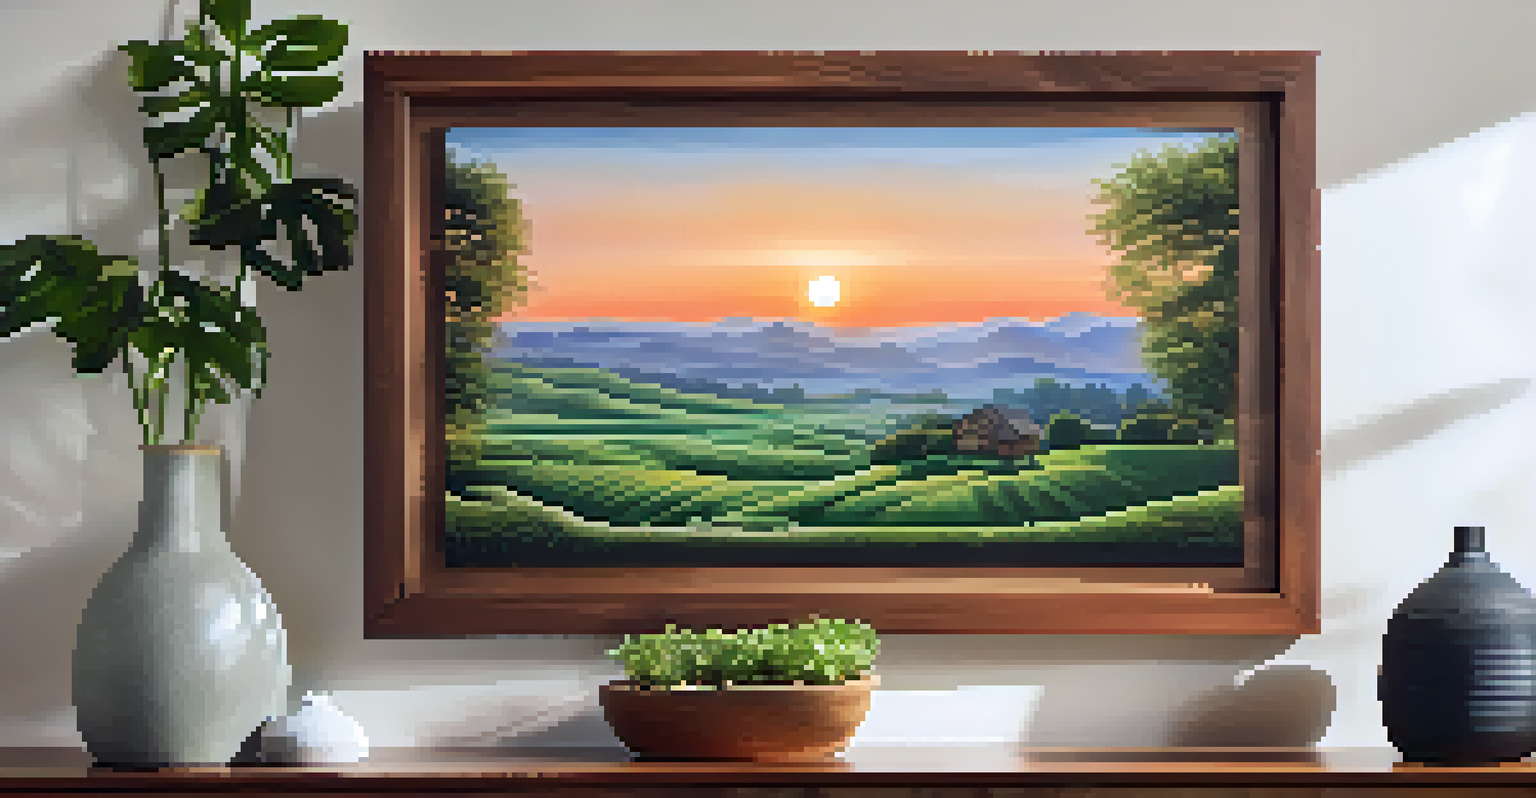
Displaying Your Wood Carving Wall Art with Style
Once your decorative wall art is complete, it's time to showcase it! Choosing the right location is essential; think about places where it can be appreciated, like a living room, hallway, or entryway. Natural light can enhance the wood's beauty, so consider that when selecting a spot.
When it comes to hanging your art, ensure it’s secure. Use appropriate hardware based on the weight of the piece, and position it at eye level for maximum impact. A well-displayed piece can become a focal point in your space, sparking conversations and admiration from guests.
Lastly, don't forget about other ways to incorporate your wood carvings into your decor. Pair them with complementary artwork or place them alongside plants for a natural touch. The key is to create a cohesive look that reflects your personal style and creativity.