A Beginner’s Guide to Power Carving Tools and Techniques
Understanding Power Carving: What You Need to Know
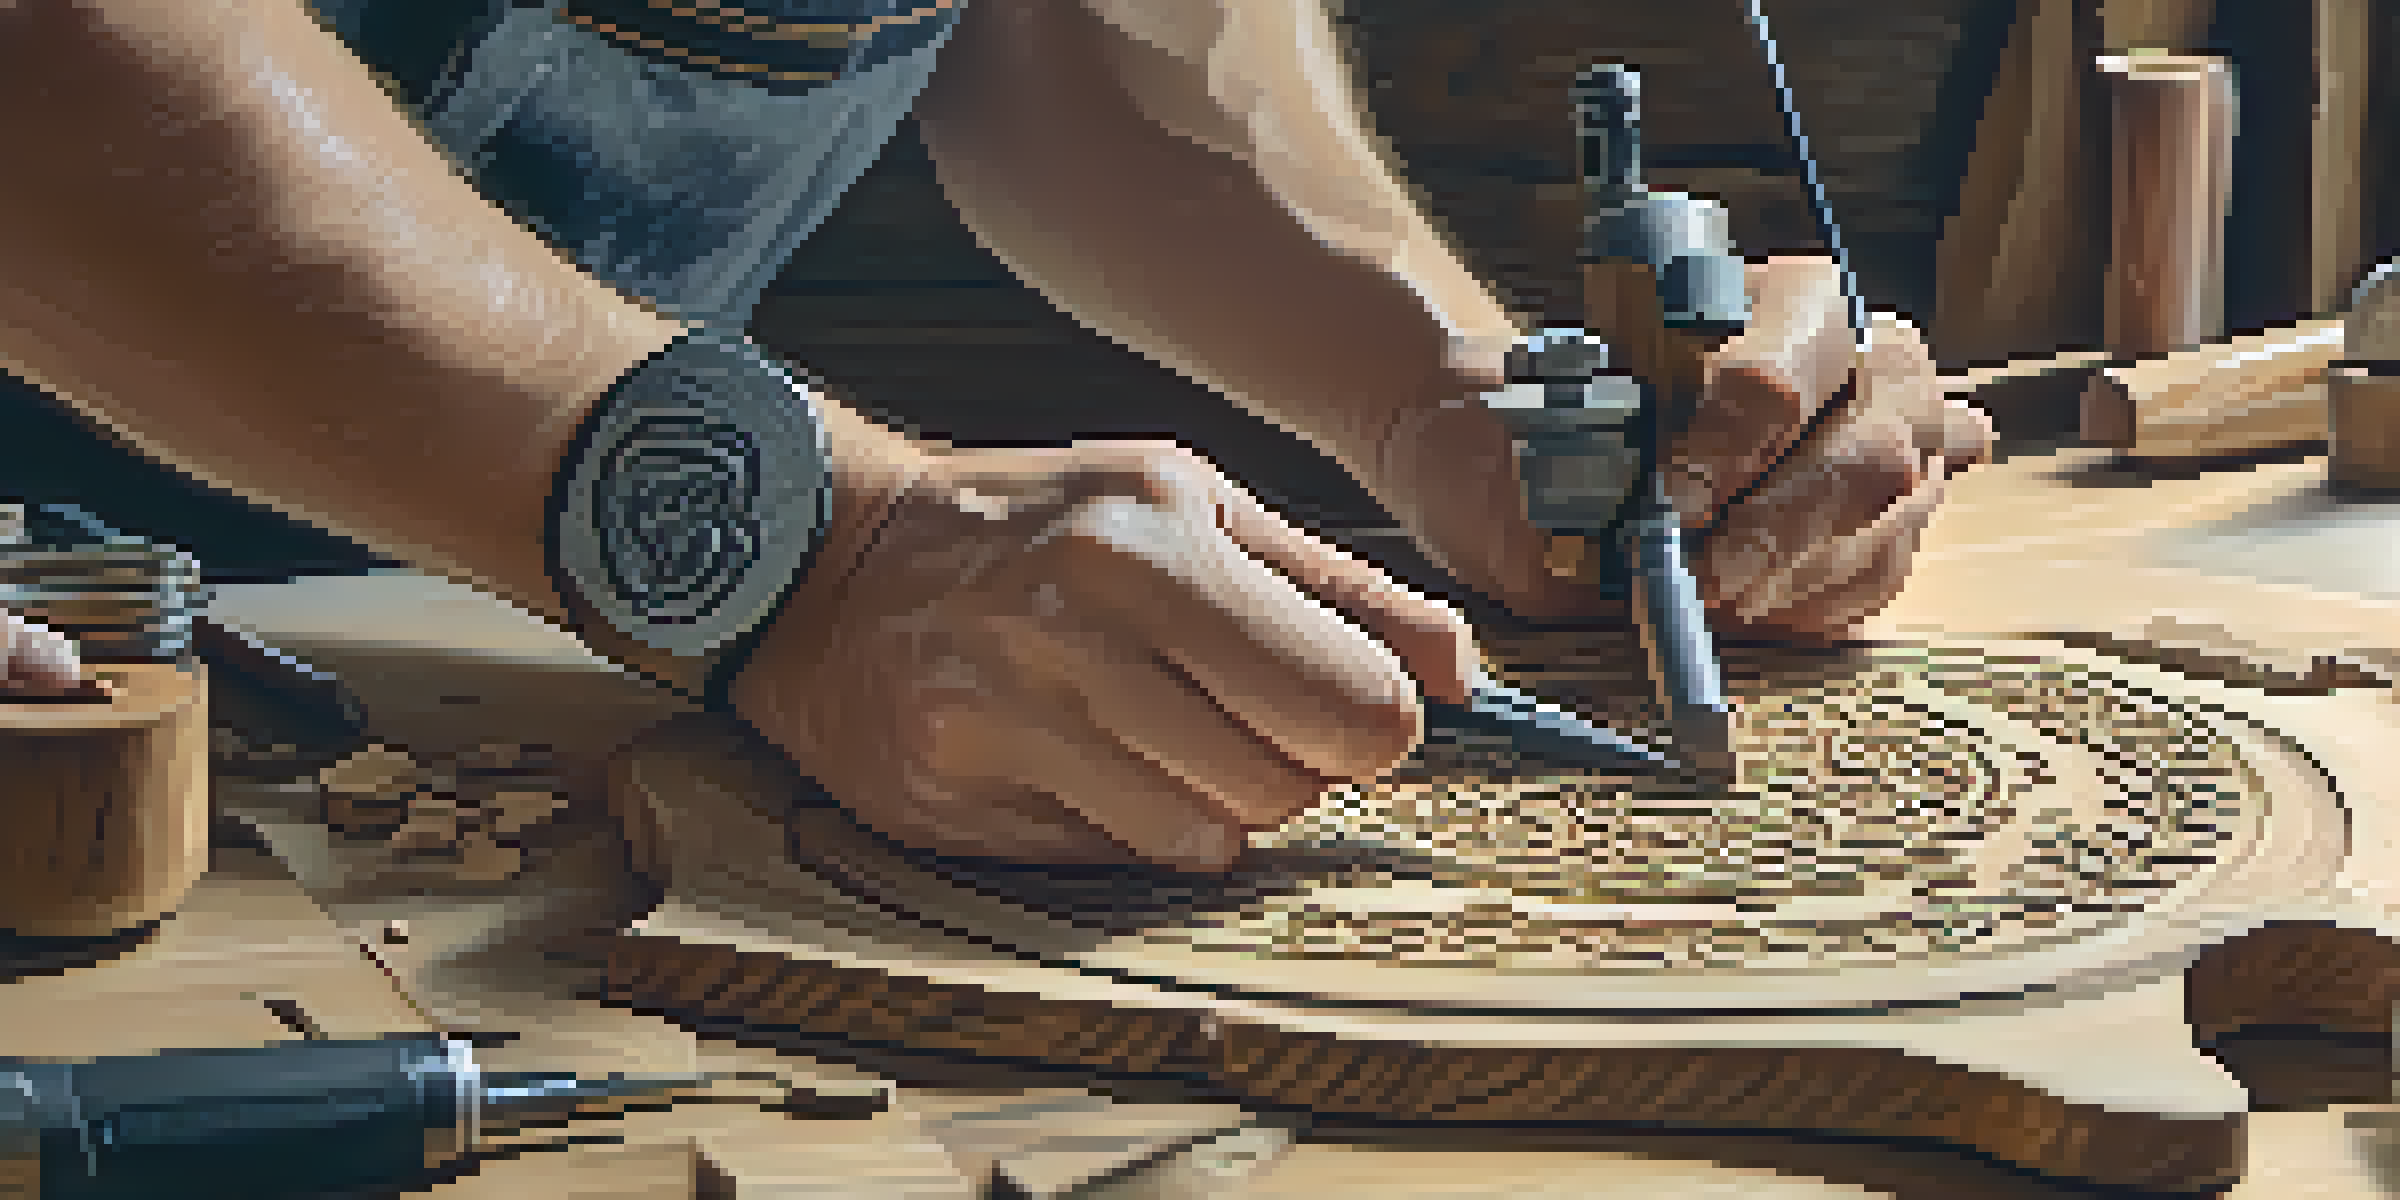
Power carving is a woodworking technique that uses electric tools to shape and carve wood more efficiently than hand tools. It opens up a world of possibilities for artists and hobbyists alike, making intricate designs easier to achieve. Unlike traditional carving methods, power carving allows for faster results and more detailed work, which can be particularly beneficial for larger projects.
Art is not freedom from discipline, but disciplined freedom.
Beginners may feel overwhelmed by the variety of tools available, but understanding the basics can simplify the process. From rotary tools to die grinders, each tool serves a specific purpose and can help you achieve different effects. As you learn about each tool, you'll find that they can be combined to create stunning results, transforming your woodworking projects into works of art.
Overall, starting with power carving offers a unique opportunity to explore your creativity while mastering the techniques involved. With the right tools and a bit of practice, you’ll be on your way to producing beautiful carvings that reflect your personal style.
Essential Power Carving Tools for Beginners
When diving into power carving, having the right tools is crucial for your success. The most common tool used is a rotary tool, such as a Dremel, which is versatile and perfect for detailed work. Additionally, consider investing in a die grinder for larger projects where more power and speed are needed, as well as a sander for finishing touches.
Don’t forget about the various bits and attachments that can enhance your carving experience. For instance, different shaped bits can help you create everything from fine lines to broader surfaces. It’s wise to start with a basic set and gradually expand as you gain confidence and discover your preferred styles.
Power Carving Basics Simplified
Power carving enhances woodworking by allowing for faster and more intricate designs using electric tools.
Lastly, personal protective equipment (PPE) is essential when using power tools. Safety goggles, dust masks, and ear protection will keep you safe and comfortable while you carve away. Remember, your safety is just as important as the art you create!
Safety First: Best Practices for Power Carving
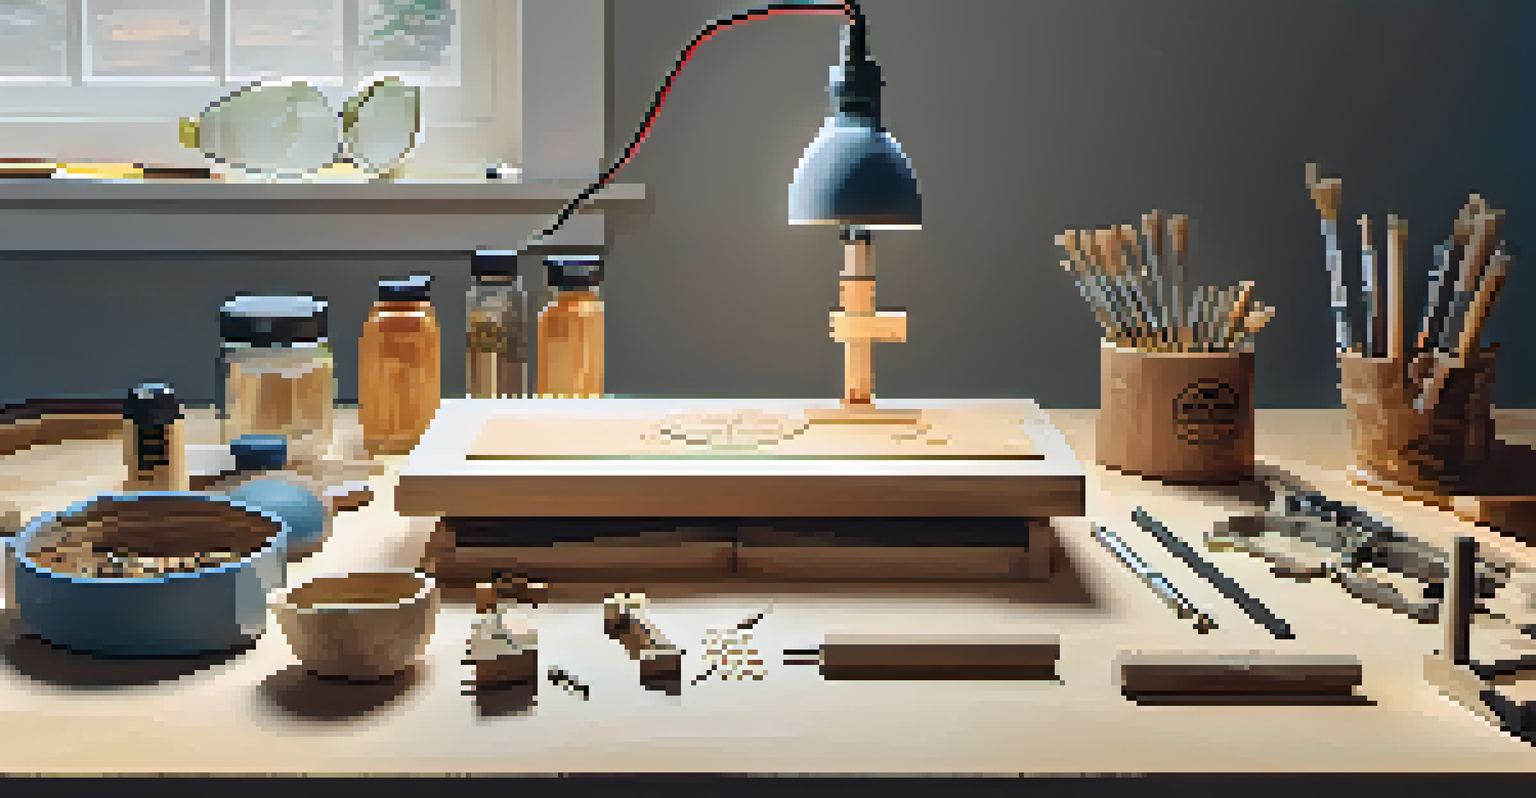
Safety should always be your top priority when working with power tools. Before you start carving, ensure that your workspace is clean and free of distractions. A clutter-free environment allows you to focus on your project while minimizing the risk of accidents.
The more I work, the luckier I get.
Wearing the right PPE is vital, as mentioned earlier. This includes safety goggles to protect your eyes from flying debris, a dust mask to filter out harmful particles, and ear protection to reduce noise exposure. Taking these precautions can prevent injuries and ensure a more enjoyable carving experience.
Additionally, it’s important to familiarize yourself with the tools you’ll be using. Read the manuals, watch tutorials, and practice with the tools on scrap wood before starting your main project. By understanding how each tool works, you’ll not only enhance your skills but also carve with more confidence.
Basic Techniques to Get Started with Power Carving
Once you have your tools and safety measures in place, it’s time to dive into some basic techniques. Start with simple shapes and designs, such as curves and lines, to build your confidence. Practicing these fundamental skills will provide a solid foundation for more complex projects down the line.
One effective technique is to use a light touch when starting out. Applying too much pressure can cause mistakes or damage to the wood. Instead, let the tool do the work as you guide it smoothly along the surface, allowing for more control and precision.
Safety is Essential in Carving
Wearing proper personal protective equipment and maintaining a clean workspace are crucial for a safe power carving experience.
As you become comfortable, experiment with different angles and speeds. Power carving offers the flexibility to explore various styles, and finding what works best for you will make the process even more enjoyable. Don’t be afraid to make mistakes; they are a natural part of the learning process!
Creating Texture: Adding Depth to Your Carvings
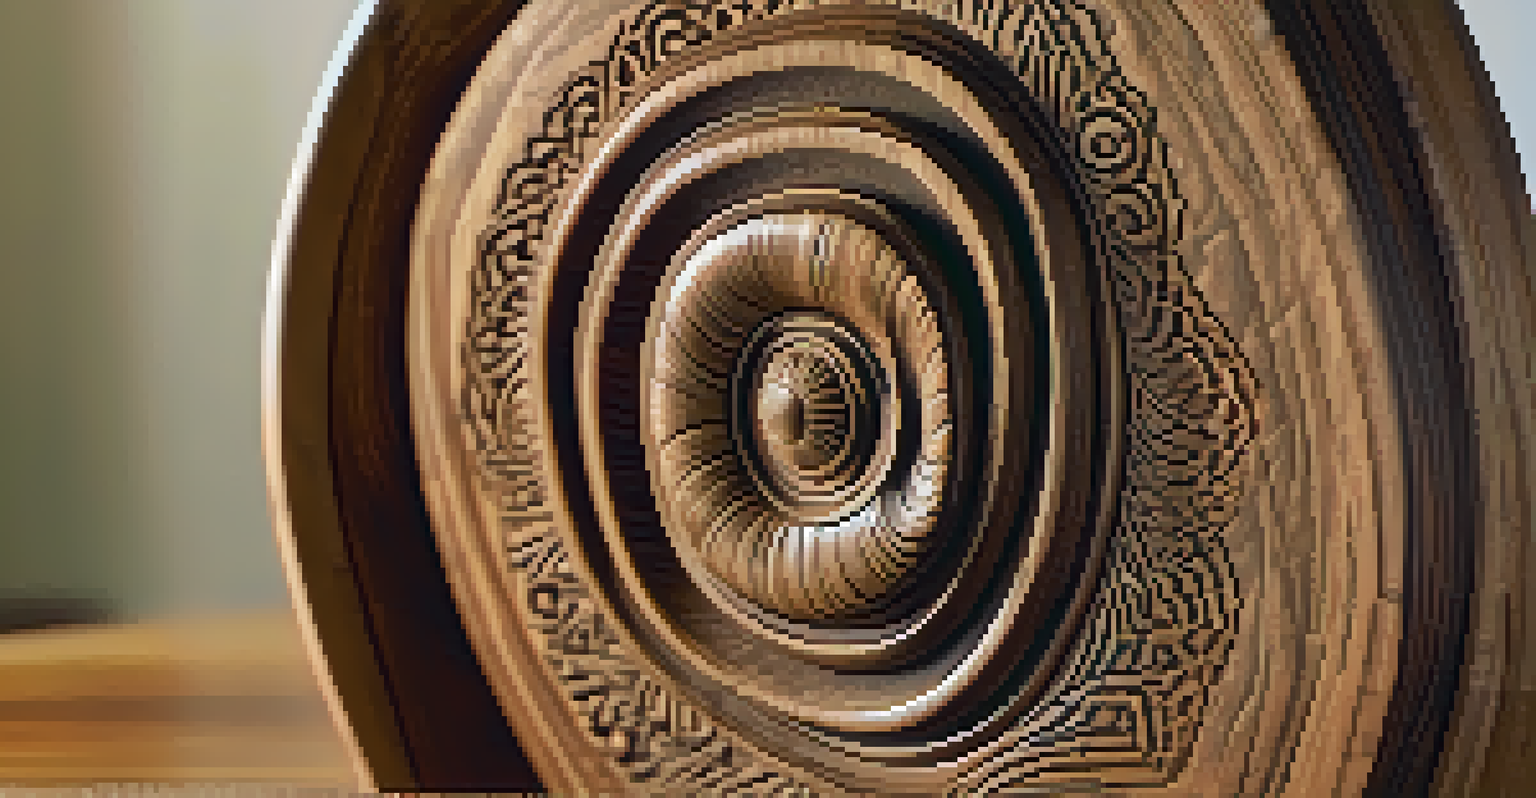
Texture can transform a flat piece of wood into a captivating work of art. Power carving allows you to easily add depth and dimension to your projects, making them more visually interesting. Techniques such as stippling, swirling, and layering can enhance the overall appearance of your carvings.
For instance, stippling involves making small dots or marks on the wood surface, which can create a unique texture resembling fabric or stone. This technique can be achieved using various bits on your rotary tool, allowing for endless creative possibilities. Experimenting with different textures can help you develop your personal style.
Incorporating texture not only adds visual appeal but also invites touch—making your carvings more interactive. As you practice, consider how texture can complement your designs and elevate your pieces to a new level of artistry.
Finishing Techniques: Bringing Your Carvings to Life
After completing your carving, finishing techniques are key to enhancing and protecting your work. Start by sanding the surface to smooth out any rough edges and prepare it for finishing. A finer grit sandpaper will help you achieve a polished look, making your carving more appealing.
Once sanded, you have a variety of finishing options to choose from. Wood oils, varnishes, and stains can bring out the natural beauty of the wood while offering protection against wear and tear. Experiment with different finishes to see how they change the appearance of your carvings.
Creative Projects to Explore
Beginner-friendly projects like coasters and signs provide opportunities to practice power carving skills while fostering creativity.
Finally, don’t hesitate to add personal touches, such as paint or embellishments, to make your carving truly unique. This is where your creativity can shine, allowing you to express your individuality through your finished piece.
Exploring Creative Projects for Power Carving Beginners
As you gain confidence with power carving, it’s time to explore creative projects that will challenge and inspire you. Simple items like coasters, keychains, or decorative signs can be great starting points. These projects allow you to practice your skills while creating functional or decorative pieces that you can cherish.
Consider joining a local woodworking group or online community where you can share your progress and seek inspiration. Engaging with fellow carvers can provide valuable feedback and introduce you to new techniques or project ideas. Plus, it’s a wonderful way to connect with others who share your passion.
Lastly, don’t be afraid to think outside the box. Power carving lends itself to a wide range of creative possibilities, from sculptures to home décor. Allow your imagination to run wild and enjoy the journey of discovering what you can create with your newfound skills!