How to Sharpen Your Carving Tools: A Step-by-Step Guide
Understanding the Importance of Sharp Tools
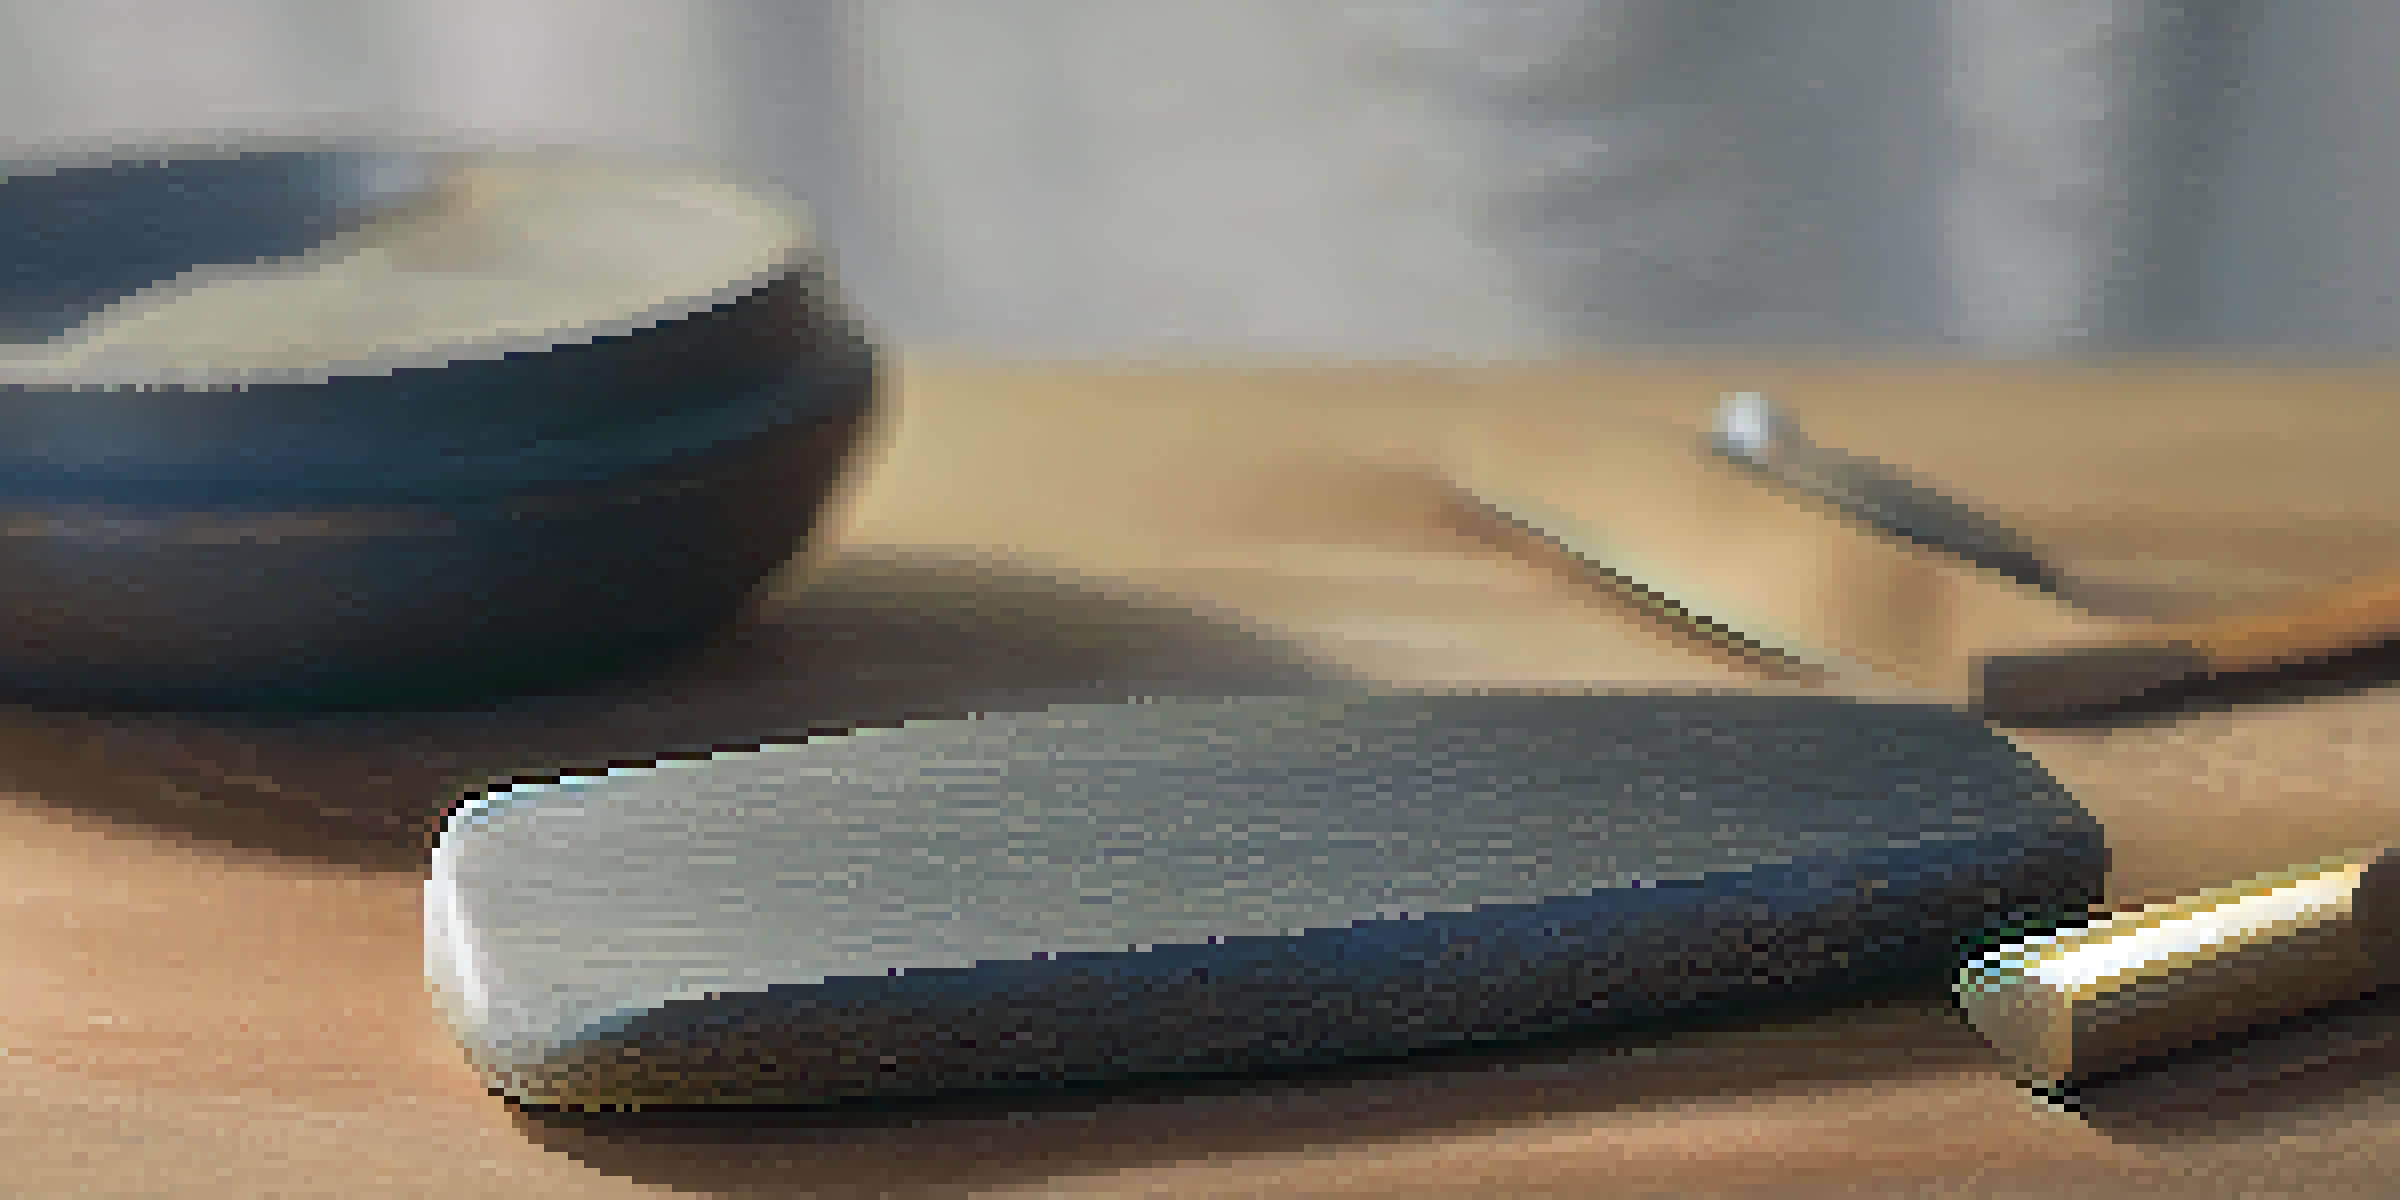
Sharp carving tools are essential for achieving clean, precise cuts. When tools are dull, they require more force, which can lead to mistakes and even injuries. It's much easier to control a sharp tool, allowing for greater creativity and detail in your work.
A sharp knife is a safe knife.
Imagine trying to slice through a soft piece of fruit with a dull knife—it squishes and tears instead of slicing cleanly. Similarly, dull carving tools can ruin your projects, resulting in frustration and wasted materials. Keeping your tools sharp not only enhances your craftsmanship but also makes the process more enjoyable.
In short, a sharp tool is a happy tool! Regular maintenance ensures that your tools remain in peak condition, ready for your next carving adventure.
Gathering the Right Tools for Sharpening
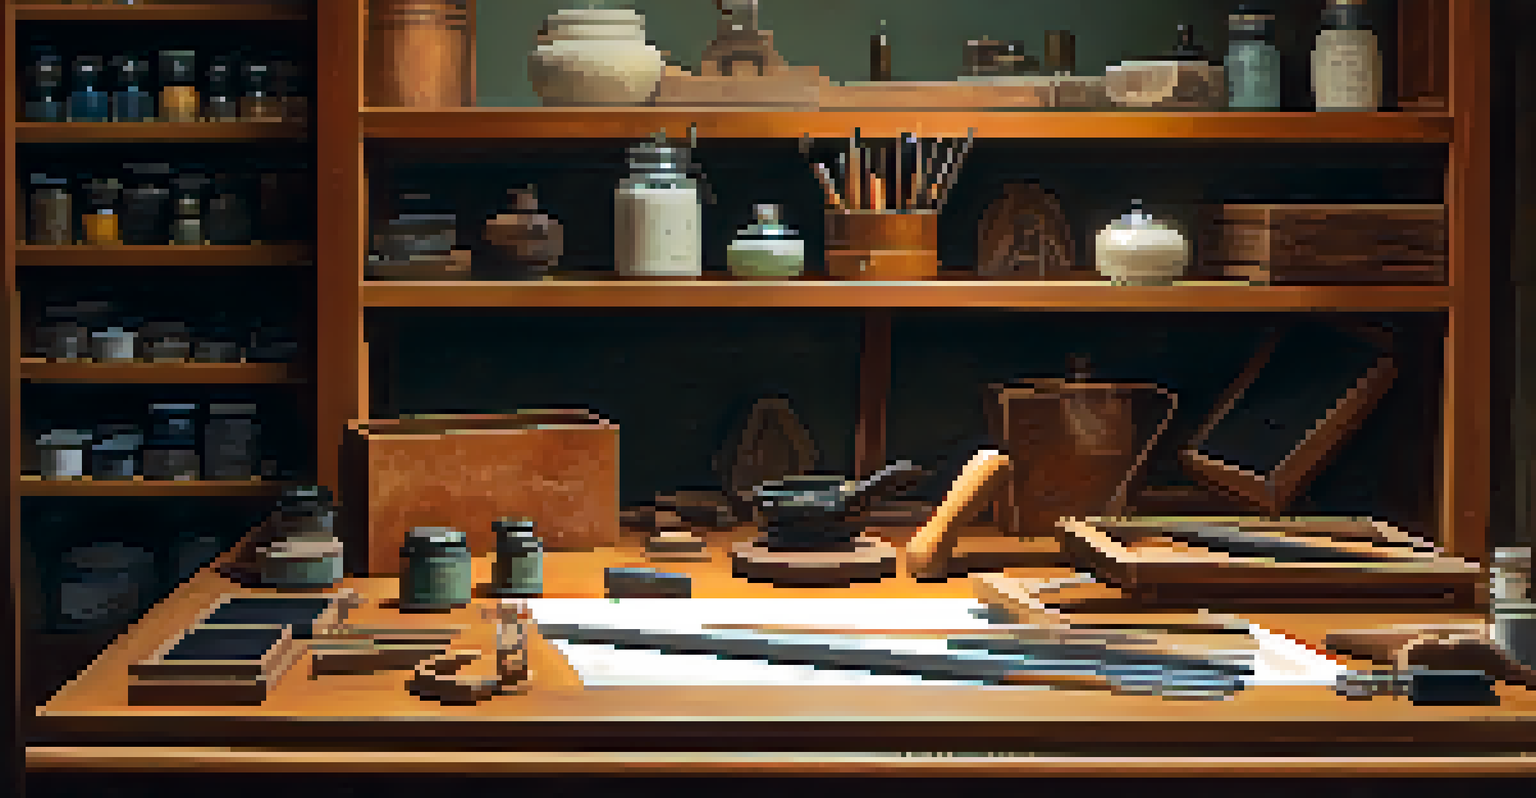
Before diving into sharpening, it’s vital to gather the necessary tools. You will typically need a sharpening stone, honing guide, and some lubricant like water or oil, depending on the type of stone you choose. A strop can also be beneficial for achieving a polished edge.
Think of sharpening like tuning a musical instrument; you need the right equipment to produce the best sound. Similarly, having the right tools for sharpening will ensure your carving tools perform optimally. Each tool plays a unique role in the sharpening process, much like instruments in an orchestra.
Sharp Tools Enhance Precision
Using sharp carving tools allows for clean, precise cuts, improving both safety and creativity in your work.
Lastly, make sure your workspace is clean and organized. A clutter-free environment makes it easier to focus, which is crucial when handling sharp tools.
Choosing the Right Sharpening Stone
Sharpening stones come in various types, including water stones, oil stones, and diamond stones. Each has its advantages, so it’s important to choose one that fits your needs. For example, water stones are excellent for quick sharpening, while oil stones offer durability and longevity.
The tools you use determine the quality of your work.
Using the right stone is like choosing the right type of paintbrush for your artwork. It can significantly impact the outcome and efficiency of your sharpening process. Knowing the grit levels of the stones can also help you decide; lower grit for shaping and higher grit for finishing.
Ultimately, the best sharpening stone is the one that you're most comfortable with and suits your specific carving tools.
Preparing Your Tools for Sharpening
Before you start sharpening, it’s essential to prepare your tools properly. Begin by cleaning the blade to remove any debris or residue that could hinder the sharpening process. A clean blade allows for better contact with the sharpening stone.
Think of this step as prepping your canvas before painting; a clean surface ensures a better end result. You can use a wire brush or cloth to wipe down the blade. Additionally, inspect your tools for any damage that might need attention before sharpening.
Choose the Right Sharpening Tools
Gathering the appropriate tools, like sharpening stones and honing guides, is essential for effective tool maintenance.
Once your tools are clean and intact, you're ready to move forward with sharpening, ensuring you get the best possible results.
The Sharpening Process: Step-by-Step
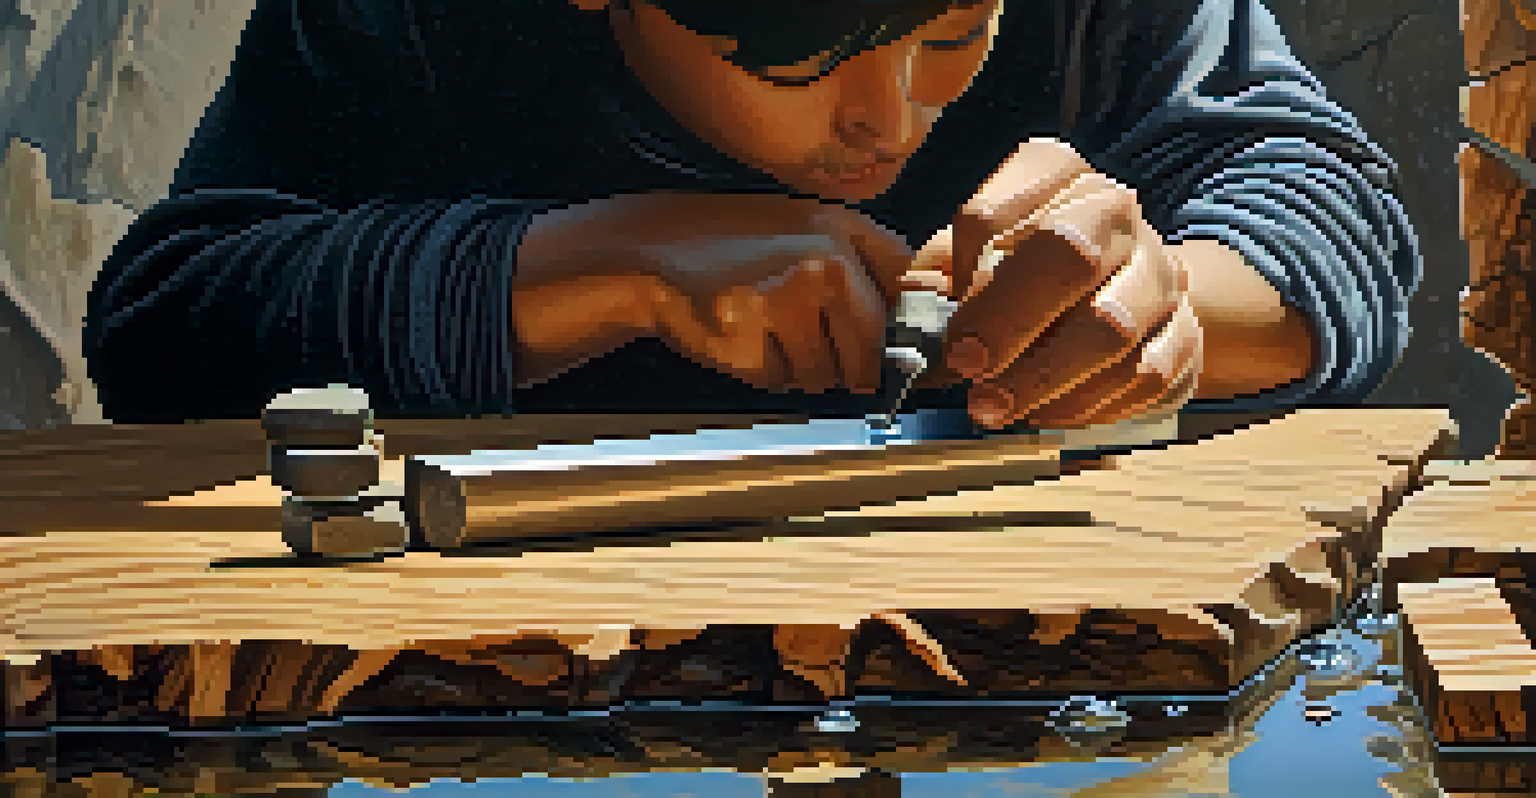
Now comes the fun part: the actual sharpening! Start by placing your sharpening stone on a stable surface. If you’re using a honing guide, secure your tool in it and set the appropriate angle, usually between 20 to 30 degrees for carving tools.
As you begin sharpening, use smooth, consistent strokes across the stone. Apply light pressure, letting the stone do the work. If you’re using a water stone, remember to keep it wet to avoid clogging the surface.
After several strokes, check the edge of your tool. You should see a shiny, sharp line forming. If not, continue sharpening until you achieve the desired edge.
Honing Your Tools for a Polished Finish
After sharpening, it’s time to hone your tools for a refined edge. Honing involves using a finer grit stone or a strop to polish the blade and remove any burrs left from sharpening. This step is crucial for achieving a razor-sharp edge.
Think of honing as the finishing touch on a masterpiece; it elevates the quality of your work. You can apply a few strokes on a leather strop with some honing compound to enhance the sharpness further. This not only smooths the edge but also protects it from rust.
Regular Maintenance is Key
Consistent care, including cleaning and inspecting your tools, ensures they remain reliable and effective for your projects.
Honing is a quick process that can make a world of difference in your carving experience, ensuring that your tools perform at their best.
Maintaining Your Carving Tools After Sharpening
Once your carving tools are sharpened and honed, it’s important to maintain them properly. Regular maintenance includes cleaning your tools after each use and storing them in a dry, safe place to prevent rust and damage. A little care goes a long way in extending the life of your tools.
Consider this step like watering a plant; without proper care, even the best tools can wither and lose their effectiveness. Additionally, periodically check your tools for any signs of wear and tear, and sharpen them as needed to keep them in prime condition.
By incorporating these maintenance practices, you'll ensure that your carving tools remain reliable companions for all your creative projects.