Step-by-Step Guide to Carving with an Electric Router
Understanding the Basics of Electric Routers
An electric router is a versatile tool that can shape edges, hollow out areas, and create intricate designs in wood and other materials. Think of it as a sculptor's chisel, but powered by electricity, allowing for precision and speed. Understanding its components, such as the base, motor, and bits, is crucial for effective use.
The act of carving is not just about the tool, but about the artist's vision and skill.
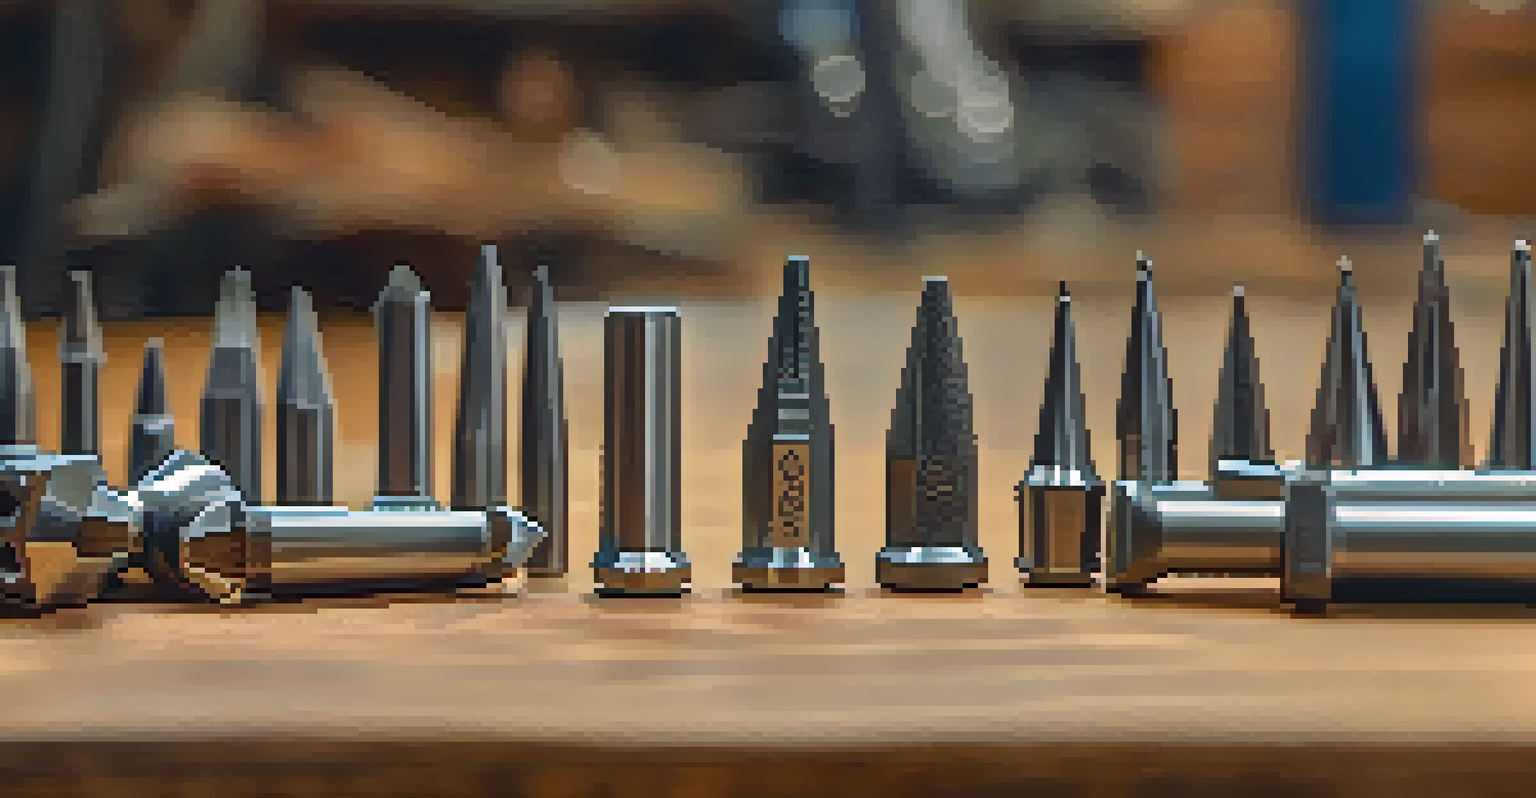
Before diving into carving, familiarize yourself with different router bits, as each one serves a unique purpose. For instance, a straight bit is great for making grooves, while a round-over bit can soften edges. Choosing the right bit for your project will significantly impact the final result.
Safety is paramount when using an electric router. Always wear protective gear such as goggles and a dust mask, and ensure your work area is clean and well-lit. Taking these precautions not only keeps you safe but also enhances your carving experience.
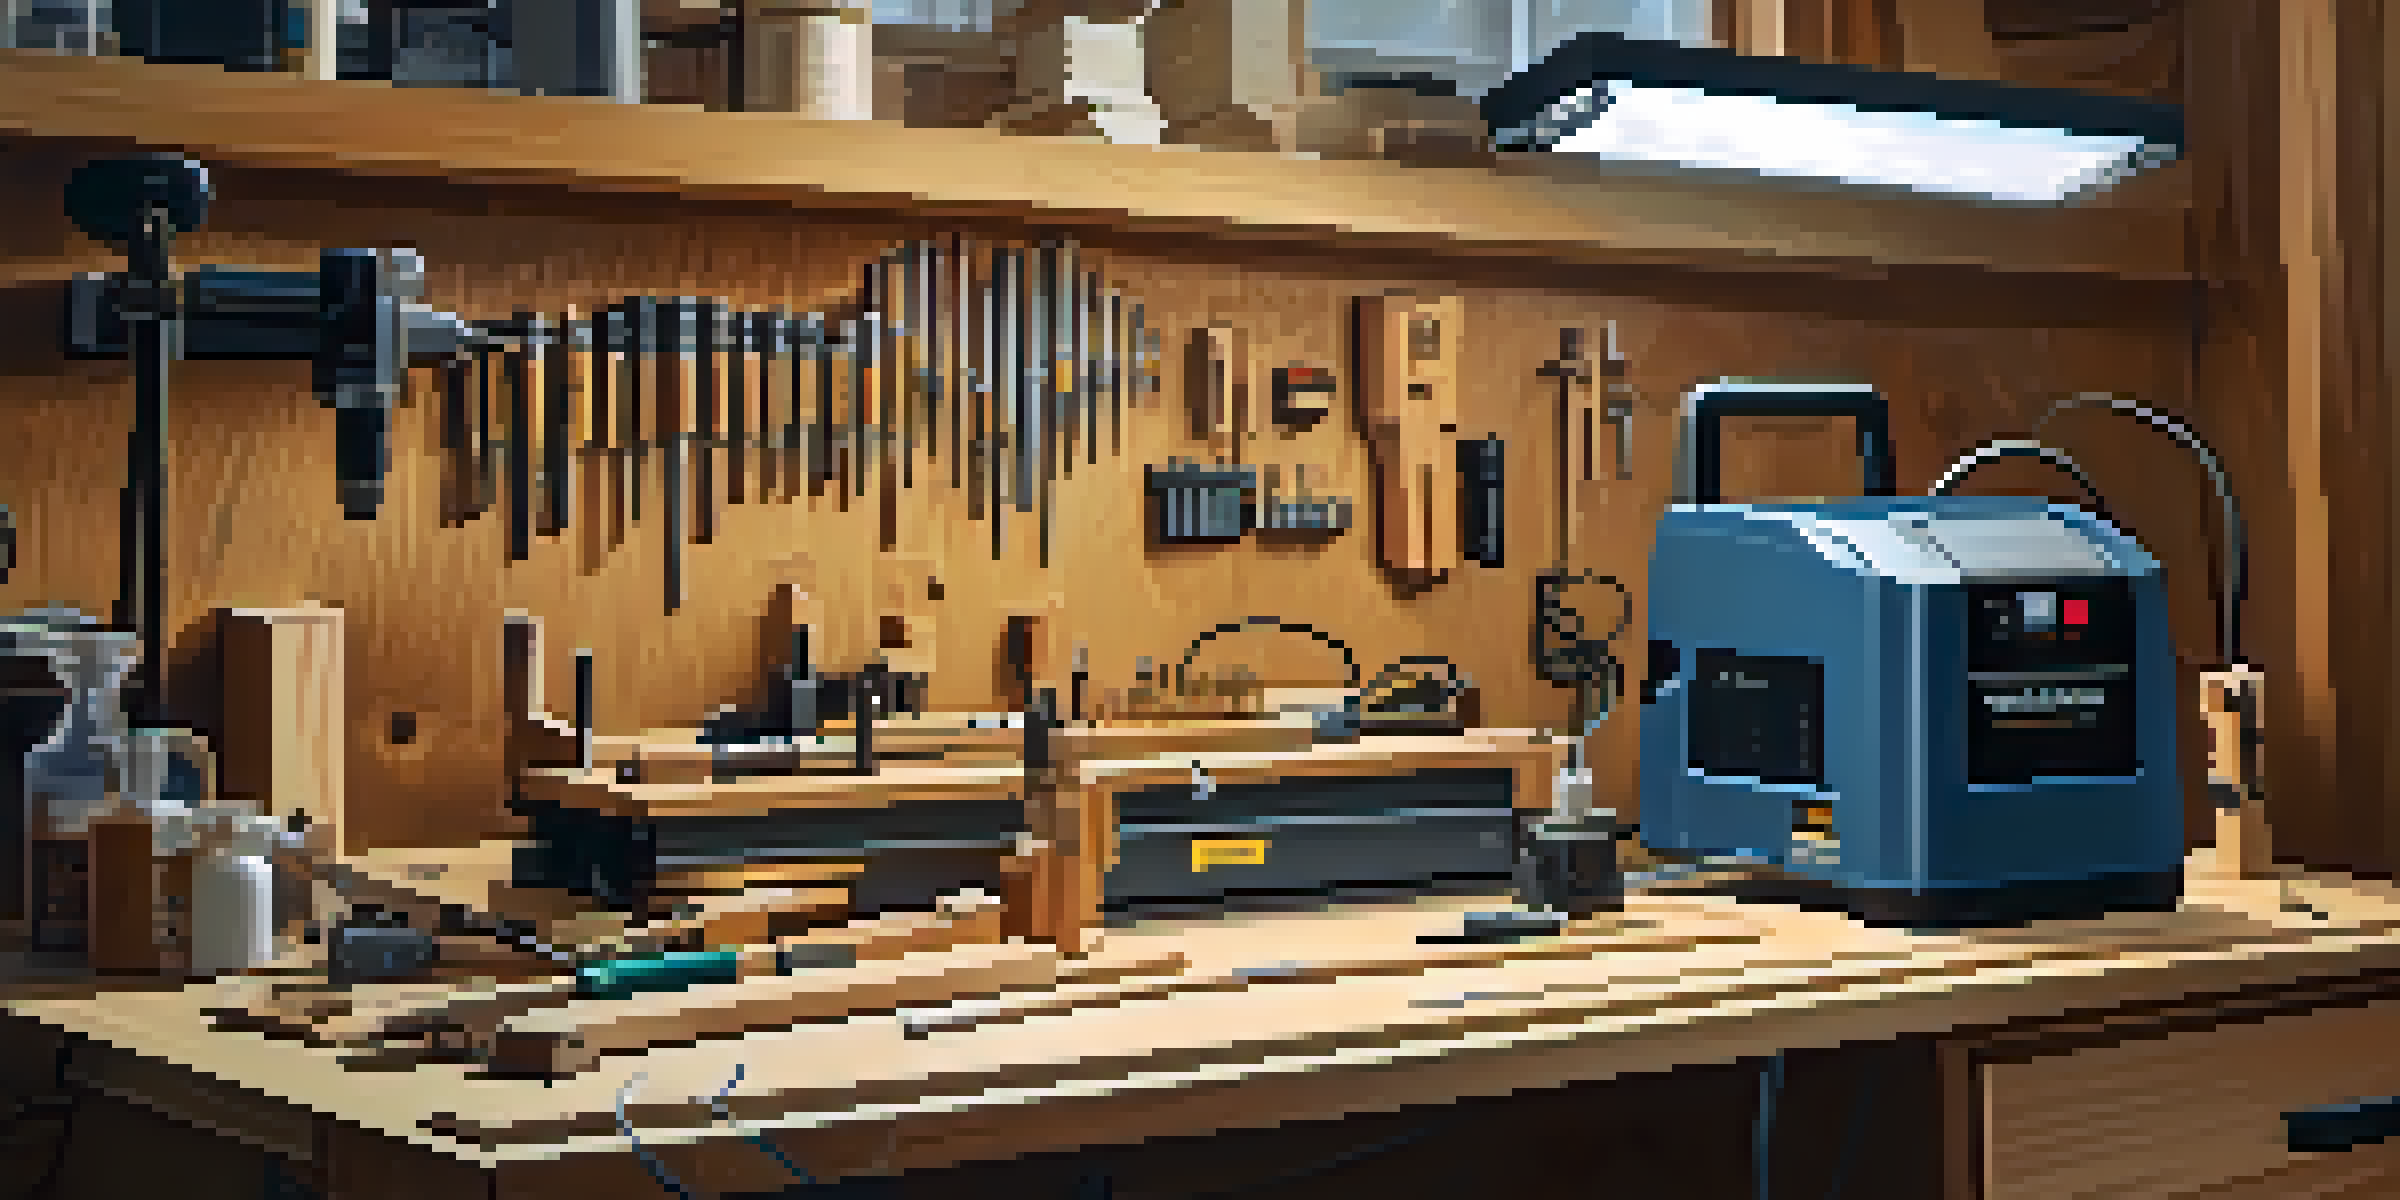
Gathering Your Tools and Materials
Before you start carving, make sure you have all the necessary tools and materials at hand. Besides the electric router, you’ll need clamps, a workbench, and the wood you plan to carve. Having everything organized will save you time and frustration during your project.
A good-quality router bit set is essential, as different projects may require different shapes and sizes. Additionally, consider investing in a template guide if you plan to create consistent shapes or patterns. This can help maintain accuracy and improve your overall results.
Master the Electric Router Basics
Understanding the components and functions of an electric router is essential for effective carving.
Don’t forget to have a dust collection system ready. Carving can create a significant mess, and a vacuum or dust extractor will help keep your workspace clean and safe. Plus, it’s easier to focus on your work without wood shavings distracting your vision.
Preparing Your Work Area for Carving
Setting up your work area is a crucial step in ensuring a smooth carving process. Choose a well-ventilated space with enough room to maneuver around your project. Clear any unnecessary clutter to minimize distractions and potential hazards.
Safety isn't just a slogan, it's a way of life when working with tools.
Secure your workpiece firmly on the workbench using clamps. This prevents any movement while carving, which is essential for achieving clean, precise cuts. If you’re working on a larger piece, consider using a router table for added stability.
Lighting is another important factor. Make sure your workspace is well-lit so you can see the details of your project clearly. Good lighting not only helps you avoid mistakes but also makes the carving process more enjoyable.
Choosing the Right Router Bit for Your Project
Selecting the appropriate router bit is crucial to the success of your carving project. Each bit is designed for specific tasks, and using the right one can greatly enhance your results. For example, a v-groove bit is perfect for making decorative lines, while a flush-trim bit helps achieve clean edges.
Consider the thickness of your material and the desired depth of your cuts when choosing a bit. It’s also important to think about the profile you want to create. If you’re unsure, experimenting with different bits on scrap wood can help you find the perfect match for your design.
Prepare Your Workspace Properly
A well-organized and safe work area enhances your carving experience and ensures better results.
Always refer to the manufacturer’s guidelines for speed settings when using different bits. Some bits may require slower speeds for better control, while others can handle faster rotations. Following these recommendations will not only improve your carving but also extend the life of your bits.
Setting Up Your Electric Router for Carving
Once you've gathered your tools and chosen your bit, it’s time to set up your electric router. Begin by securely attaching the router bit to the collet according to the manufacturer’s instructions. Make sure to tighten it properly to prevent any accidents during carving.
Next, adjust the depth of the cut according to your project’s requirements. Most routers have a depth adjustment feature, allowing you to set how deep the bit will carve into the material. Testing the depth on a scrap piece can help ensure you achieve the desired result without any surprises.
Finally, plug in the router and let it warm up for a few seconds before starting. A steady hand and a relaxed grip will help you maintain control as you begin carving. Remember to keep your focus on the task at hand and take breaks if needed to avoid fatigue.
Techniques for Effective Carving with a Router
When it comes to carving with an electric router, technique is everything. Start by making shallow passes rather than attempting to carve deeply in one go. This approach not only gives you greater control but also reduces the risk of damaging your material or the bit.
Utilize a consistent speed throughout your carving. Varying speeds can lead to uneven cuts, so maintaining a steady pace is key. Additionally, always move the router in the direction of the bit’s rotation to ensure smoother cuts and prevent kickback, which can be dangerous.
Choose the Right Router Bit
Selecting the appropriate router bit is crucial for achieving the desired design and finish in your projects.
Experiment with different carving techniques, such as edge routing or inlay work, to expand your skills. Each technique has its own unique challenges and rewards, making the learning process both exciting and rewarding. Don't hesitate to practice on scrap wood until you feel confident.
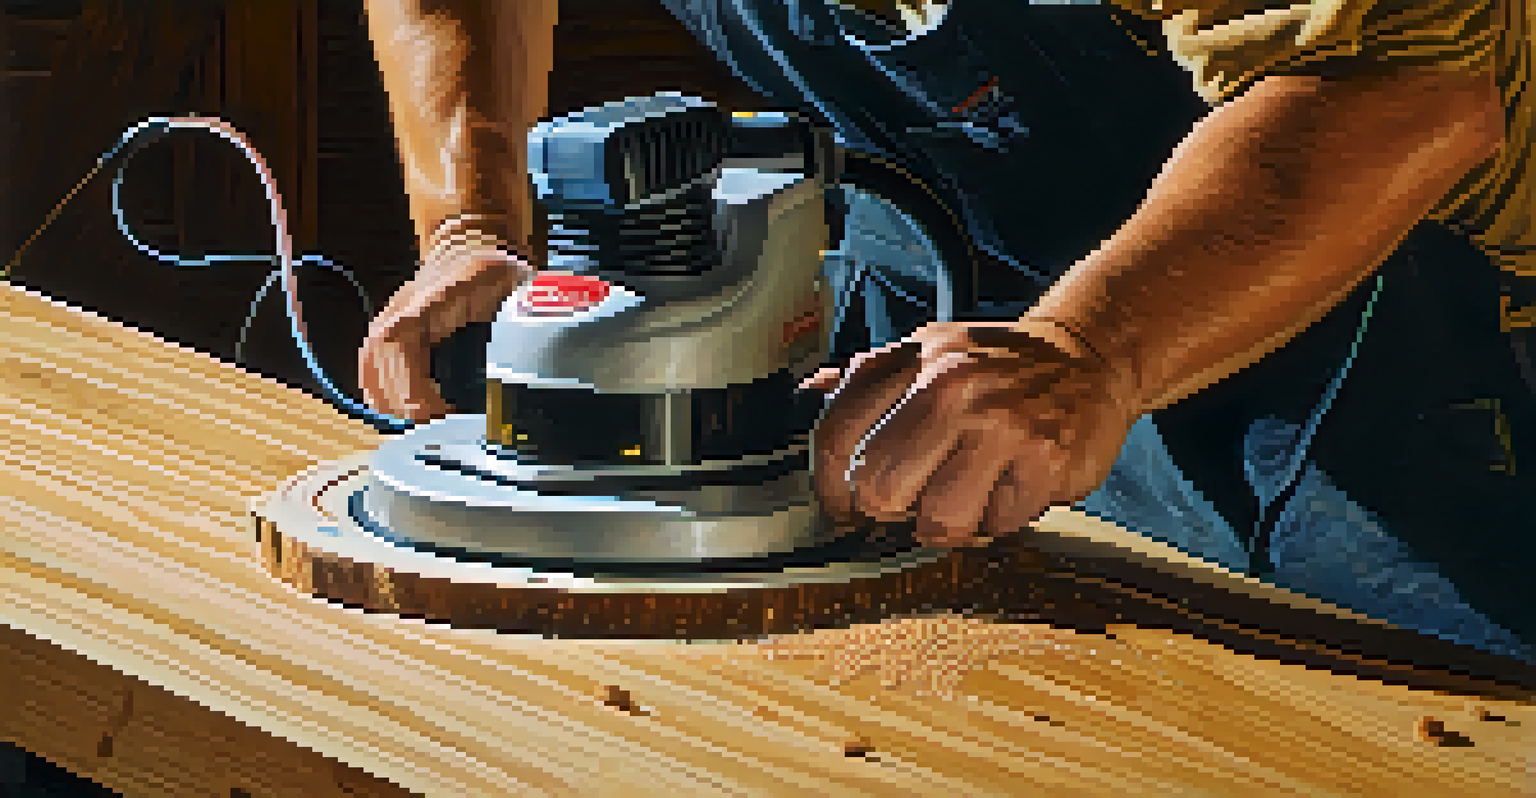
Finishing Touches and Safety Considerations
After completing your carving, take a moment to assess your work. Sanding the carved areas can help smooth out any rough edges and enhance the overall appearance. Use progressively finer grit sandpaper to achieve a polished finish.
Don’t forget to clean your router and workspace after finishing. A clean router will perform better and last longer, while a tidy workspace is safer and more enjoyable to work in. This is also a good time to inspect your bits for any signs of wear or damage.
Finally, always prioritize safety throughout the entire process. Keep your fingers away from the router bit, and never forget to unplug it when changing bits or making adjustments. By practicing good safety habits, you can enjoy your carving projects without unnecessary risks.