Carving Techniques for Repurposed Wood and Pallets
Understanding the Basics of Wood Carving
Wood carving is a creative process that involves shaping wood into artistic forms or functional items. It’s essential to grasp the fundamental techniques before diving into more complex projects. Recognizing different types of wood, especially repurposed materials like pallets, can greatly influence your carving experience.
Wood carving is a journey of patience and creativity, as every piece tells its own story.
Pallet wood, often soft and easy to work with, is perfect for beginners. It’s readily available and allows you to practice without the pressure of using expensive materials. To get started, familiarize yourself with basic tools like carving knives, chisels, and gouges, which will help you achieve various effects and designs.
Once you have your tools ready, practice simple cuts and shapes on scrap pieces. This will build your confidence and help you understand how the wood reacts to different techniques. Remember, the journey of wood carving is all about patience and creativity, so take your time to enjoy the process.
Choosing the Right Type of Repurposed Wood
Selecting the right wood is crucial to successful carving. Repurposed wood like pallets might contain nails or other hidden materials, so always inspect your wood carefully before starting. Look for clean, sturdy pieces that are free from large knots or cracks, which can complicate your work.
Different types of wood have unique characteristics; for example, pine is soft and easy to carve, while oak is harder but offers a beautiful finish. Understanding these differences will help guide your project choices—from intricate designs to simple shapes. If you’re unsure, start with softer woods to build your skills.
Start with Basic Wood Carving Skills
Fundamental techniques like push cuts and stop cuts are essential for beginners to build confidence and creativity in wood carving.
Another benefit of using repurposed wood is its story. Each piece has its own history and character, which can add depth to your creations. Embrace the imperfections; they often add charm and uniqueness to your final product, making it more special and personal.
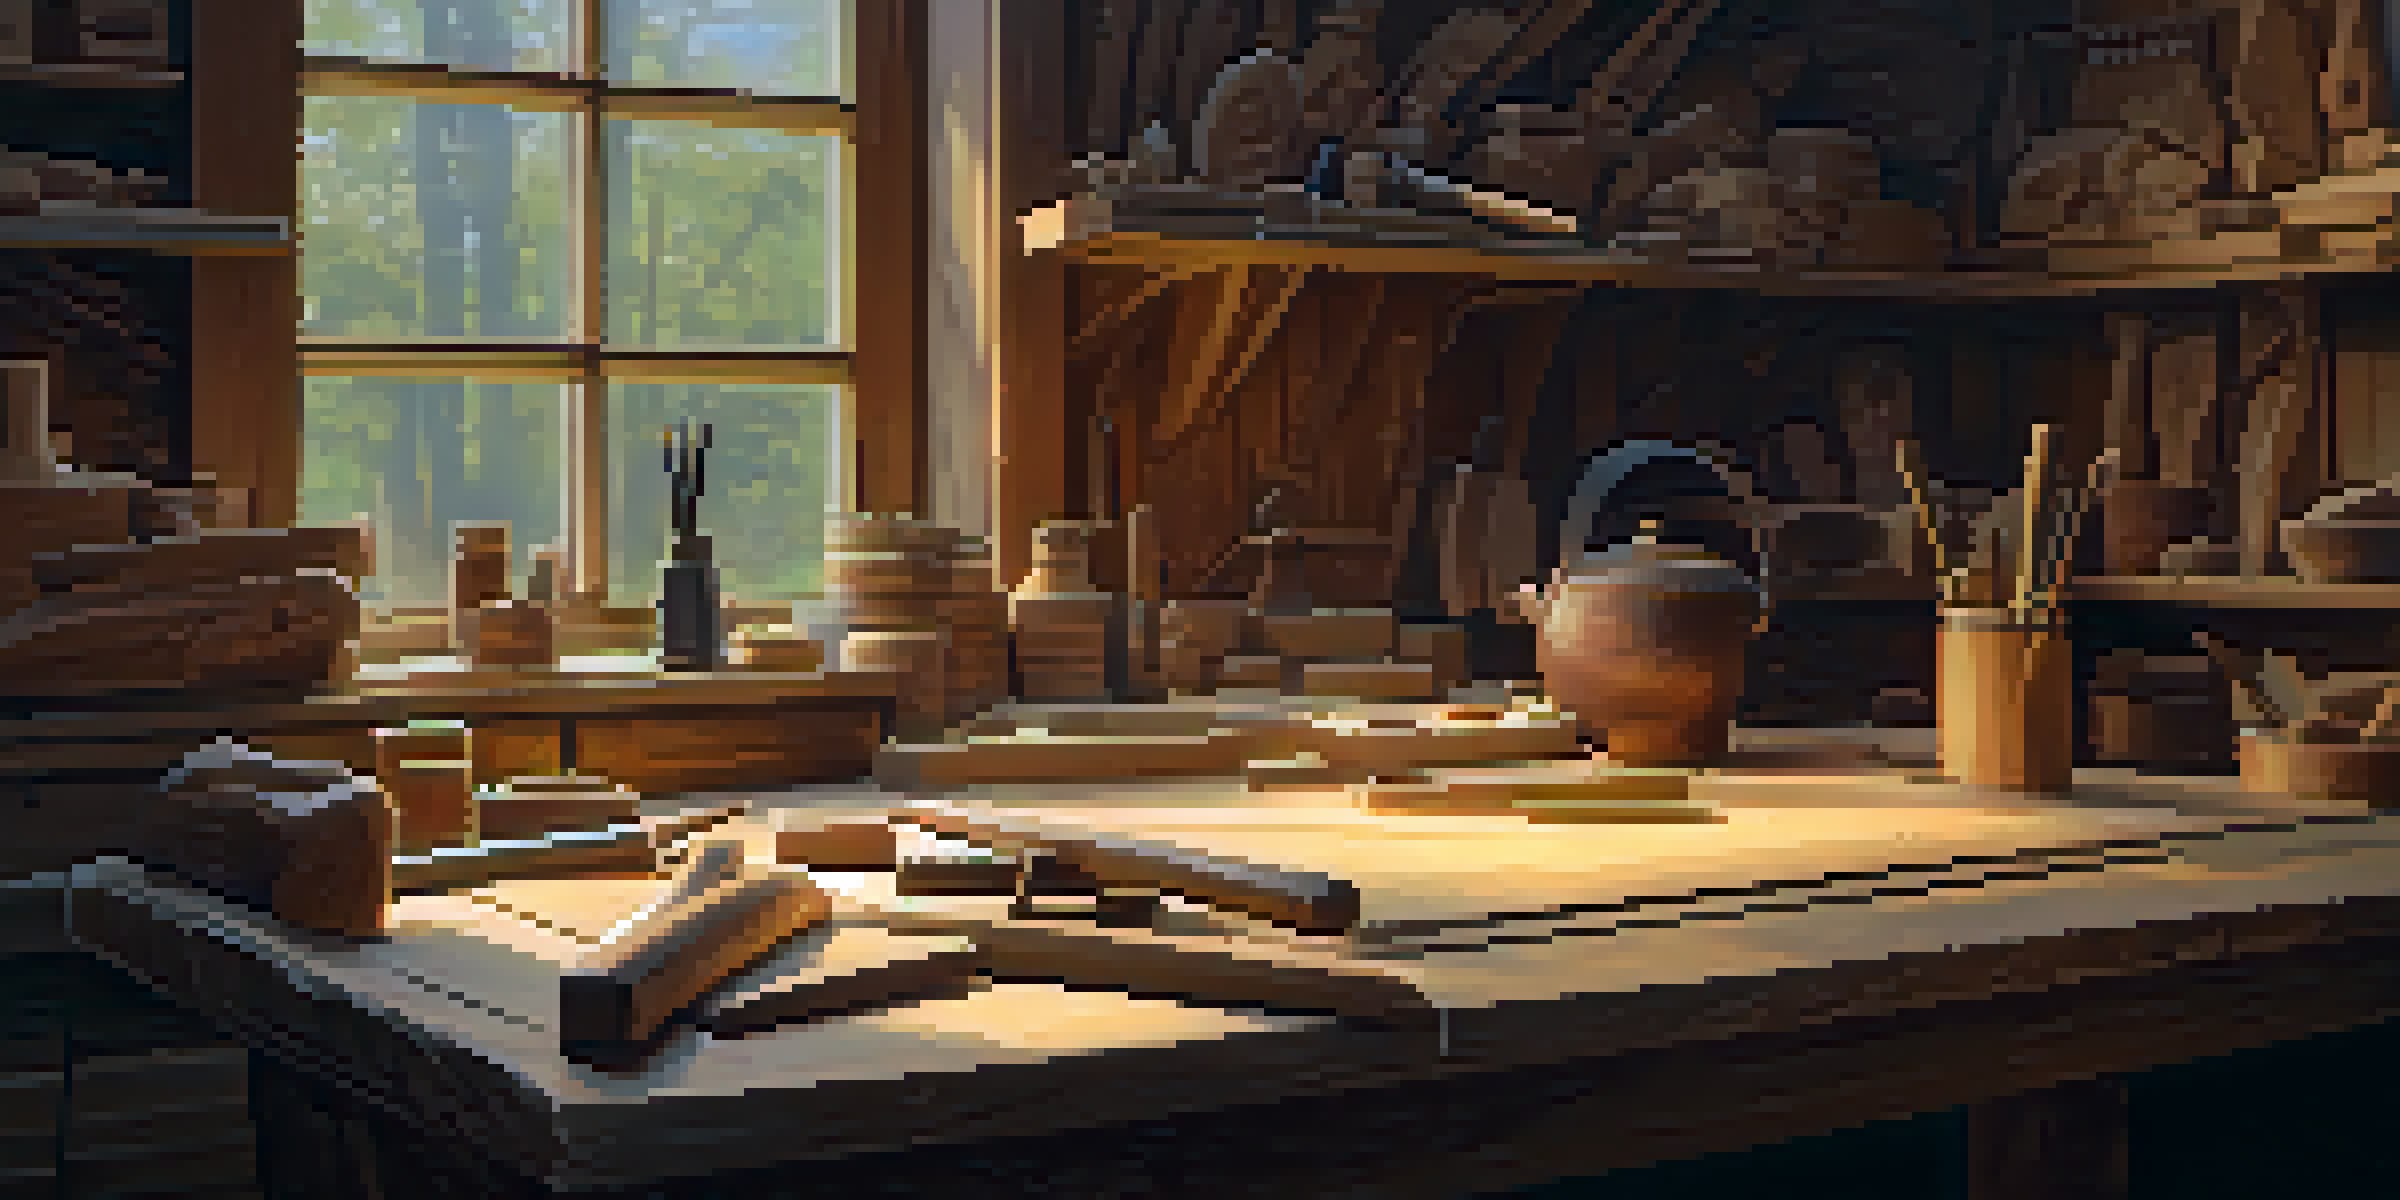
Essential Tools for Carving Pallet Wood
Having the right tools can make all the difference in your carving projects. For pallet wood, a basic set should include a carving knife, chisels, and a mallet. These tools allow for both fine details and broader strokes, making them versatile for various designs.
Every artist was first an amateur.
A gouge, for example, is perfect for creating curves and hollows, while a straight chisel can help with more defined edges. Don’t forget about safety equipment, such as gloves and a cutting mat, to protect your hands and work surface. Investing in quality tools will enhance your carving experience.
As you gain confidence, consider adding specialty tools like rotary tools for detailed work or a band saw for cutting larger pieces. However, start simple; mastering basic tools will lay a strong foundation for your skills. Always remember, it’s not about having the most tools, but knowing how to use what you have effectively.
Basic Carving Techniques for Beginners
Starting with basic techniques can set the stage for your carving journey. One of the first methods to master is the push cut, where you push the blade away from you, creating clean lines. This technique is fundamental for shaping your wood and establishing forms.
Another essential technique is the stop cut, which is used to create boundaries when carving. It’s particularly useful for detailed designs, helping to prevent your blade from slipping into unwanted areas. Practicing these methods on scrap wood will help you build muscle memory and confidence.
Choose Suitable Repurposed Wood
Selecting clean, sturdy repurposed wood, such as pallets, allows beginners to practice without the pressure of using expensive materials.
Lastly, don’t forget the importance of sanding. Once you’ve carved your piece, smoothing the surface with sandpaper will enhance its appearance and feel. This step not only improves the aesthetic but also ensures safety, making your creation pleasant to touch and use.
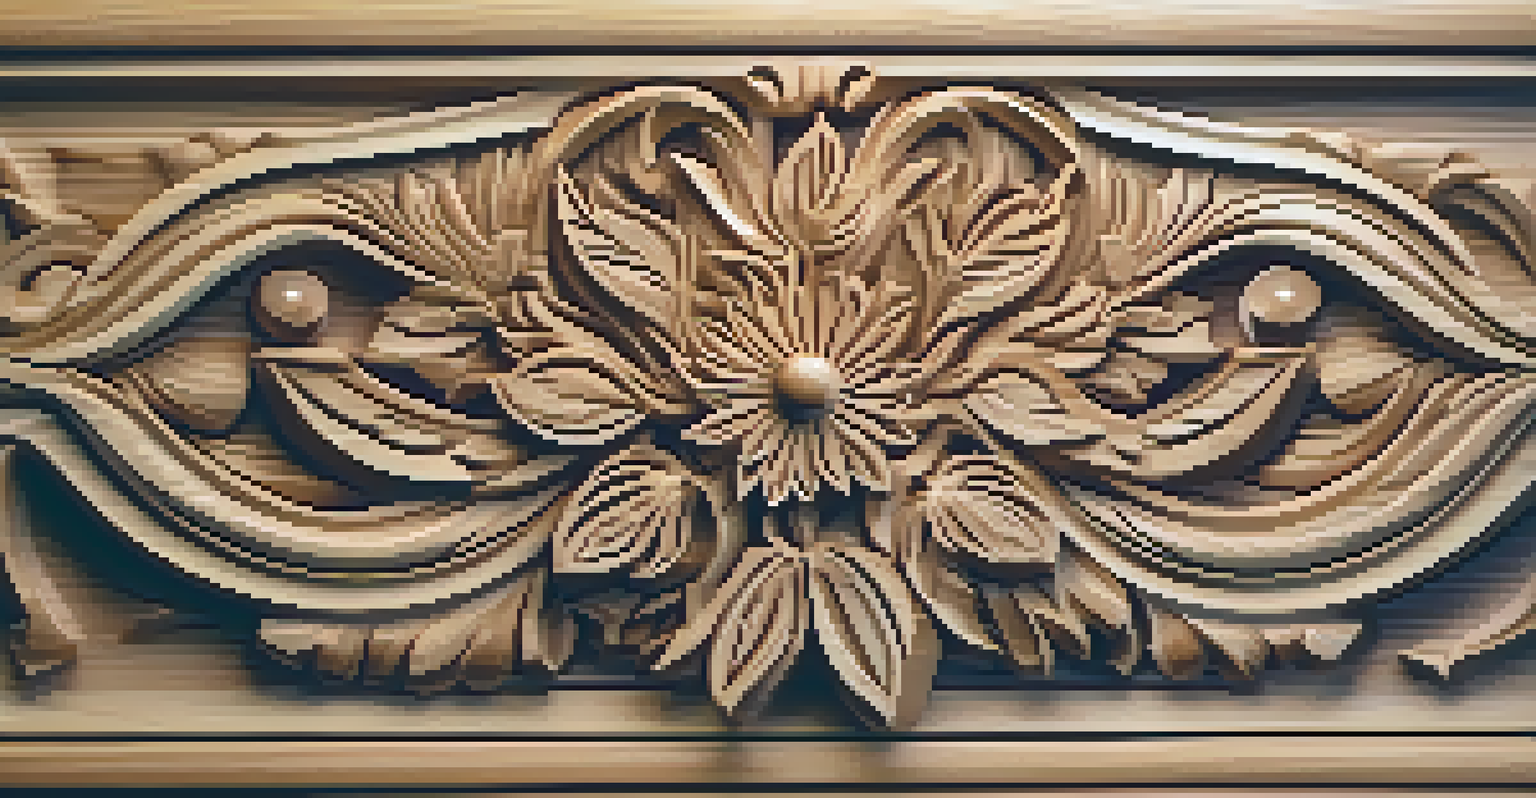
Creating Unique Designs with Patterns
Designing your piece can be one of the most enjoyable aspects of carving. Start by sketching your ideas on paper before transferring them to the wood. Patterns can range from simple geometric shapes to intricate floral designs, allowing you to express your creativity freely.
Using templates can also assist in maintaining consistency in your designs. You can print out shapes, cut them out, and trace them onto your wood. This method simplifies the process, especially for beginners who might find freehand drawing challenging.
As you become more comfortable, experiment with combining different patterns or incorporating textures into your designs. Remember, there’s no right or wrong in art; the goal is to create something that resonates with you. Embrace the journey of finding your unique style as you carve.
Finishing Touches to Enhance Your Carving
Once your carving is complete, the finishing touches are what truly bring your piece to life. Start with sanding to smooth any rough edges and ensure a pleasant finish. This step is crucial, especially when working with repurposed wood, as it often has splinters or uneven surfaces.
After sanding, consider applying a finish such as wood oil, varnish, or paint to protect your work and enhance its appearance. Each finish offers different benefits—oil can bring out the wood's natural beauty, while paint allows for vibrant colors and designs. Choose based on your desired outcome.
Enhance Your Project with Finishes
Applying finishes like wood oil or varnish after carving not only beautifies your work but also protects it from damage.
Finally, don’t forget to seal your piece, especially if it will be used outdoors or in high-moisture areas. A good sealant will protect your work from the elements and ensure its longevity. These finishing touches not only beautify your carving but also show your dedication and craftsmanship.
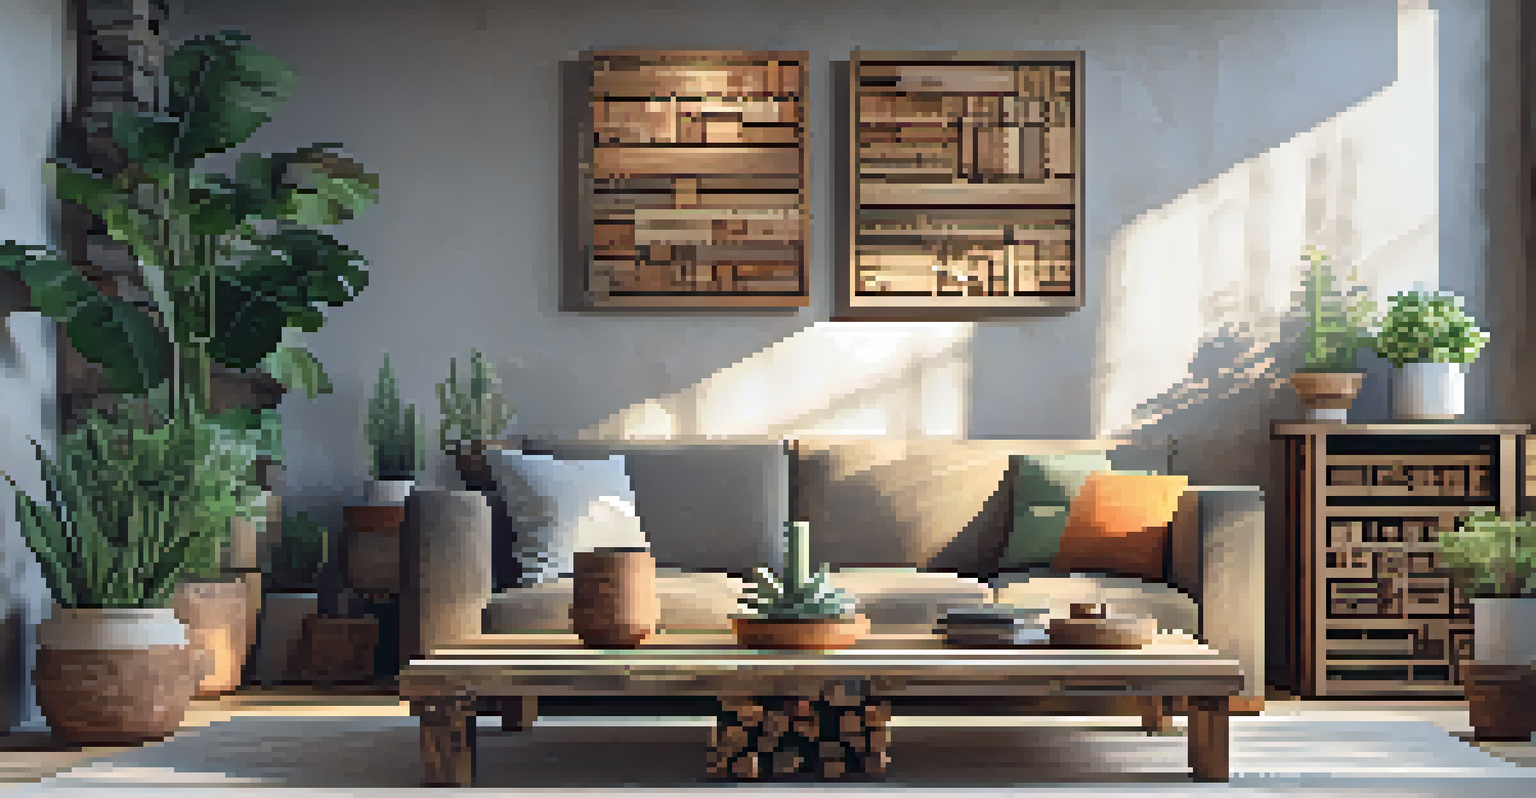
Ideas for Repurposing Pallet Wood in Your Projects
Repurposing pallet wood opens a world of creative possibilities. From furniture to decorative items, the options are nearly endless. Consider creating a rustic coffee table, a unique wall art piece, or even small planters to add charm to your home or garden.
Another fun idea is making personalized gifts. Custom carvings on coasters, keychains, or even signs can add a heartfelt touch to your presents. Friends and family will appreciate the effort and thoughtfulness that goes into handmade gifts.
Lastly, think about collaborating with others in the crafting community. Joining workshops or online groups can provide inspiration and motivation for your projects. Sharing ideas and techniques not only enhances your skills but also connects you with fellow wood enthusiasts who share your passion.