Carving with Recycled Glass: Safety Tips and Techniques
Understanding the Importance of Safety Gear
When embarking on the creative journey of carving recycled glass, safety gear is your best friend. Just like a knight dons armor before a battle, you should equip yourself with protective equipment. This includes safety goggles to shield your eyes from tiny shards, and gloves to protect your hands from cuts.
Safety isn't expensive, it's priceless.
In addition to goggles and gloves, consider wearing a dust mask. Glass can produce fine particles that may irritate your lungs, so keeping your airways clear is essential for a comfortable crafting experience. It’s a small step that can make a big difference in your overall safety.
Lastly, don’t forget about sturdy clothing. Wearing long sleeves and durable pants can help minimize the risk of injury, especially if you accidentally scrape against a rough edge. Investing in your safety gear is investing in your creativity!
Choosing the Right Tools for Glass Carving
Selecting the appropriate tools is crucial for a successful glass carving project. Just as a painter chooses brushes based on their canvas, you should pick tools tailored for glass. Common options include diamond-coated bits for drills and specialized glass cutters that offer precision.
Using the right tools not only makes your work easier but also enhances safety. For example, a proper glass cutter minimizes the risk of shattering the glass, which can lead to dangerous flying shards. Always ensure your tools are sharp and well-maintained to avoid unnecessary accidents.
Safety Gear is Essential
Wearing safety gear like goggles, gloves, and dust masks is crucial for protecting yourself while carving glass.
Don’t hesitate to seek recommendations or read reviews on glass carving tools. Sometimes, a little research can lead you to the perfect tool that matches your skill level and project needs, ultimately making your carving experience smoother and safer.
Preparing Your Workspace for Safety and Efficiency
Creating a safe and efficient workspace is the foundation of successful glass carving. Think of it as setting the stage for a concert; everything needs to be in its right place. Start by choosing a flat, stable surface that can absorb vibrations and prevent accidents.
The tools you choose can make or break your creative process.
Next, ensure your workspace is well-lit. Good lighting allows you to see the details clearly, helping you avoid mistakes and enhancing safety. Natural light is ideal, but if that’s not possible, invest in a good quality lamp to illuminate your area.
Finally, declutter your workspace. Keep only the necessary tools and materials within reach to minimize distractions. A clean space not only fosters creativity but also significantly reduces the risk of accidents.
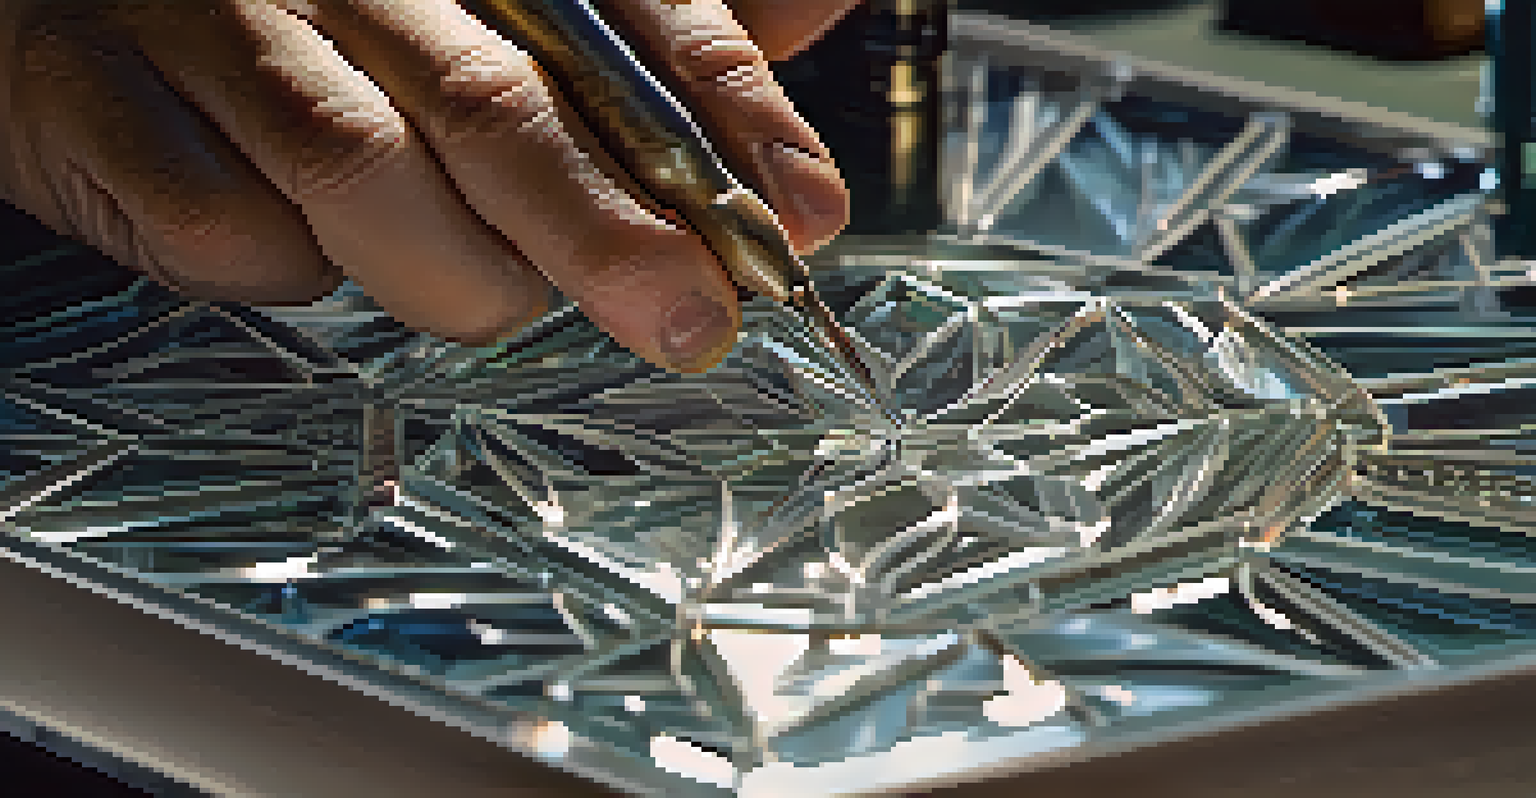
Mastering Basic Glass Carving Techniques
Before diving into intricate designs, it’s wise to master basic glass carving techniques. Think of it like learning to walk before you run. Start with simple shapes and practice the pressure you apply while cutting; controlling your pressure can help prevent breakage.
Utilize a consistent speed when carving. Going too fast can create jagged edges, while going too slow might lead to unnecessary pressure on the glass. Finding that sweet spot takes practice, but it's essential for achieving smooth results.
Choose the Right Tools
Selecting appropriate tools for glass carving enhances both safety and the quality of your work.
Lastly, don’t hesitate to experiment. Each piece of glass is unique, and with patience, you’ll discover what works best for you. Remember, every artist was once a beginner!
Dealing with Glass Shards and Debris
As you carve, glass shards and debris will inevitably accumulate in your workspace. Think of it like cleaning up after a fun craft session; it’s part of the process. Regularly stopping to clear away these pieces not only keeps your area tidy but also ensures your safety.
Use a small broom and dustpan or a vacuum designed for fine particles to collect shards efficiently. Be mindful not to use your hands to pick up sharp pieces; this can lead to cuts. Instead, use a spatula or similar tool to sweep shards into your dustpan.
After your project, always dispose of glass scraps properly. Some local recycling centers accept glass waste, so check your community guidelines. This not only keeps your environment clean but also contributes to sustainability!
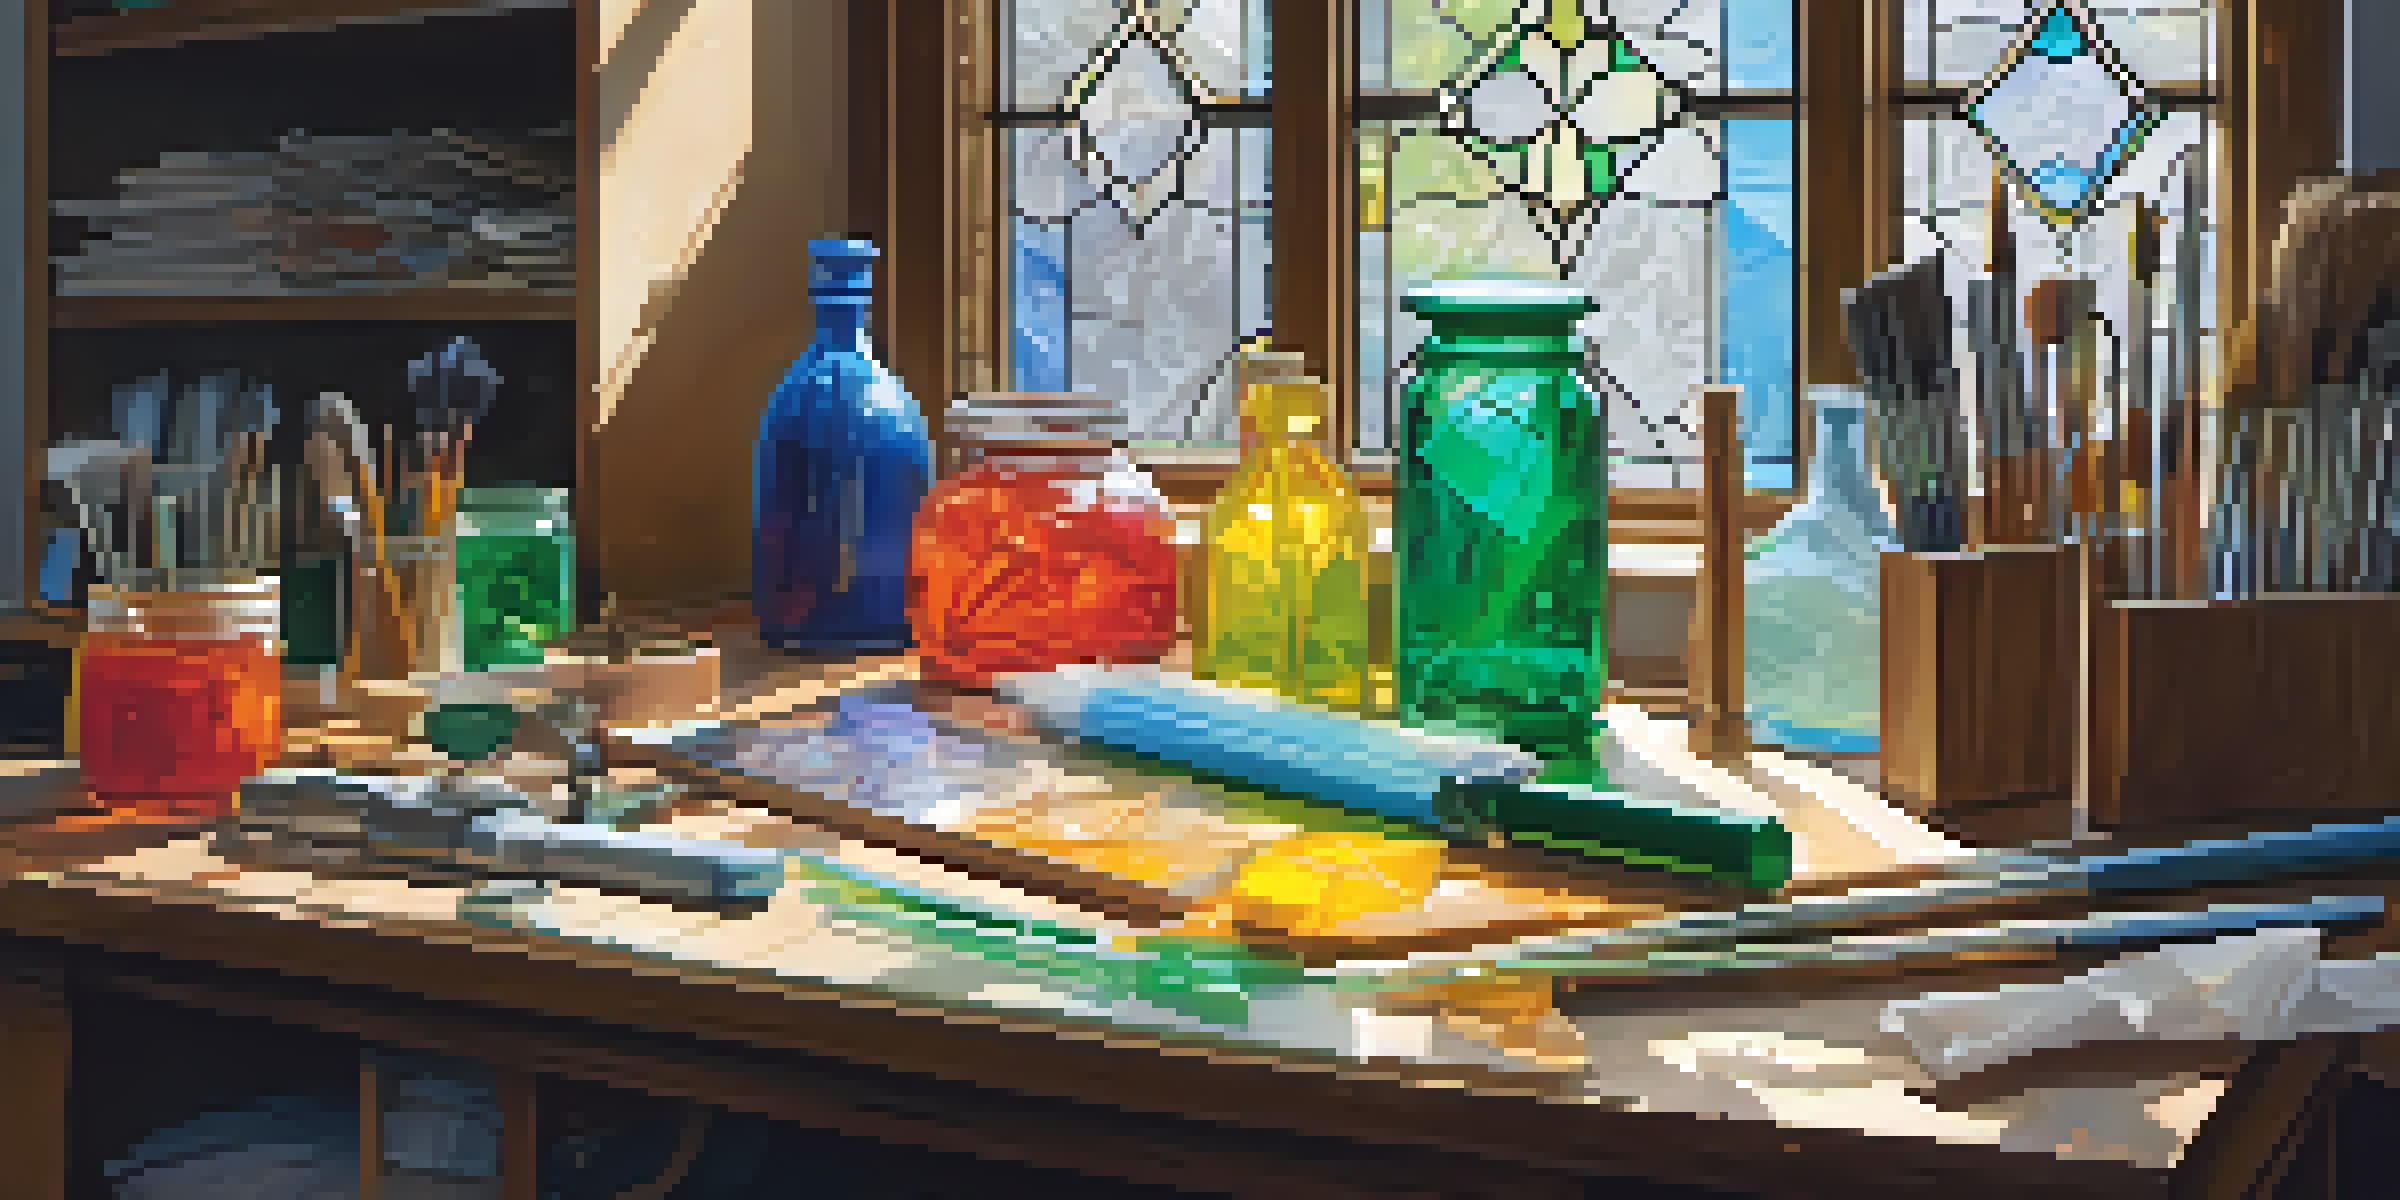
Understanding Glass Types and Their Unique Properties
Not all glass is created equal, and understanding the different types can significantly impact your carving experience. For instance, tempered glass is stronger and more resistant to breaking, while stained glass offers vibrant colors but can be more brittle. Knowing these properties helps you choose the right glass for your project.
Each type of glass also reacts differently to various tools and techniques. Some might require more delicate handling, while others can withstand more aggressive carving methods. Familiarizing yourself with these characteristics allows you to adapt your approach accordingly.
Maintain a Clean Workspace
A decluttered and well-lit workspace is key to ensuring safety and efficiency during your glass carving projects.
Ultimately, experimenting with different glass types can open up a world of creativity. As you explore, you’ll discover which types resonate with your style and project goals, making your carving journey even more enjoyable.
Finishing Touches: Polishing and Cleaning Your Glass Artwork
After carving, the finishing touches can truly elevate your glass artwork. Think of polishing as the final brushstroke in a painting; it brings everything together. Use a soft cloth and a specialized glass cleaner to remove any smudges and enhance the shine.
You might also consider using finer grit sandpaper to smooth edges and give your piece a polished look. This step not only improves aesthetics but also ensures that your artwork is safe to handle, as sharp edges can be hazardous.
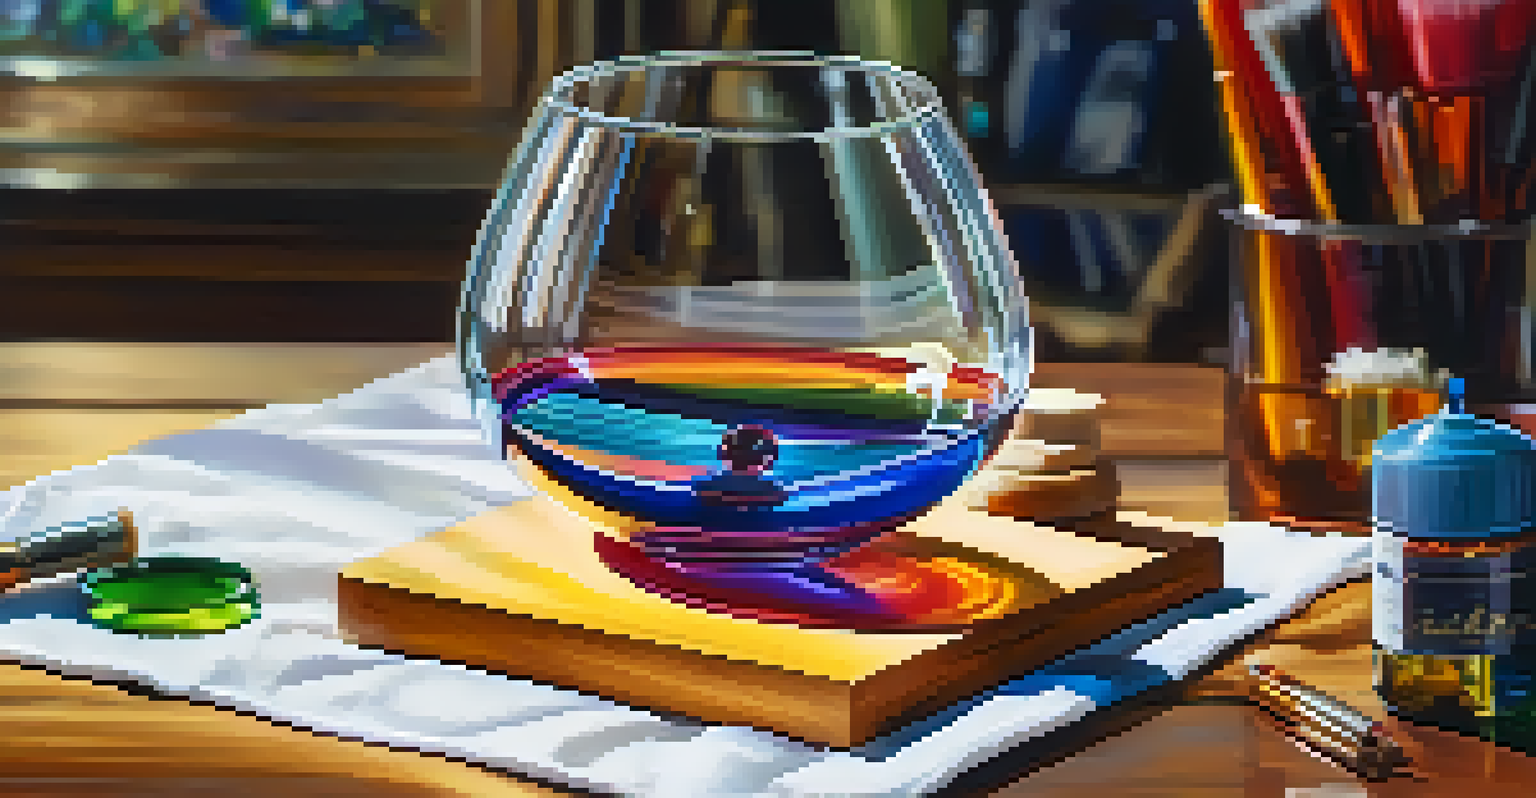
Finally, consider displaying your finished piece in a location where it can be appreciated. Whether as a centerpiece on a table or a hanging decoration, the right display spot can showcase your hard work and creativity, inviting admiration from friends and family.