Creating Unique Sculptures from Recycled Cardboard
Why Choose Cardboard for Sculpture Making?
Cardboard is a versatile and accessible material for sculptors of all levels. It's lightweight, easy to manipulate, and often free if you repurpose old boxes. This accessibility makes it an excellent choice for anyone looking to dive into the world of sculpture without breaking the bank.
Art enables us to find ourselves and lose ourselves at the same time.
Moreover, using cardboard encourages creativity and innovation. Artists can experiment with different textures and forms, allowing for unique creations that showcase their personal style. The tactile nature of cardboard invites hands-on exploration, making the artistic process more engaging.
Finally, working with recycled materials like cardboard promotes sustainability. As we become more aware of our environmental impact, choosing cardboard allows artists to contribute to eco-friendly practices while producing beautiful art. It's a win-win situation for both artists and the planet!
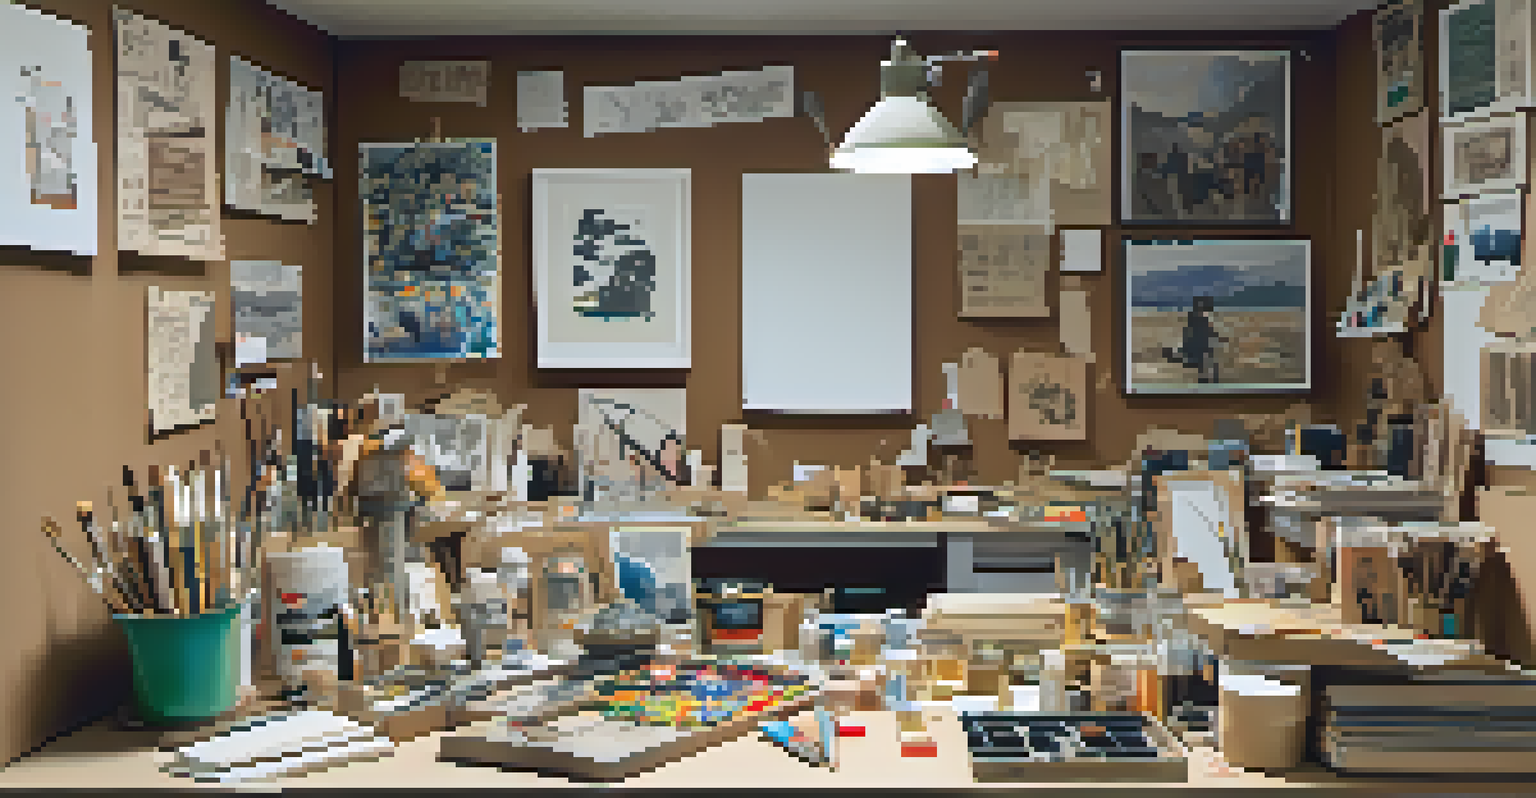
Gathering Your Materials and Tools
To get started, you'll need some basic materials: cardboard, scissors, a craft knife, glue, and paint. Look around your home for old boxes or packaging; they can all be transformed into art. Make sure to collect a variety of cardboard types, as different textures can add depth to your sculptures.
In addition to the basics, consider adding some embellishments. Items like buttons, fabric scraps, or even old magazines can enhance your sculpture's design. Incorporating mixed media can elevate your piece and provide a more dynamic visual experience.
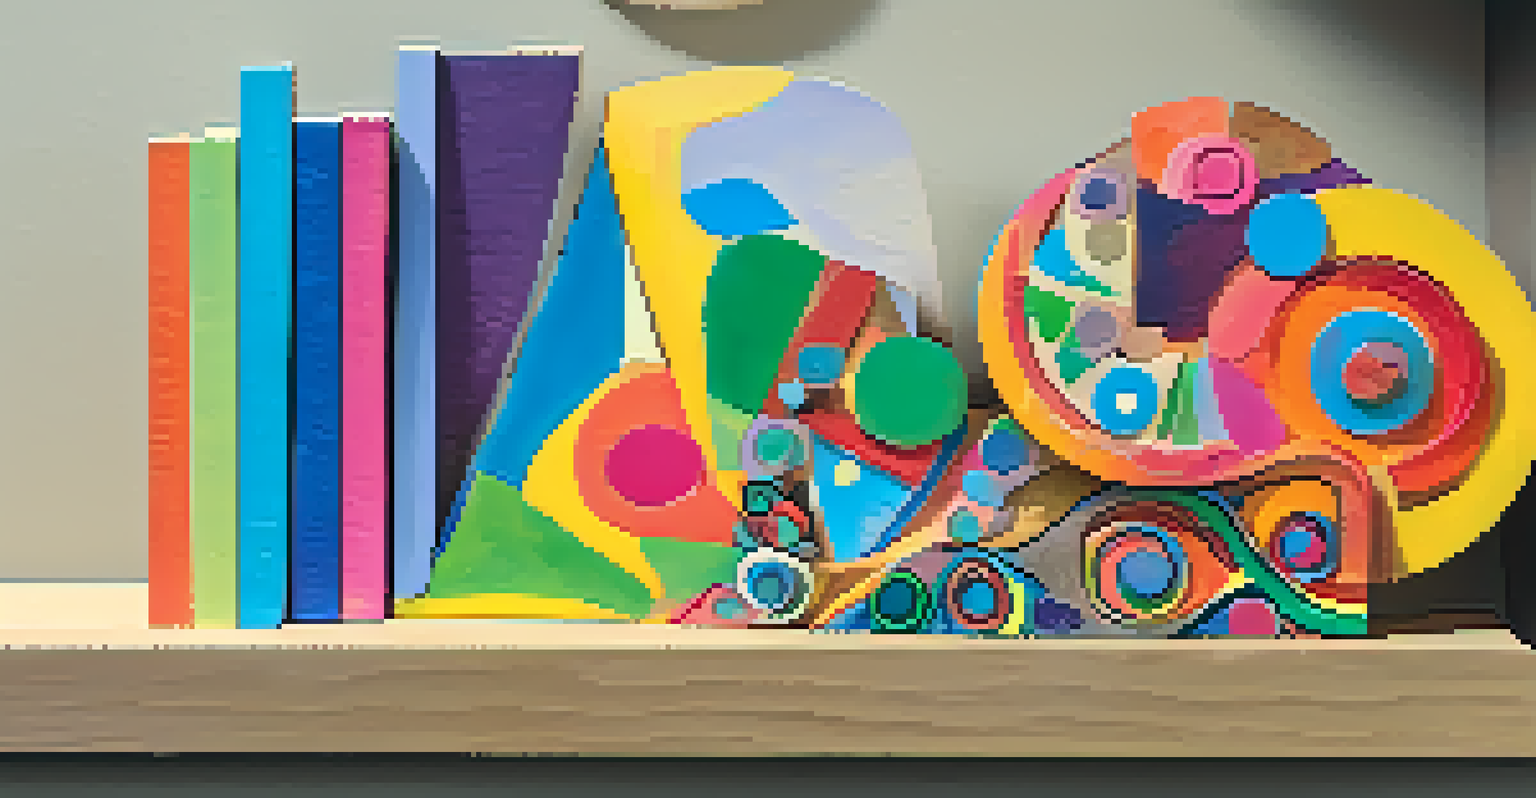
Cardboard: Affordable Art Material
Cardboard is a lightweight and accessible material that encourages creativity without the high costs of traditional sculpture supplies.
Lastly, don't forget about your workspace! A clean, well-lit area will help you focus and enjoy the creative process. Setting up a dedicated art space also allows you to keep your tools organized and ready for your next artistic adventure.
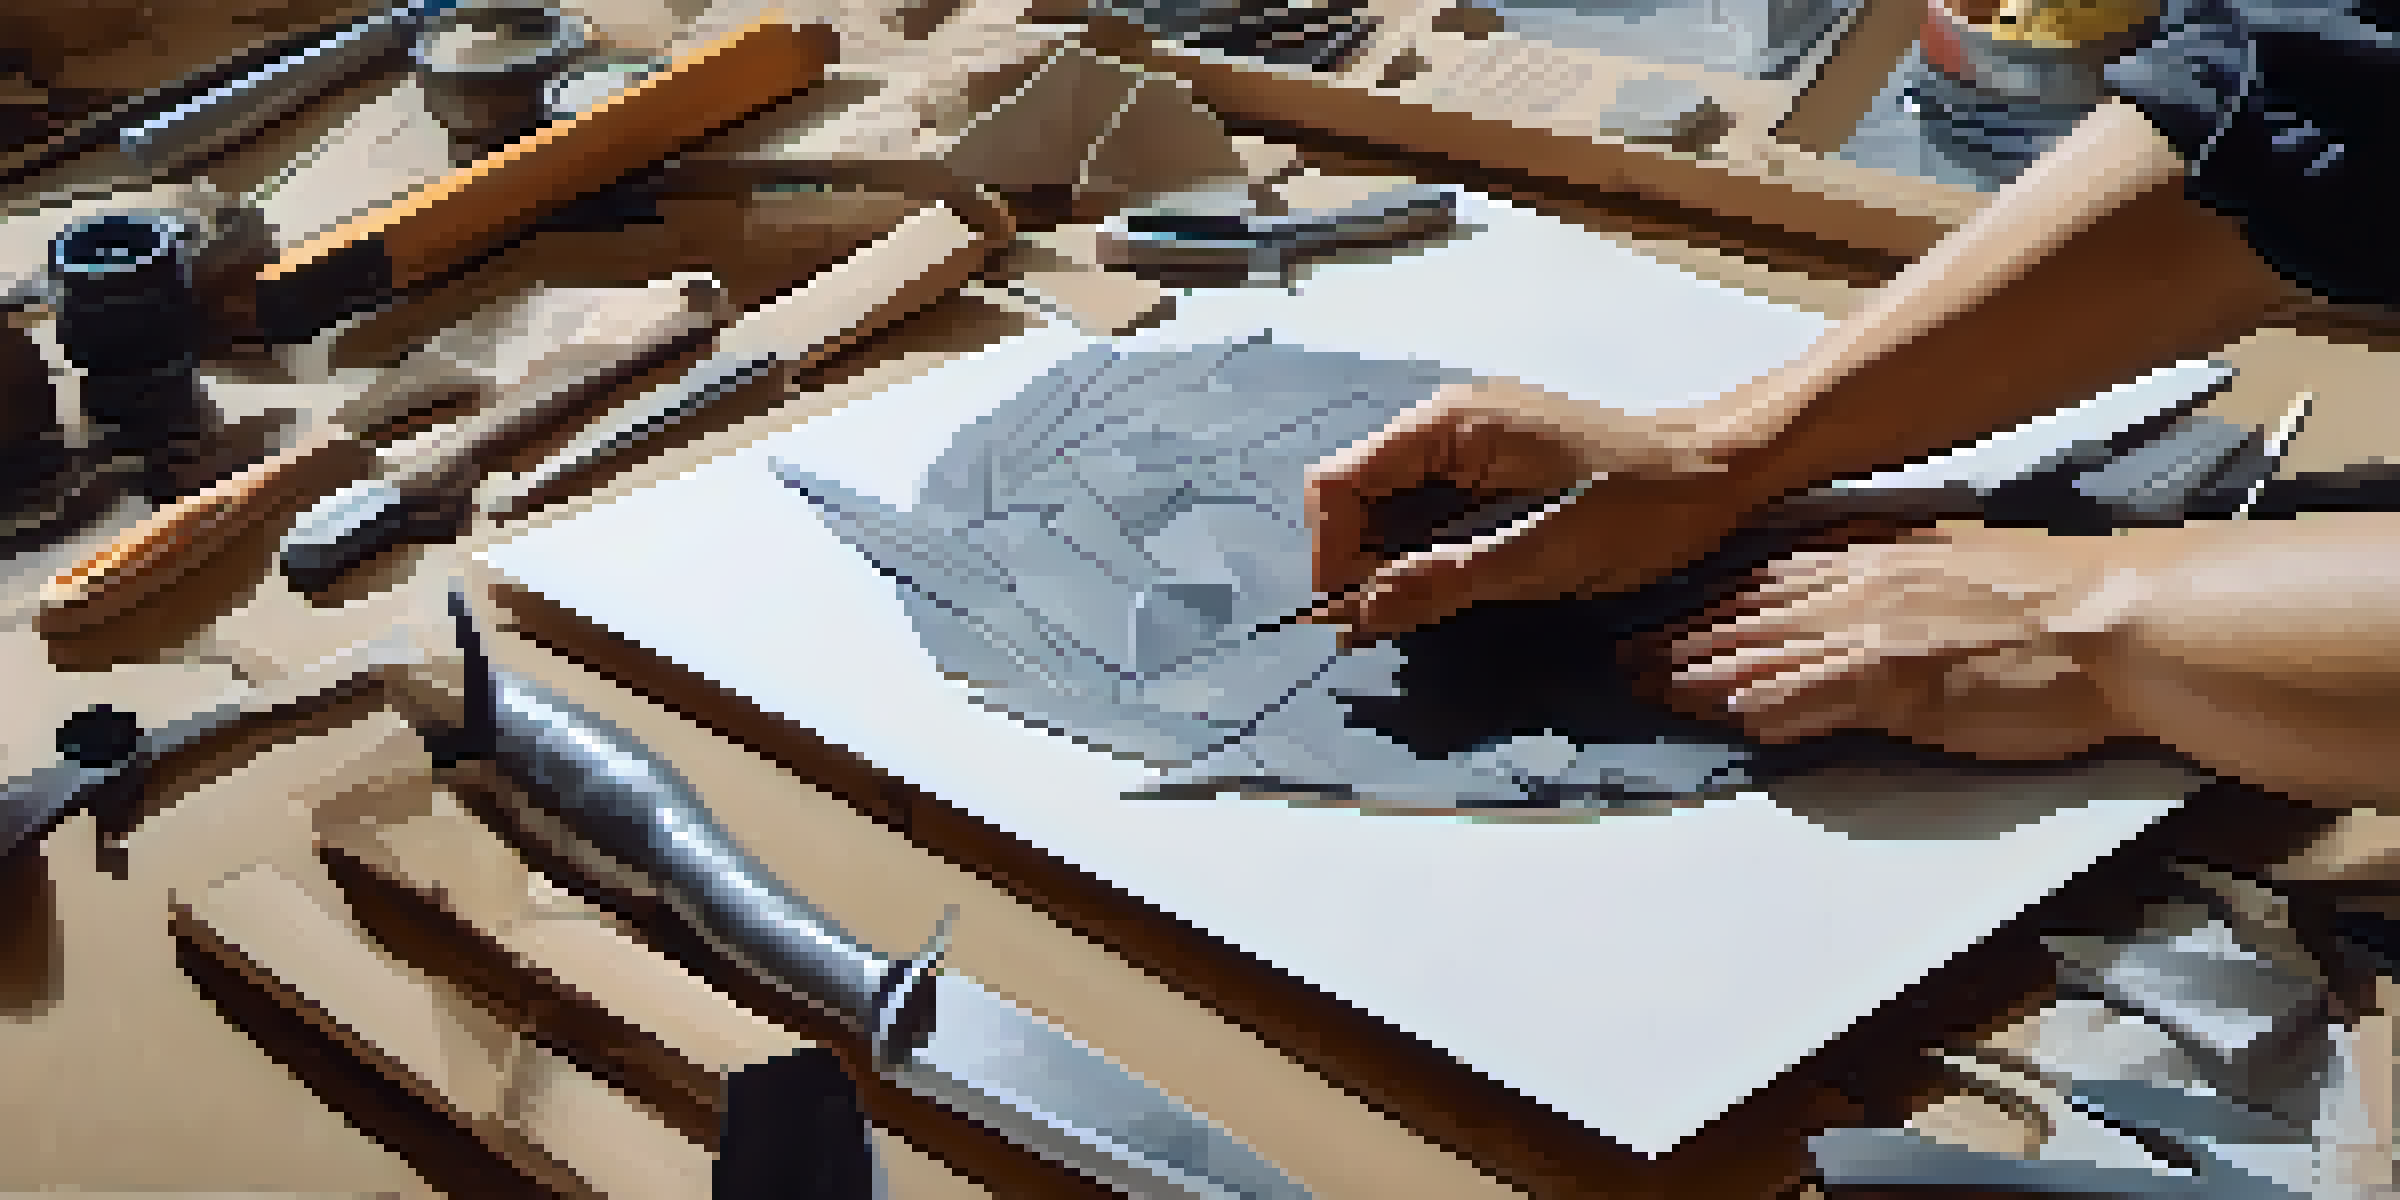
Sketching Your Sculpture Ideas
Before diving into cutting and gluing, take some time to sketch your ideas. This step helps to clarify your vision and plan out the structure of your sculpture. Even rough sketches can serve as a guide and make the building process smoother.
The best artist has no conception that a marble block does not contain within itself.
As you sketch, think about the shapes and forms you want to create. Cardboard can be layered, bent, and cut in various ways, so don't be afraid to experiment with different designs. Consider how your sculpture will look from multiple angles, ensuring it’s visually interesting from all sides.
Once you have a solid idea, make a list of the materials you'll need for each part of your sculpture. This will help streamline your process and keep you focused, making the transition from paper to physical art easier and more enjoyable.
Cutting and Shaping Your Cardboard
Now comes the fun part: cutting and shaping your cardboard! Use scissors for simple cuts and a craft knife for more intricate designs. Always remember to work carefully, especially when using a craft knife, to avoid any accidents.
After cutting out your shapes, think about how to assemble them. Cardboard can be layered or folded to create depth, so explore different techniques to see what works best for your design. You might even find that some happy accidents lead to unexpected results!
Sketching for Better Sculptures
Taking time to sketch your ideas helps clarify your vision and streamline the building process for your sculpture.
As you shape your cardboard pieces, keep referring back to your sketches. This will help you stay on track and ensure that your final sculpture aligns with your original vision. Plus, it gives you a chance to make adjustments along the way, leading to a more polished piece.
Assembling Your Sculpture: Tips and Tricks
When it comes to assembling your sculpture, start with the larger pieces first and gradually add smaller details. This approach helps create a solid foundation and ensures that your sculpture remains stable. Use a strong adhesive that works well with cardboard, such as PVA glue or hot glue, to secure your pieces together.
Don’t be afraid to use weights or clamps to hold parts in place while the glue dries. This little trick can save you from frustration and ensure your sculpture maintains its intended shape. Patience is key during this process, so give your glue ample time to set.
As you build, step back periodically to assess your work. This will give you a fresh perspective on the overall composition and help you identify areas that might need tweaking. Remember, art is subjective—trust your instincts and allow your creativity to flourish!
Adding Color and Finishing Touches
Once your sculpture is assembled, it's time to add color! Acrylic paints are a popular choice for cardboard, as they adhere well and offer vibrant hues. Feel free to experiment with different techniques, such as dry brushing or sponging, to add texture and depth to your artwork.
Additionally, consider applying a sealant or varnish to protect your sculpture and give it a polished finish. This step not only enhances the look but also increases its durability, especially if it will be displayed in a location exposed to moisture or dust.
Showcase Your Art Creatively
Displaying your finished sculpture in various settings and sharing it on social media can enhance appreciation and inspire others.
Finally, don’t forget about the details! Small additions like glitter, beads, or even natural elements like twigs can elevate your sculpture and make it truly unique. These finishing touches can transform an ordinary piece into an extraordinary work of art.
Showcasing Your Cardboard Creations
After all your hard work, it’s time to showcase your masterpiece! Consider where you'd like to display your sculpture—whether it's on a shelf, in a gallery, or even outdoors. Each setting can dramatically affect how your artwork is perceived.
If you're proud of your creation, share it with others! Social media platforms are a fantastic way to display your work and connect with fellow artists. You might even find inspiration from others' creations, sparking new ideas for future projects.
Lastly, consider participating in local art shows or community events that focus on recycled art. These opportunities not only allow you to share your work but also to engage with other creative minds who value sustainability and artistry. It's a fulfilling way to celebrate your art journey!