Top 10 Carving Techniques to Master in Educational Programs
Understanding the Basics of Carving Techniques
Before diving into specific carving techniques, it's crucial to understand the basics. Carving involves the removal of material from a solid object to create a desired shape or design. This foundational knowledge sets the stage for mastering more complex techniques and projects.
Art is not freedom from discipline, but disciplined freedom.
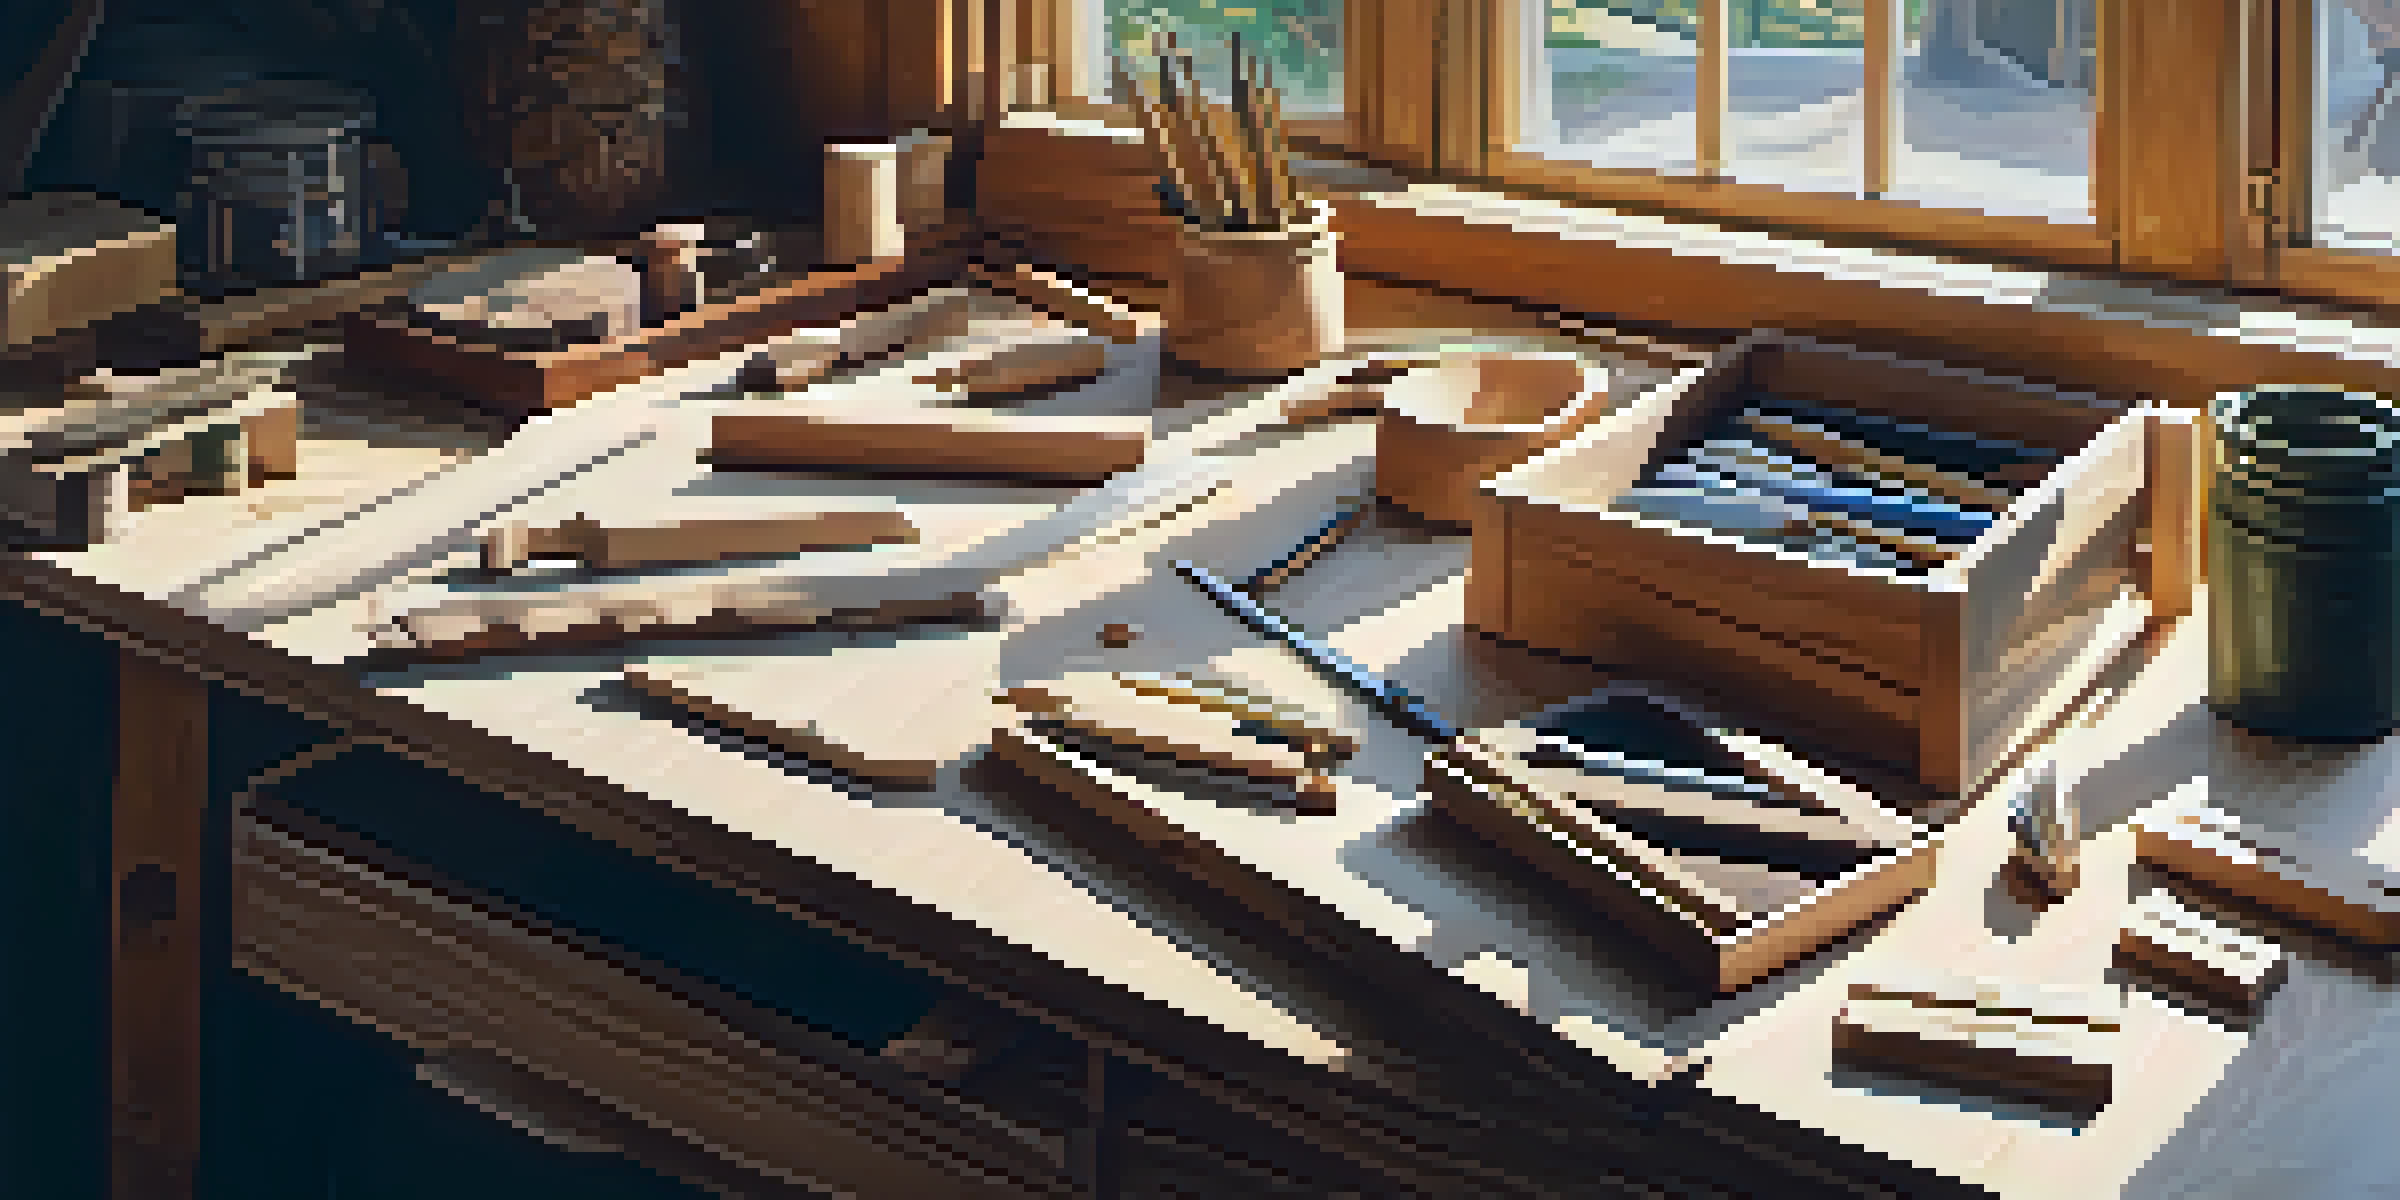
In educational programs, students are often introduced to various tools and materials used in carving. Familiarizing oneself with the right tools, be it knives, chisels, or power tools, can significantly impact the quality of the work produced. Understanding the properties of different materials, such as wood, stone, or foam, is equally important.
By grasping these fundamental concepts, students can approach their carving projects with confidence. This strong foundation not only encourages creativity but also fosters precision in their work, paving the way for further exploration into advanced techniques.
Mastering Whittling for Fine Detail Work
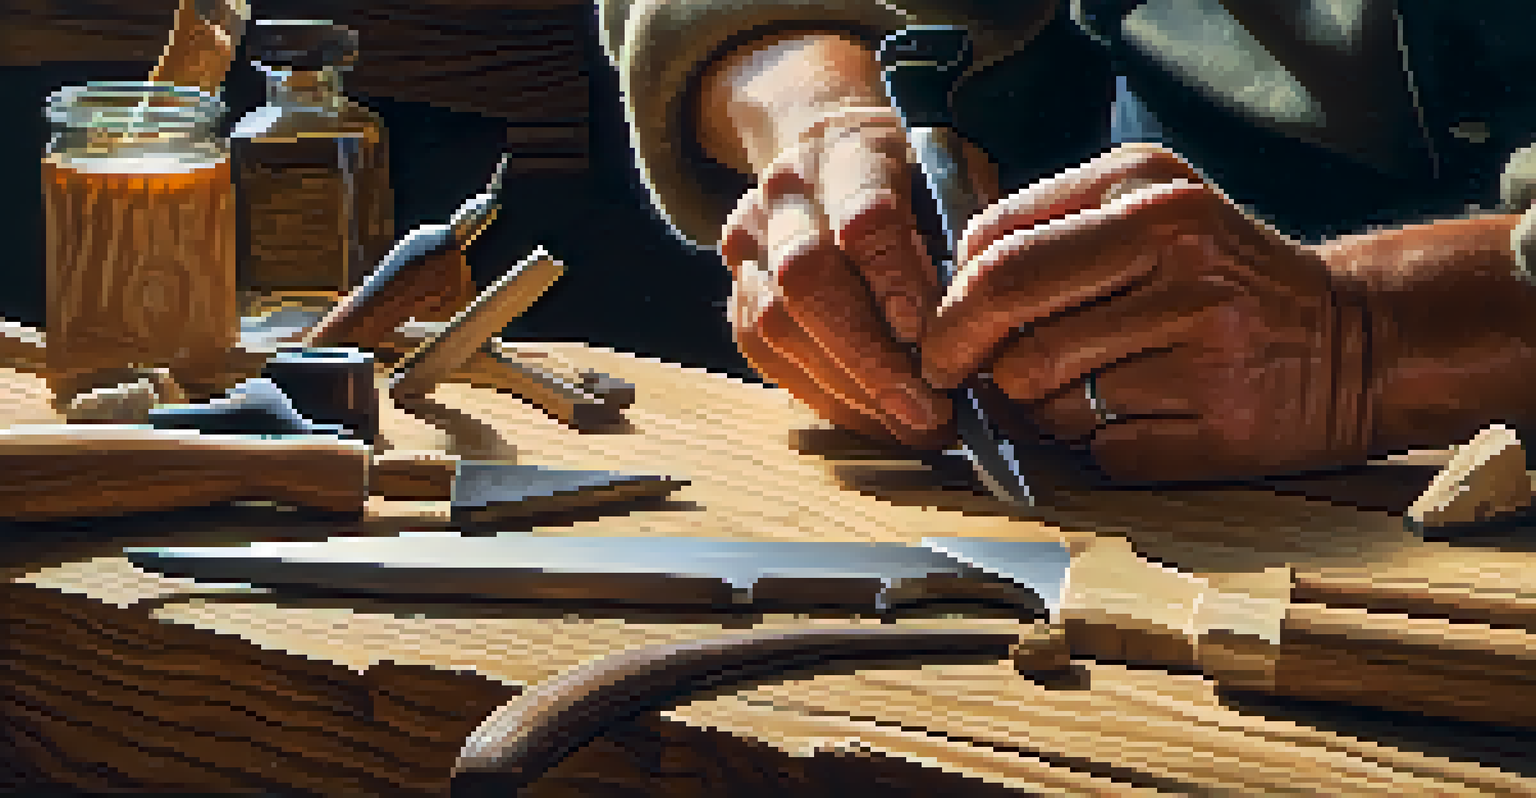
Whittling is a classic carving technique that involves shaping wood into intricate designs using just a knife. This technique is perfect for beginners, as it requires minimal tools and allows for a hands-on learning experience. With practice, students can create beautiful decorative pieces or functional items like spoons and figurines.
One of the great things about whittling is its emphasis on patience and precision. Students learn to take their time, developing a steady hand and an eye for detail. This technique not only enhances their carving skills but also instills a sense of accomplishment with each completed piece.
Master Basic Carving Techniques
Understanding foundational carving techniques and tools is essential for building confidence and creativity in students.
Encouraging students to keep a whittling project in their toolkit can foster ongoing practice and creativity. Over time, they can experiment with different types of wood and designs, further honing their skills and expanding their artistic repertoire.
Exploring Chip Carving for Decorative Patterns
Chip carving is a decorative technique that involves removing chips of wood to create intricate patterns and designs. This technique is known for its geometric shapes and can add a unique touch to any project. It's often seen in furniture, home decor, and even art pieces.
Creativity takes courage.
In educational programs, students can learn chip carving by practicing on small pieces of wood. Starting with simple designs allows them to build confidence and skill before tackling more complex patterns. Additionally, this technique encourages creativity as students can customize their designs.
As students progress, they can experiment with various tools and materials to enhance their chip carving. This exploration not only broadens their technical abilities but also nurtures their artistic expression, making chip carving a valuable skill in their carving toolkit.
Relief Carving: Creating Depth and Dimension
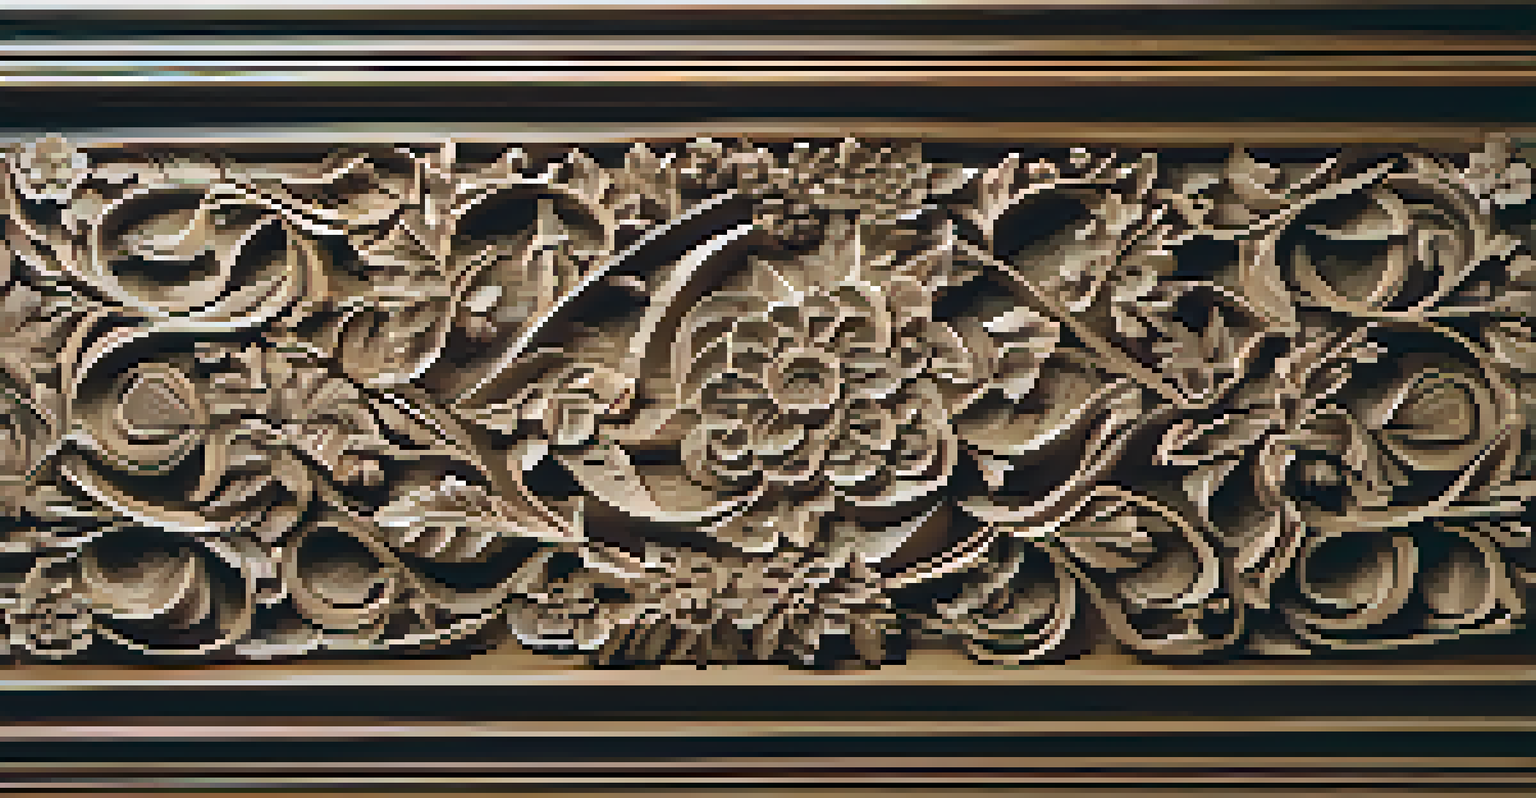
Relief carving is a technique that involves carving an image into a flat surface, giving it a three-dimensional appearance. This technique is commonly used in creating decorative panels and sculptures. Students will appreciate how relief carving can transform a flat piece of wood into a captivating artwork.
In educational settings, relief carving can serve as a fantastic project for students to practice their skills. By starting with simpler designs, they can gradually learn to create more intricate and detailed images. This progression helps develop their understanding of depth, shadow, and light in their work.
Explore Various Carving Styles
Students can enhance their skills and artistic expression by experimenting with different carving techniques like whittling, chip carving, and relief carving.
Moreover, relief carving teaches students about composition and design principles. As they learn to visualize their projects in three dimensions, they gain a deeper appreciation for the art of carving, making it an essential technique to master.
Introduction to Power Carving Techniques
Power carving techniques utilize electric tools to achieve intricate designs and faster results. This method is particularly beneficial for students looking to explore more complex projects without the intense manual labor of traditional carving. Tools like rotary tools and die grinders can open up a world of possibilities.
In educational programs, students can be introduced to power carving safely, emphasizing the importance of proper tool usage and safety precautions. With guidance, they can learn how to manipulate these tools to create stunning effects and detailed carvings efficiently.
Power carving not only accelerates the carving process but also allows for greater experimentation with textures and shapes. As students become more comfortable with these tools, they can push their creative boundaries and produce unique pieces that showcase their individual styles.
Learning to Carve with the Grain for Best Results
Understanding wood grain is essential for effective carving. Carving with the grain allows for smoother cuts and reduces the risk of splintering, leading to cleaner results. Students can benefit from learning how to identify the direction of the grain and how it influences their carving techniques.
In educational programs, instructors can demonstrate how different wood types have varying grain patterns. By practicing on various materials, students gain hands-on experience in adjusting their approach based on the grain. This knowledge empowers them to make informed decisions in their projects.
Importance of Finishing Techniques
Mastering sanding and sealing techniques elevates a carved piece's appearance and durability, showcasing attention to detail.
Moreover, recognizing how to work with the grain enhances both the aesthetics and durability of their finished pieces. This skill becomes a vital part of their carving toolkit, ensuring that their creations stand the test of time.
Finishing Techniques: Sanding and Sealing Your Work
Finishing techniques are the final step in the carving process, transforming a rough piece into a polished masterpiece. Sanding is essential for smoothing surfaces and enhancing the wood's natural beauty. Students should learn various sanding techniques to achieve the desired finish on their projects.
After sanding, sealing the piece is crucial to protect it from moisture and wear. There are several options for sealing, including oils, varnishes, or waxes. Educators can guide students in selecting the right finish based on the intended use of their carved items.
By mastering finishing techniques, students can elevate their work and give it a professional touch. This final step not only enhances the appearance but also demonstrates the importance of attention to detail in the art of carving.
Encouraging Creativity Through Carving Projects
Creativity is at the heart of carving, and educational programs should encourage students to explore their artistic visions. By providing a variety of project ideas, from practical items to purely artistic expressions, students can find their unique style and preferences. This exploration fosters a sense of ownership over their work.
Group projects can also be an excellent way to stimulate creativity. Collaborating with peers allows students to share ideas and techniques, inspiring each other to think outside the box. These shared experiences often lead to innovative designs and solutions.
Ultimately, fostering creativity in carving not only enhances technical skills but also nurtures self-expression. As students develop their artistic voice, they become more confident in their abilities, paving the way for a lifetime of creativity and craftsmanship.