Techniques for Applying Paint to Carved Wooden Pieces
Understanding the Basics of Wood Preparation
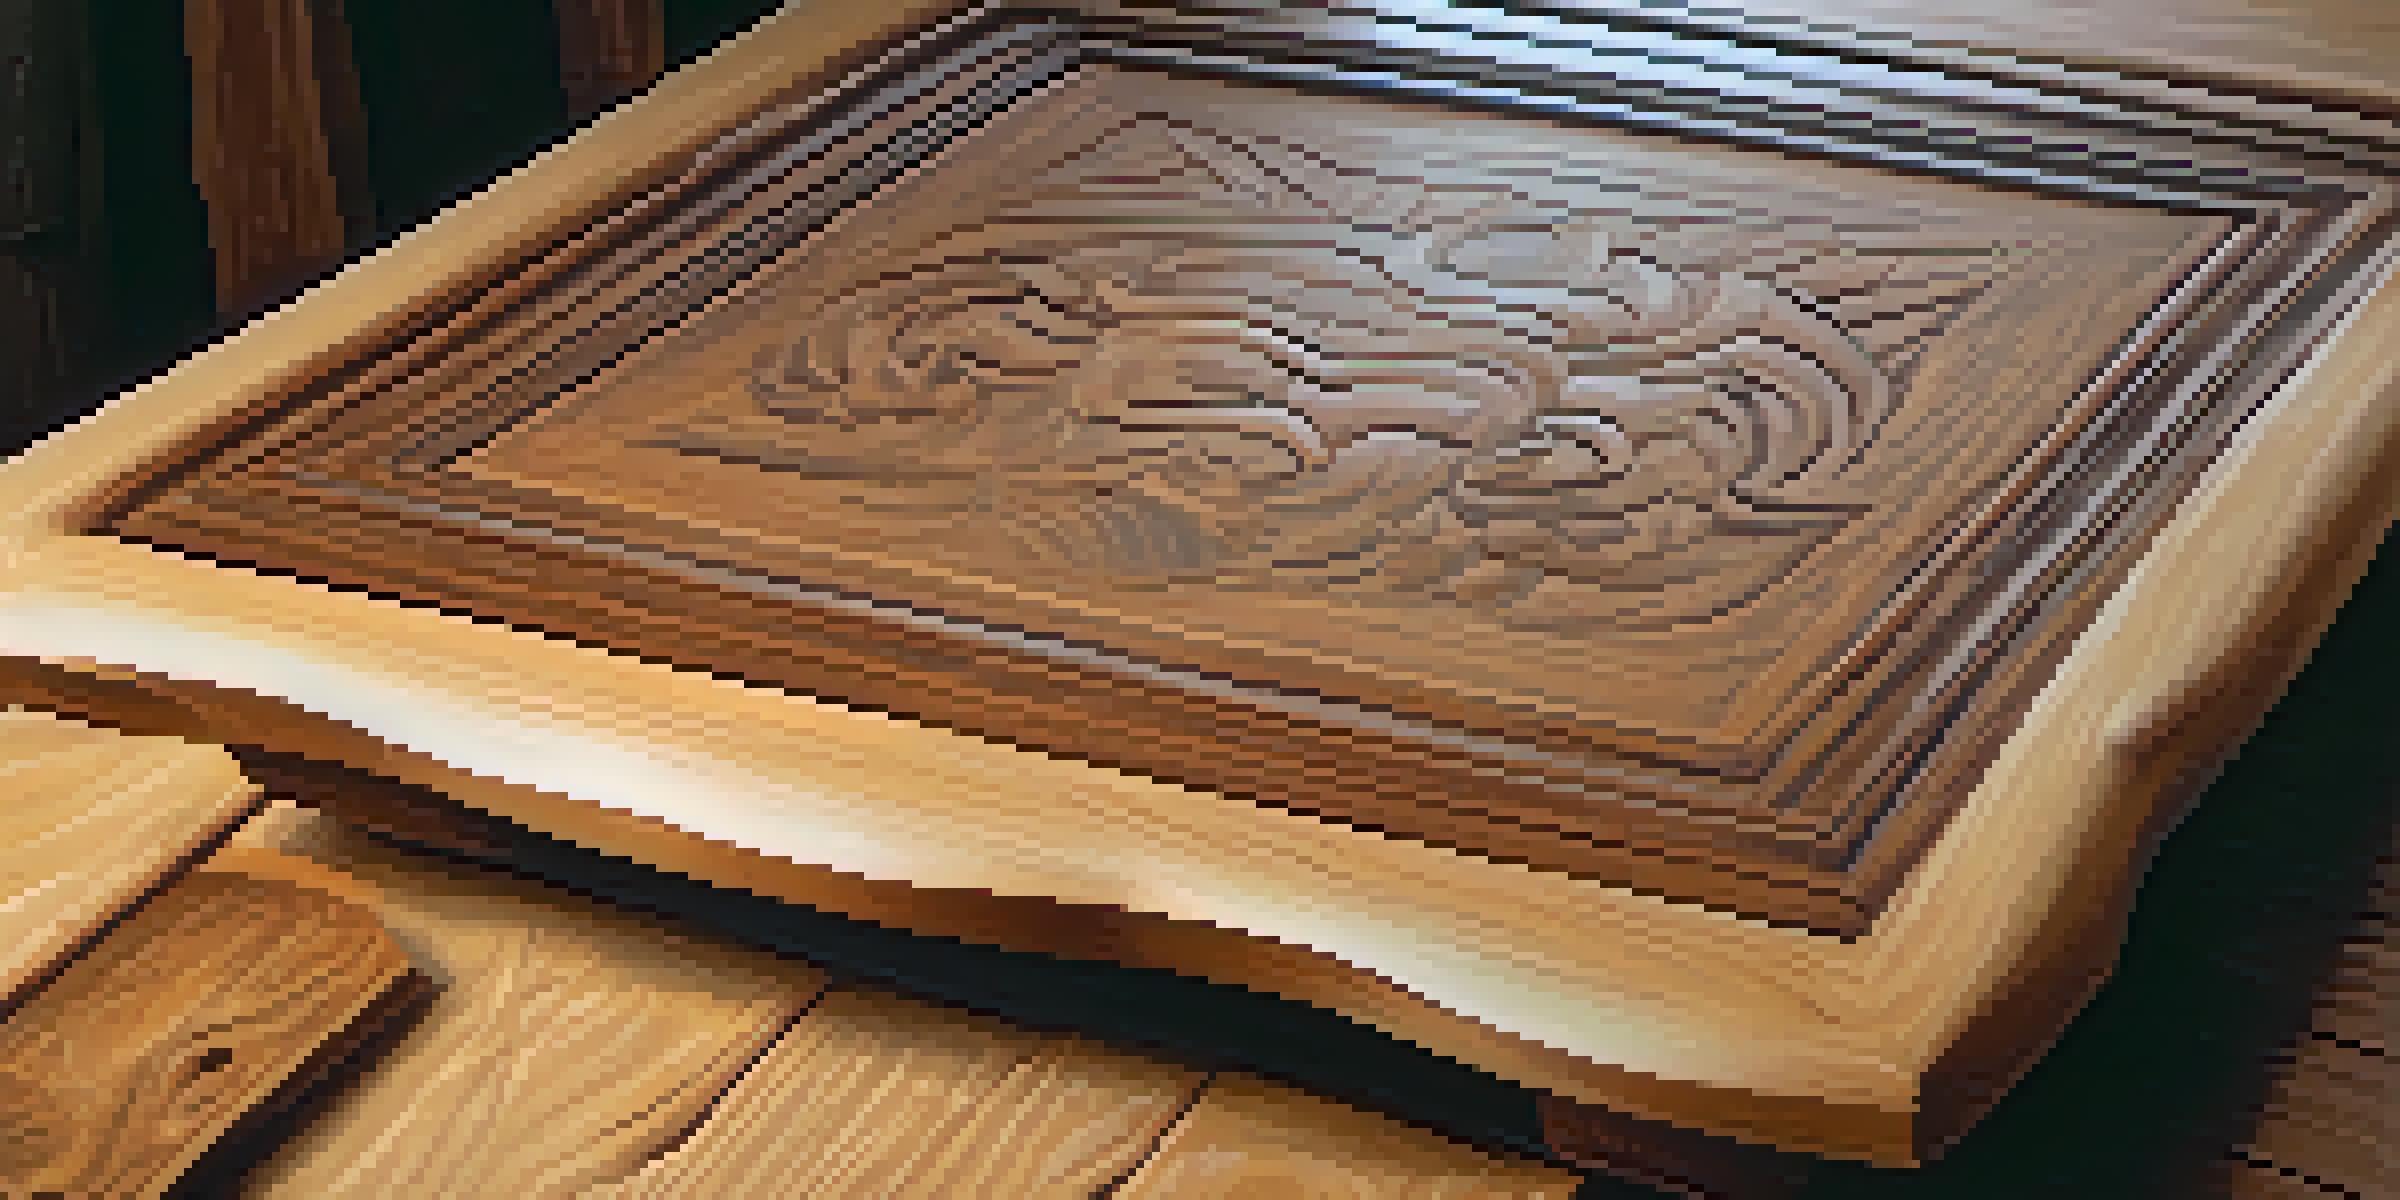
Before applying paint to your carved wooden pieces, it's essential to understand the preparation process. Start by cleaning the surface of any dust or debris, as this can affect how the paint adheres. Use a soft cloth or a brush to gently remove any particles without damaging the wood's intricate details.
The true secret of happiness lies in the taking a genuine interest in all the details of daily life.
Next, consider sanding the surface lightly. This step helps to create a smooth base for the paint to cling to. Use fine-grit sandpaper to avoid scratching the wood while ensuring that the surface is even and ready for the next steps.
Finally, applying a wood primer can significantly improve the finish of your painted piece. A primer not only helps the paint adhere better but also prevents the wood from absorbing too much paint, which can lead to uneven coloring and finish.
Choosing the Right Type of Paint for Wood
When it comes to painting carved wooden pieces, not all paints are created equal. Water-based paints are often preferred for indoor projects due to their quick drying time and lower odor. They also make cleanup a breeze, allowing you to focus more on your artistic expression.
On the other hand, oil-based paints can provide a richer finish and greater durability, making them a solid choice for outdoor pieces. However, they do require a longer drying time and more effort to clean up, as you'll need solvents like turpentine or mineral spirits.
Prepare Wood for Painting
Cleaning, sanding, and priming your wood ensures a smooth surface for paint adhesion and a better finish.
Acrylic paints are another popular option, known for their versatility and vibrant colors. They can be used on wood and dry quickly, making them ideal for detailed work on carved pieces. Be sure to select paints that are specifically formulated for use on wood for the best results.
Techniques for Applying Paint Evenly
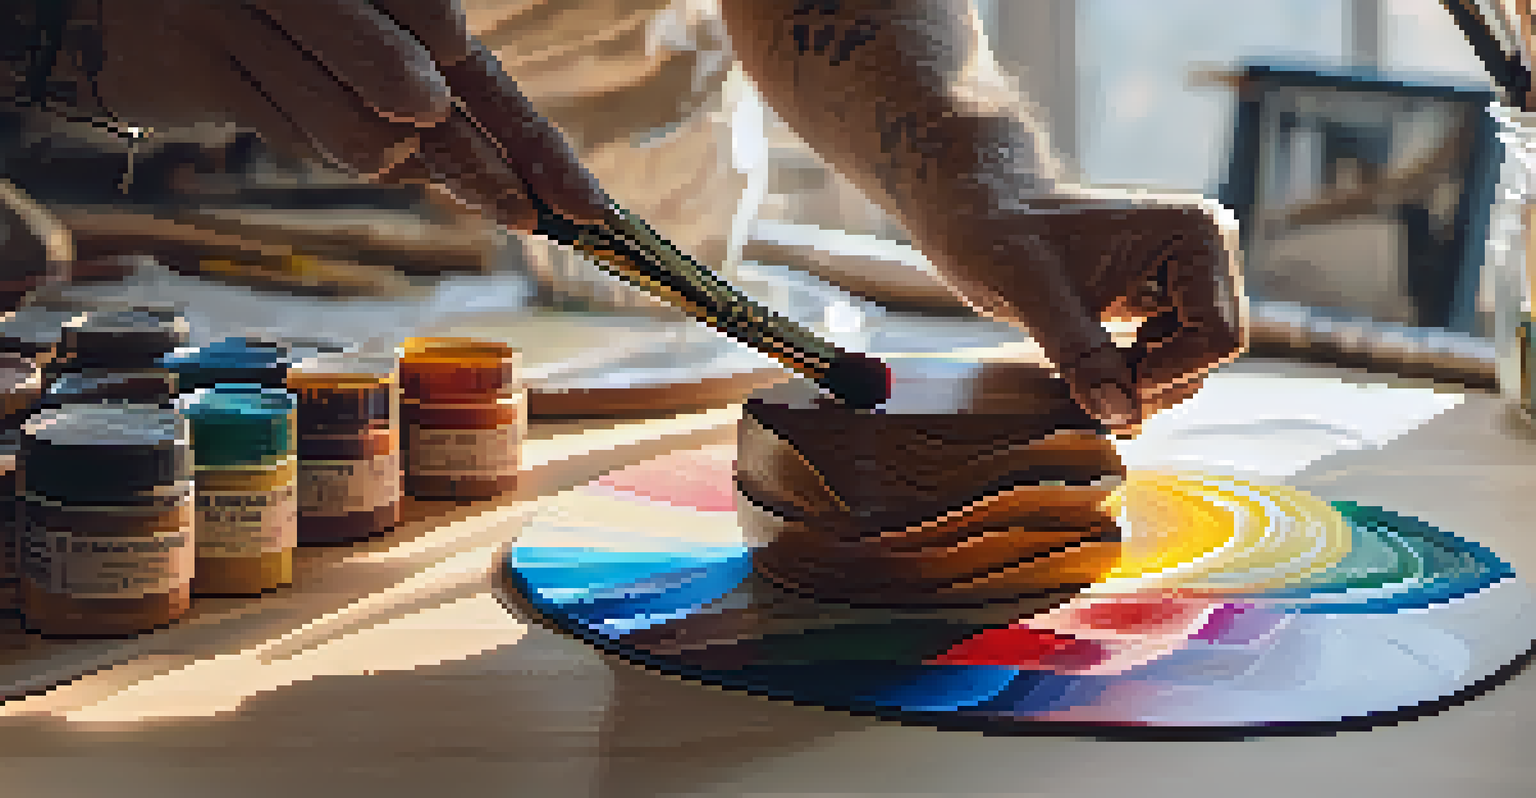
One of the key challenges in painting carved wooden pieces is ensuring an even application of paint. A quality paintbrush can make a significant difference, especially one with fine bristles that can reach into the intricate details of your carvings. Consider using smaller brushes for detailed areas and larger ones for broader strokes.
Art is not what you see, but what you make others see.
Another effective technique is to use a spray paint for a smooth, even coat. This method can save time and help achieve a consistent finish across complex surfaces. Just be sure to practice on a scrap piece of wood first to get the hang of the spray distance and angle.
Additionally, applying thin layers of paint is crucial. Rather than slapping on a thick coat, apply multiple thin layers and allow each one to dry completely before adding the next. This approach not only helps to prevent drips and runs but also enhances the overall depth of color.
Incorporating Techniques for Detailing
Once the base coat is dry, it’s time to add some detailed touches that can truly elevate your carved wooden piece. Techniques like dry brushing can create highlights and add depth to carved areas. This involves using a dry brush with a small amount of paint to lightly coat raised surfaces, enhancing the texture.
Stenciling can also be a fun way to introduce patterns or designs to your piece. Use adhesive stencils that can be easily removed after painting, allowing you to create intricate designs without the need for advanced painting skills.
Choose the Right Paint Type
Selecting the appropriate paint—water-based, oil-based, or acrylic—can significantly impact the durability and appearance of your artwork.
Don’t forget about layering colors! Using a combination of shades can bring your carving to life. Start with a base color and then apply darker shades in the recesses and lighter shades on the raised areas to create a more three-dimensional appearance.
Protecting Your Work with Finishing Coats
After you've painted your carved wooden piece, protecting your artwork is essential for longevity. A clear sealant or topcoat can help shield the paint from scratches, moisture, and UV damage. Choose a finish that complements your paint, whether it’s matte, satin, or gloss, to achieve the desired look.
Applying a finish typically involves using a clean brush to coat the entire surface evenly. Ensure that the paint is completely dry before applying the topcoat, as this will prevent any smudging or damage to your hard work.
For outdoor pieces, consider using a weather-resistant finish. This extra layer of protection will help your artwork withstand the elements, ensuring that it remains vibrant and intact for years to come.
Troubleshooting Common Painting Issues
Even with the best techniques, issues can arise during the painting process. If you notice that your paint is bubbling or peeling, it’s often due to moisture trapped beneath the surface. In such cases, allow the piece to dry completely and gently sand the affected areas before repainting.
Another common issue is paint bleeding into intricate carvings. To prevent this, you can use painter's tape around the edges of detailed areas. This will create a barrier and ensure crisp, clean lines, especially when working with contrasting colors.
Protect and Maintain Your Artwork
Applying a protective finish and regular maintenance will help preserve the beauty and longevity of your painted carved pieces.
If colors appear dull after drying, you may need to apply an additional layer or use a gloss finish to enhance vibrancy. Sometimes, a little extra attention can turn a good project into a great one.
Cleaning and Maintaining Your Painted Pieces
Proper care is crucial to maintaining the beauty of your painted carved wooden pieces. Regular dusting with a soft, dry cloth can help keep your art looking fresh while preventing dirt buildup. Avoid using harsh chemicals, as these can damage the paint and wood.
For deeper cleaning, consider using a damp cloth with mild soap, but be careful not to saturate the wood. After cleaning, ensure the piece is thoroughly dried to prevent moisture damage, especially in carved areas where water may accumulate.

Finally, periodically check for any signs of wear or damage. Touching up paint as needed will keep your artwork looking its best and prolong its lifespan, allowing you to enjoy your creative efforts for years to come.