Combining Techniques: Whittling and Chip Carving Together
Introduction to Whittling and Chip Carving
Whittling and chip carving are two popular woodworking techniques that create beautiful designs. Whittling involves carving shapes from wood using a knife, while chip carving focuses on removing small chips from the surface to create intricate patterns. Both techniques can be used separately or combined to enhance your woodcraft skills and produce unique pieces. Understanding the basics of each method is key to successfully merging them into one masterpiece.
Essential Tools for Combining Techniques
To effectively combine whittling and chip carving, you'll need the right tools. A sharp whittling knife is essential for shaping your wood, while chip carving knives, with their precise blades, are crucial for detailed designs. Additionally, a carving glove can help protect your hands during the process, ensuring a safer experience. Investing in quality tools not only makes the work easier but also improves the final results.
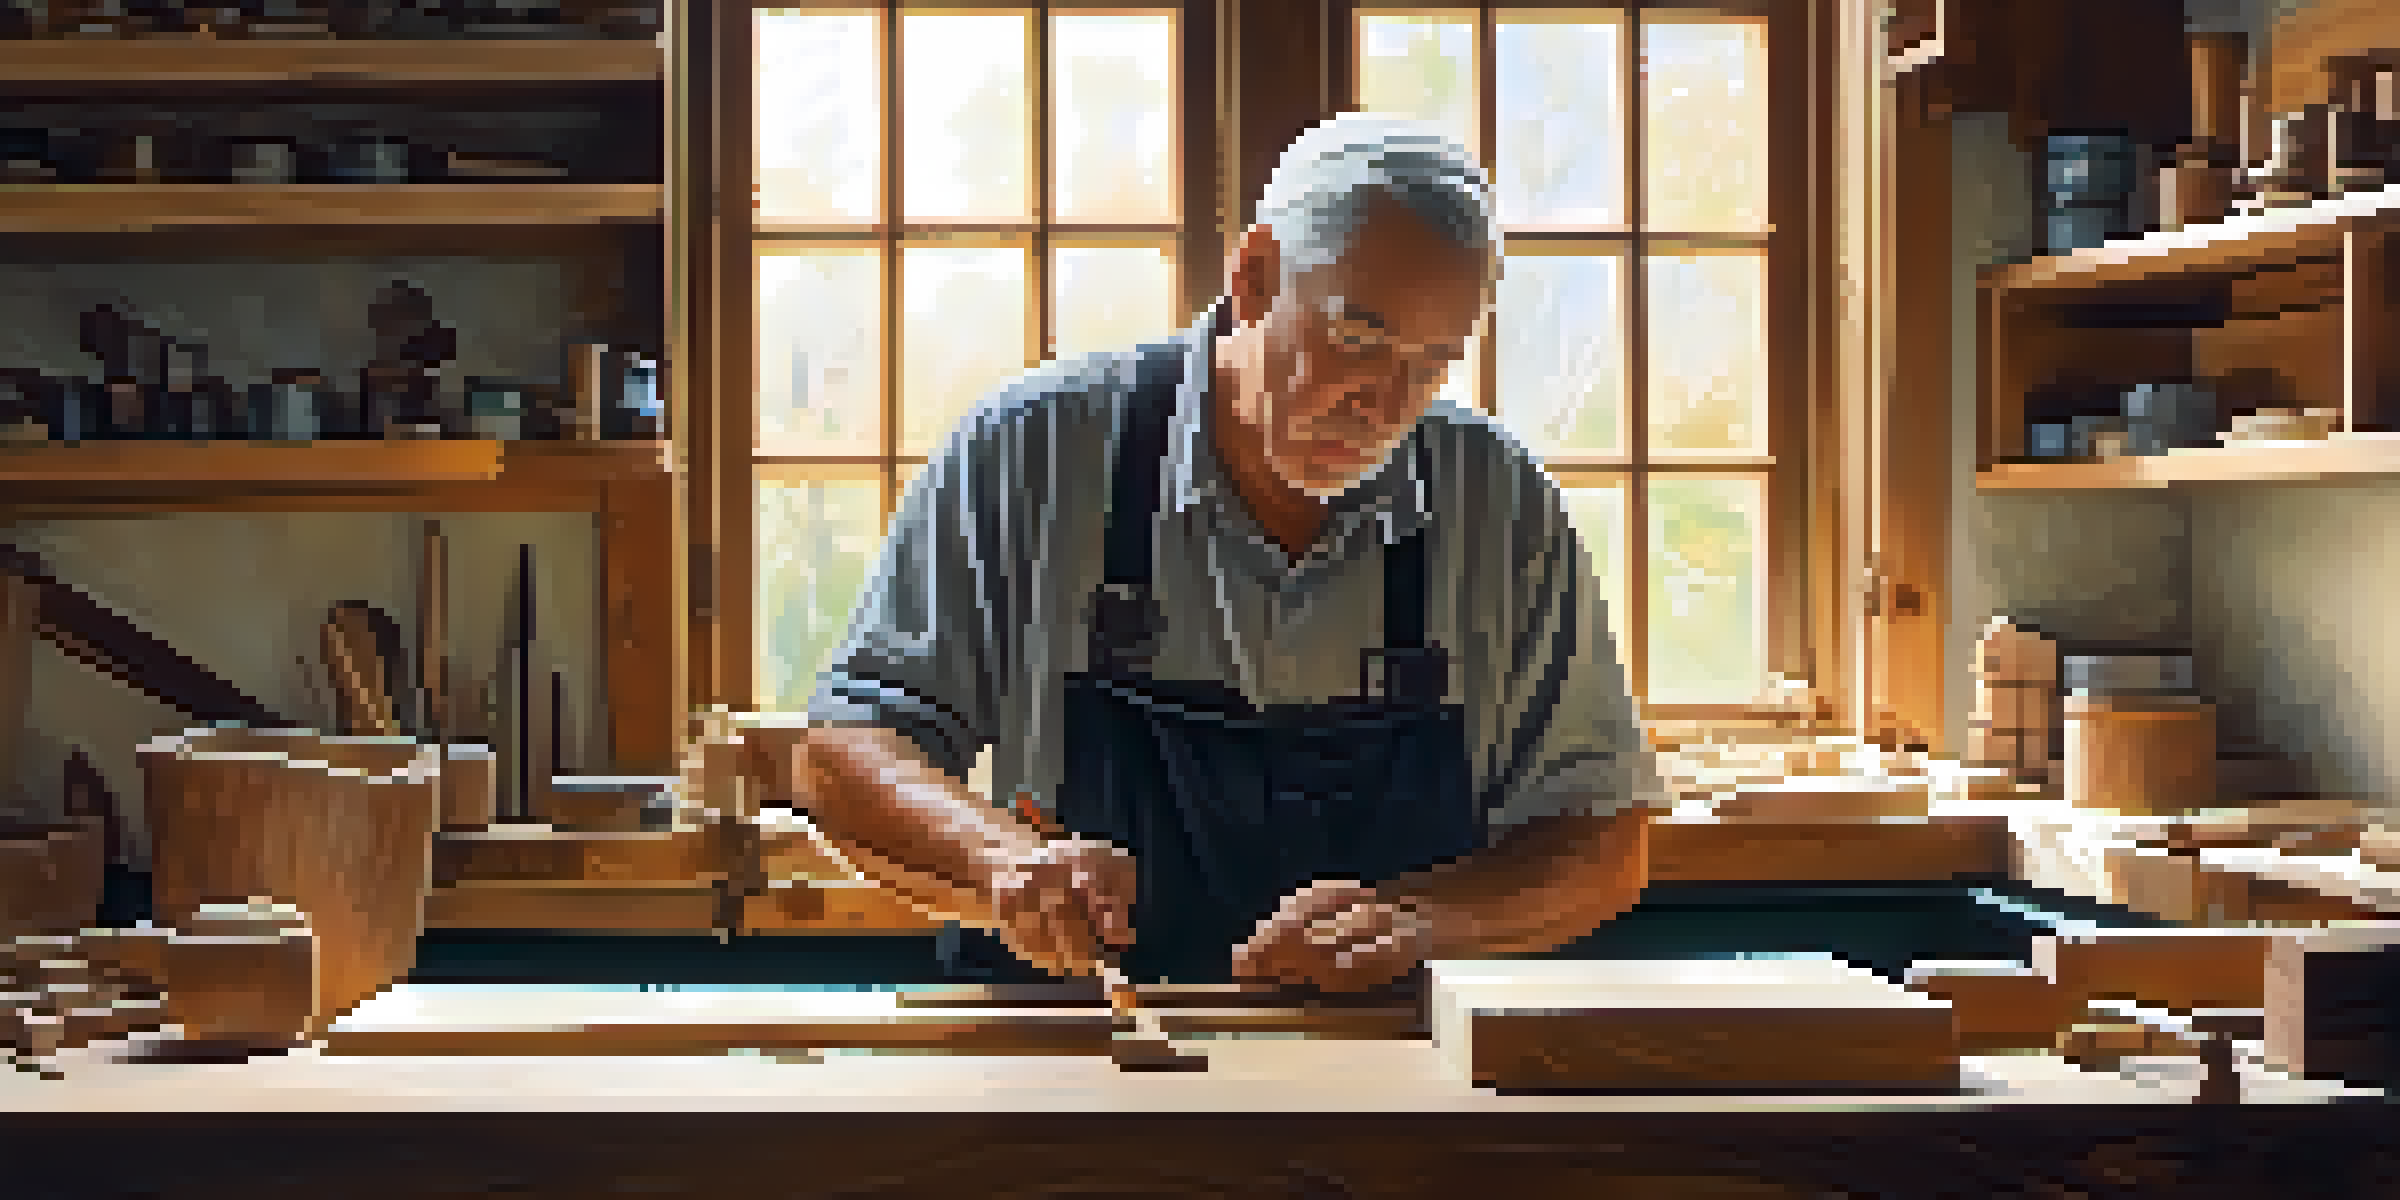
Tools for Whittling and Chip Carving
Using the right tools, such as sharp knives and a carving glove, is essential for effective whittling and chip carving.
Preparing Your Wood for Crafting
Selecting the right type of wood is vital when combining these techniques. Softwoods like basswood or pine are ideal for beginners due to their ease of carving. Before you start, make sure to cut your wood to a manageable size and sand it to create a smooth surface. This preparation step will make it easier to transition between whittling and chip carving, resulting in a more polished final product.
Basic Whittling Techniques to Start With
Start your project by honing your whittling skills. Begin with simple shapes, such as spoons or small figurines, allowing you to practice control and precision. As you gain confidence, you can incorporate more complex designs that set the stage for chip carving. Remember, patience is key; take your time to master each cut, as this will pay off when you move to the next stage of your project.
Preparing Wood for Crafting
Selecting softwoods and properly preparing your wood ensures a smoother transition between whittling and chip carving techniques.
Transitioning to Chip Carving
Once you're comfortable with whittling, it's time to delve into chip carving. This technique allows you to add detailed patterns and designs that complement your whittled pieces. Start by sketching your design onto the wood, ensuring it flows well with the whittled elements. As you carve, focus on using consistent depth and angles to maintain a cohesive look between the two styles.
Combining the Techniques for Unique Results
When you combine whittling and chip carving, the possibilities are endless. For example, you could whittle a basic shape and then add chip-carved embellishments to enhance its visual appeal. This fusion not only showcases your skills but also creates a one-of-a-kind piece that reflects your personal style. Experimenting with different designs will help you discover what works best for you.
Combining Techniques for Unique Pieces
Merging whittling and chip carving allows for endless creative possibilities, resulting in unique pieces that reflect your personal style.
Finishing Touches to Your Wood Project
After combining both techniques, the finishing touches are crucial for a polished look. Sand the entire piece to smooth out any rough edges and ensure your design flows seamlessly. Applying a wood finish, like oil or varnish, will enhance the natural beauty of the wood and protect your work. This final step not only improves durability but also brings out the colors and grains of the wood.
Sharing Your Work and Getting Inspired
Once your project is complete, consider sharing it with the woodworking community for feedback and inspiration. Online platforms, like social media and craft forums, are great places to connect with fellow enthusiasts. By showcasing your work, you can inspire others to experiment with combining whittling and chip carving. Plus, you might discover new techniques and ideas that can enhance your future projects.