Fundamental Shaping Techniques for Wood Carving Projects
Understanding the Basics of Wood Carving Techniques
Wood carving is an ancient craft that allows artisans to transform raw wood into beautiful pieces of art. Before diving into specific techniques, it's crucial to understand the tools and materials at your disposal. Familiarizing yourself with different types of wood, such as softwoods like pine or hardwoods like oak, can greatly influence your project outcomes.
The only way to do great work is to love what you do.
Each type of wood has unique properties, which affect not only the carving process but also the final appearance. For instance, softwoods are easier to carve but may not hold intricate details as well as hardwoods. Knowing these nuances helps you choose the right wood for your artistic vision.
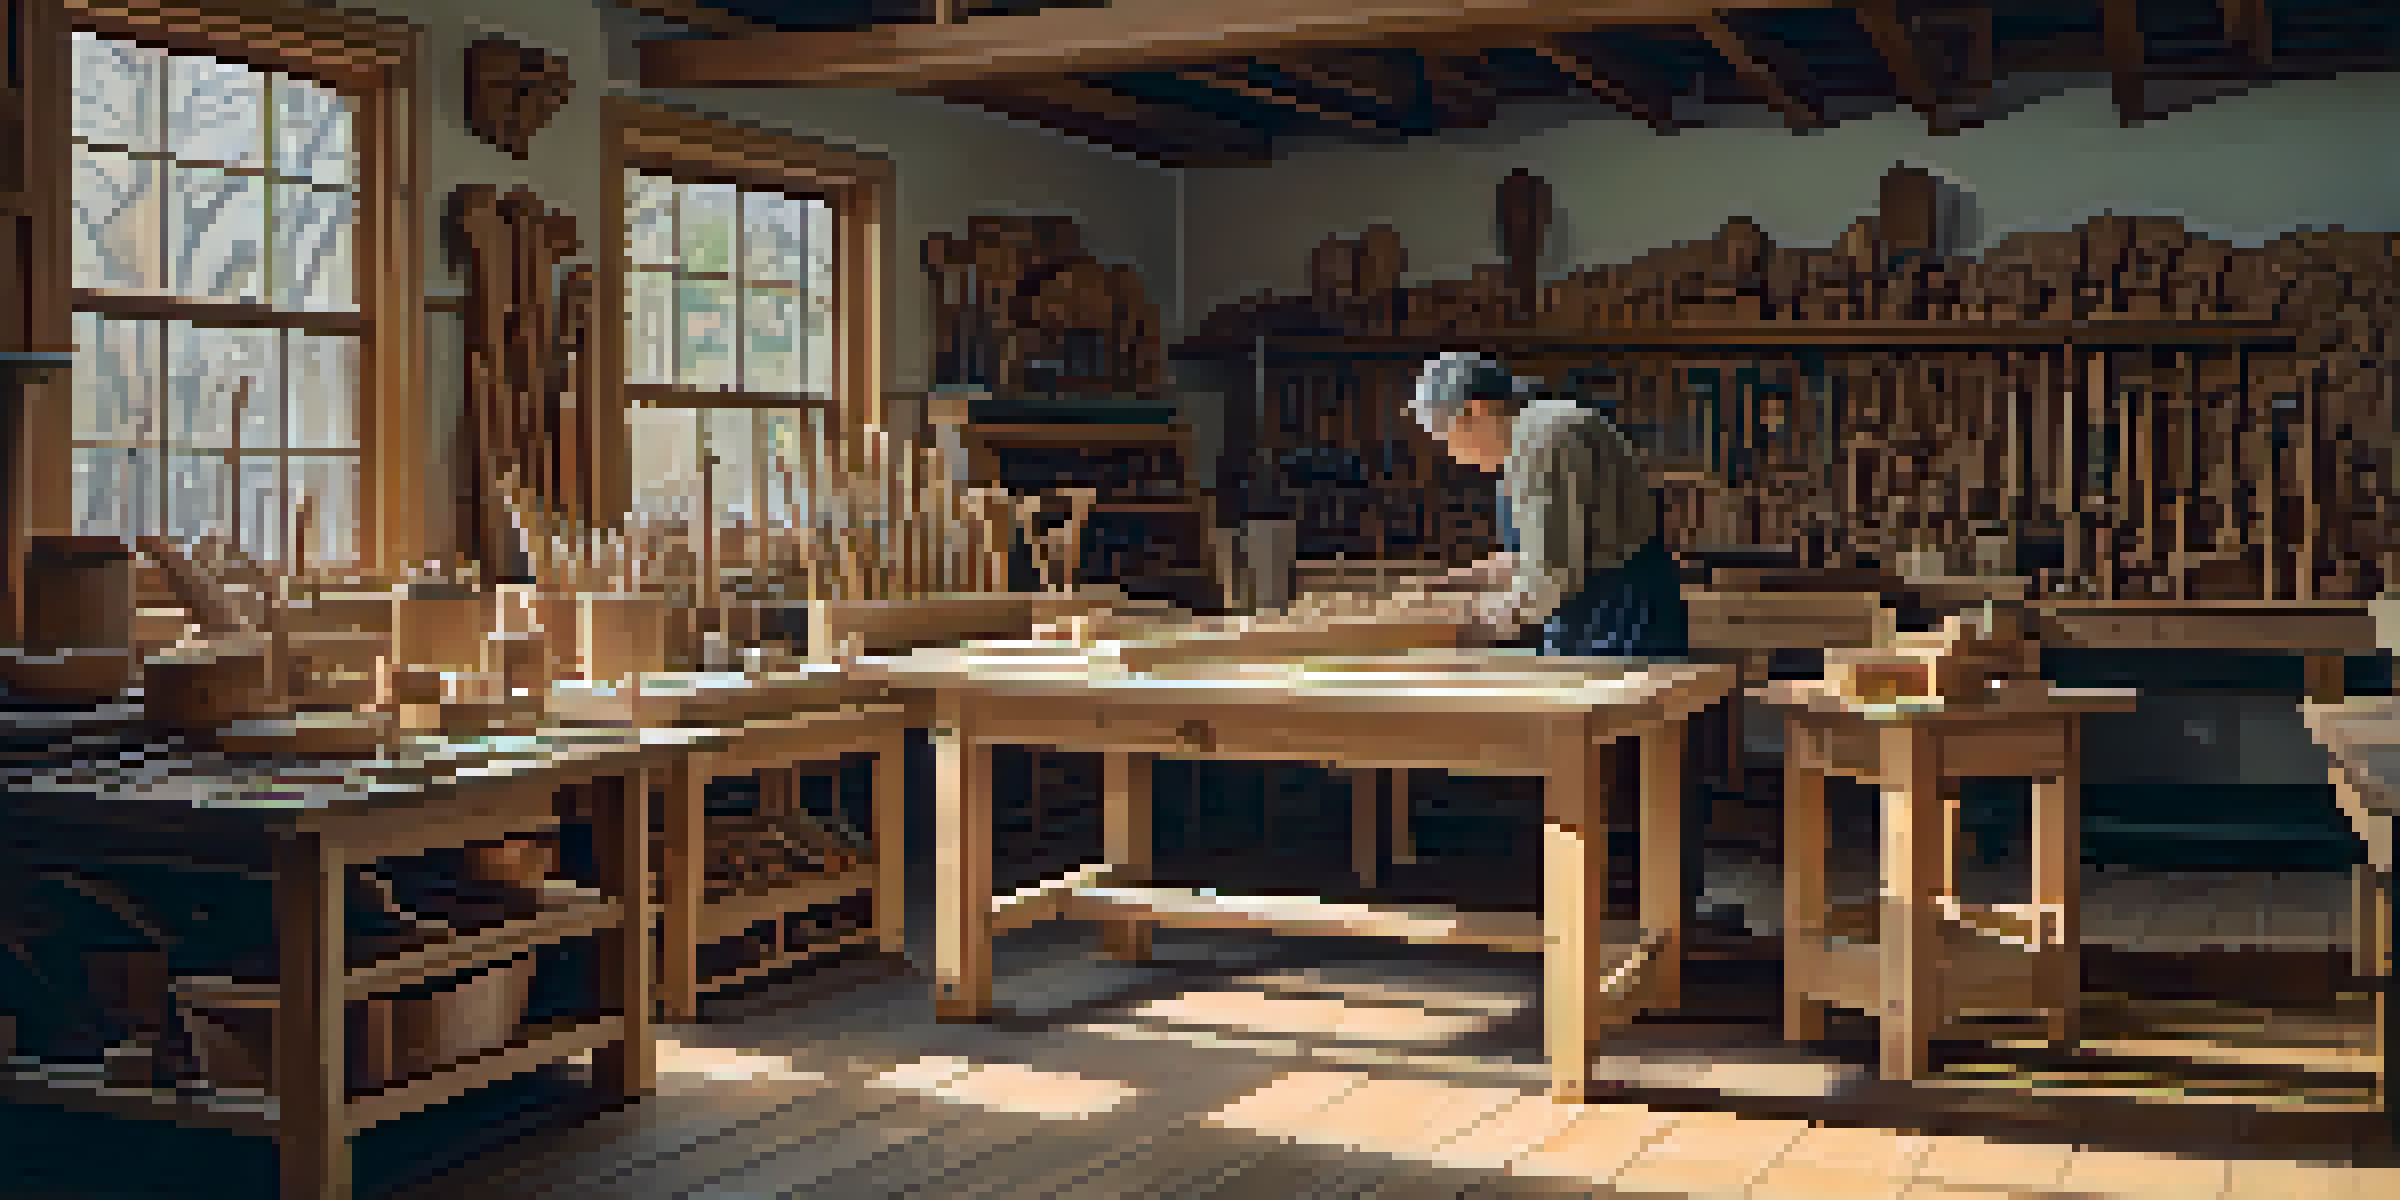
Additionally, setting up a proper workspace is essential for any wood carving project. A well-lit area with sturdy work surfaces ensures you can carve with precision and comfort, making your creative process smoother and more enjoyable.
Choosing the Right Tools for Your Wood Carving Journey
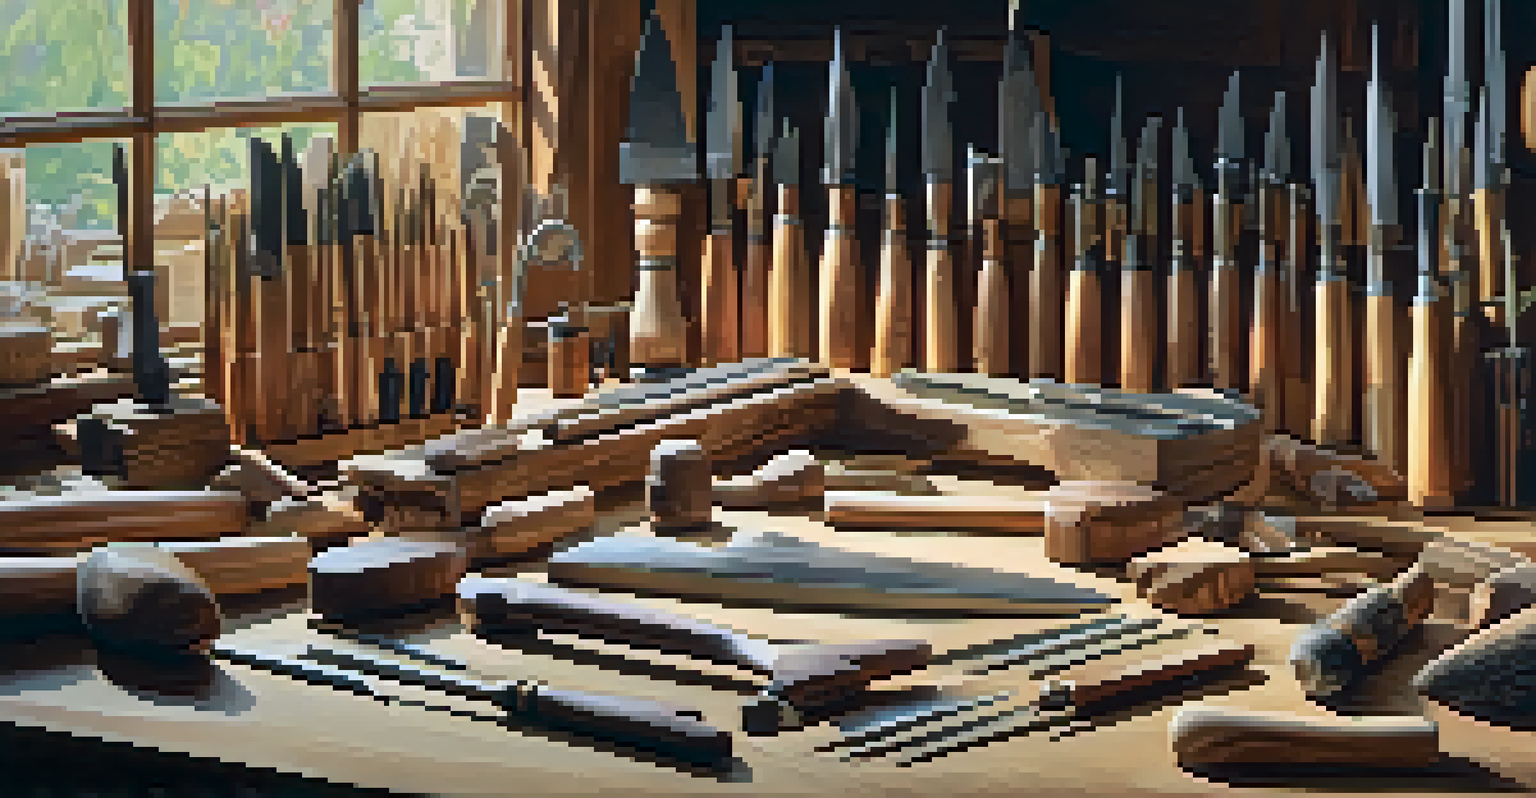
The tools you select can make or break your wood carving experience. Essential tools include chisels, gouges, and knives, each designed for specific tasks. A basic set of chisels can provide a solid foundation, allowing you to experiment with different shapes and styles.
Investing in quality tools is important; they not only last longer but also provide greater control and precision. You might be tempted to go for cheaper options, but a high-quality chisel can enhance your carving experience significantly. Remember, it's better to have a few good tools than a whole bunch of mediocre ones.
Choose the Right Wood and Tools
Selecting appropriate wood types and quality tools is essential for a successful wood carving experience.
Lastly, don't forget about safety gear! Carving tools can be sharp, and accidents can happen. Wearing cut-resistant gloves and safety goggles ensures you stay protected while indulging in your creative passion.
Mastering the Art of Rough Shaping in Wood Carving
Rough shaping is the first step in your wood carving process, allowing you to establish the basic form of your project. Using larger tools like a carving knife or a power sander, you can quickly remove excess material, bringing your vision closer to reality. This step is all about getting the general shape down without focusing on details.
Every artist was first an amateur.
Think of rough shaping like sculpting a block of clay; you’re not concerned about the fine details yet, just the overall silhouette. It’s a liberating stage where you can freely experiment, making adjustments and changes as you go. The more you practice, the more intuitive this process becomes.
Once you’ve achieved your desired rough shape, it’s time to step back and evaluate your work. This reflection helps you identify areas that need more refinement, setting you up for the next stage of your carving journey.
Refining Your Work with Detailing Techniques
After rough shaping, the next step is detailing, where you’ll enhance your piece with intricate designs and textures. This is where the beauty of wood carving truly shines, as you can add depth and character to your project. Tools like smaller chisels and knives come into play, allowing for precision work.
Detailing requires patience and a steady hand, as you’ll be working on the finer elements of your carving. Consider this stage like painting a masterpiece; the details are what bring your piece to life and showcase your craftsmanship. Take your time, and don’t rush through this critical phase.
Master Rough Shaping Techniques
Rough shaping is a vital first step that establishes the basic form of your project before adding details.
Moreover, it’s helpful to refer to reference images or sketches during this process. Having a visual guide can keep you focused and inspired, ensuring that your detailed work aligns with your original vision.
Sanding and Smoothing: The Key to a Polished Finish
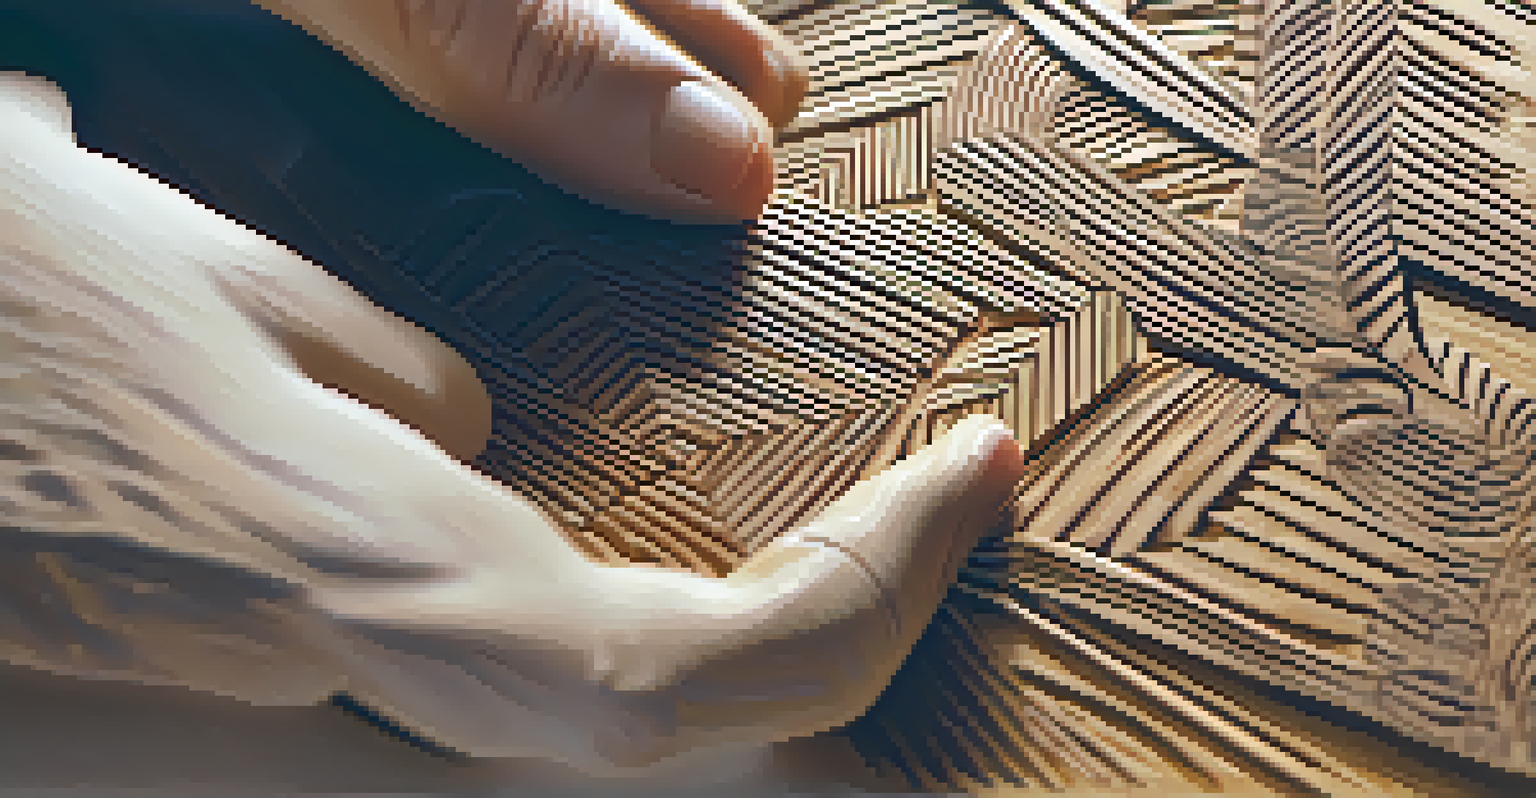
Once your detailing is complete, sanding and smoothing become essential to achieve a polished finish. This step removes any rough patches and prepares the surface for finishing treatments. Using progressively finer grits of sandpaper allows you to achieve a smooth, inviting texture.
Think of sanding like giving your wood a gentle massage—it's all about creating a soft, enjoyable feel. Pay special attention to corners and edges, as these areas often need extra care to ensure they’re smooth and well-defined. The end result will be a surface that feels as good as it looks.
In addition, sanding can reveal any imperfections that may need to be addressed before applying finishes. Taking the time to perfect your piece at this stage guarantees that your final product will have a professional touch.
Applying Finishes: Protecting and Enhancing Your Work
Finishing your wood carving is where you can really let your creativity shine. Whether you choose oil, varnish, or paint, finishes not only enhance the visual appeal but also protect your piece from wear and tear. Each type of finish offers different effects, so it’s worth experimenting to find what best suits your style.
For example, an oil finish can highlight the natural grain of the wood, while paint allows for vibrant colors and designs. Consider this stage like dressing your work for an occasion; the right finish can elevate your piece and make it stand out. It’s also an opportunity to express your personal touch.
Finishing Enhances Your Carving
Applying the right finish not only protects your work but also enhances its visual appeal and showcases your creativity.
As you apply your finish, remember to follow the manufacturer's instructions for the best results. Patience is key, as multiple coats may be needed to achieve the desired look, but the effort will be worth it when you see your completed project shine.
Troubleshooting Common Issues in Wood Carving
Even experienced wood carvers encounter challenges from time to time. Common issues include chipping, splintering, or uneven surfaces, which can be frustrating but are often fixable. Understanding these problems is the first step toward finding effective solutions.
For instance, if you notice chipping, it may be due to using dull tools. Regularly sharpening your chisels and knives ensures that you’re carving with precision, reducing the risk of damage. Additionally, applying the right amount of pressure while carving can help maintain control and avoid mishaps.
Lastly, don’t be afraid to seek advice from the wood carving community. Online forums and local workshops can provide valuable tips and tricks, helping you overcome obstacles and refine your skills. Remember, every challenge is an opportunity to learn and grow as a wood carver.